In October 2016 I got a wooden kayak kit. In February 2017 it finally hit the water! It took a little longer than I expected, but I’m happy with the result! Here I am taking...
[read more]
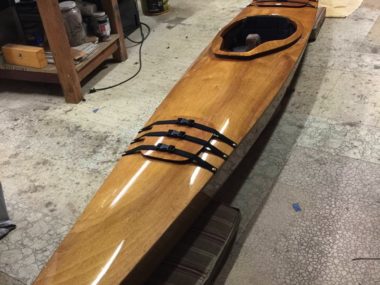
Happy days are here! Actually, most all my days are happy days, but the kayak is done! I installed the seat and hatch straps. The seat is just some foam glued in, and in the...
[read more]
I did some wet sanding on the kayak after the first coat. The directions say to use 400 grit, but I wet sanded the first two coats with 320, and then switched to 400 for...
[read more]
I was gone for a few weeks in Japan, so progress on the kayak has been slow. I’m back to doing some work on it. First I had to sand it a ton. 80 grit,...
[read more]
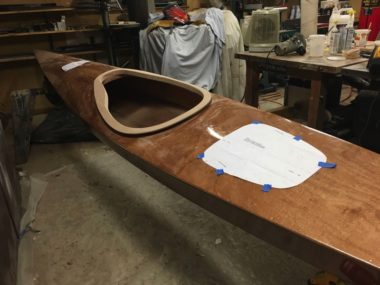
Okay! Progress is happening when I have spare time. I glued on the cowling around the opening, cut it to fit and sanded it smooth. The glue-up was a bit tricky…I didn’t have quite enough...
[read more]
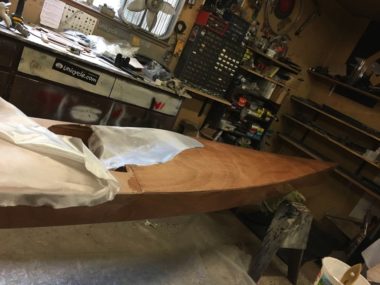
I used 4oz fiberglass on top, per the instructions in the kit. I was afraid I was going to run out of epoxy hardener, so I only glassed half of the boat at first. This...
[read more]
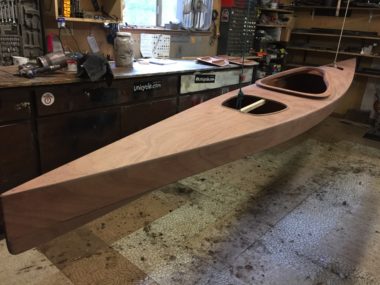
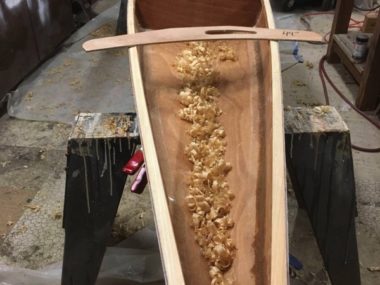
I’ve been busy having fun doing other things, so the kayak progress isn’t too fast. Yesterday I finished rounding off the corners of the top, and sanded through all the grits from 80 on up...
[read more]
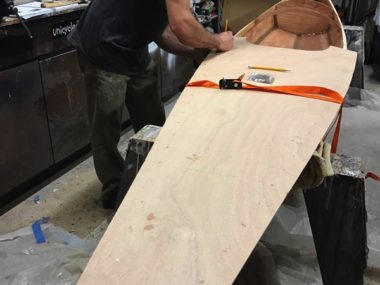
The next big step in the kayak was to glue the top on. First you put a coat of unthickened epoxy on the bottom side of the top piece, and then use thickened (cab-o-sil) epoxy...
[read more]
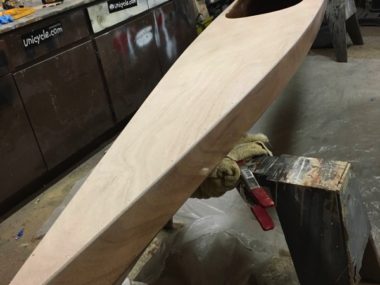
The next step in my kayak building journey was to plane the end clamps. These need a specific radius that changes depending on where you are along the top of the boat. The kit includes...
[read more]
The next big step is to glass the hull bottom. I sanded down the putty with 80 grit, and then went through all the grades all over the kayak: 100/120/150/220. You then cover it with...
[read more]
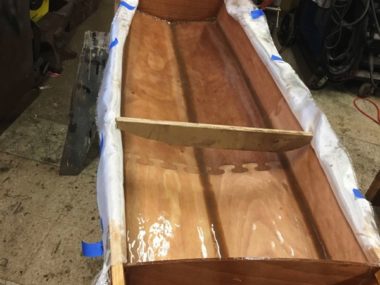
The kayak is still moving along! I’ve been a bit busy enjoying the outdoors: mountain biking (yeah on two wheels!), camping, and rock climbing. The next part was to glass the interior middle section; there...
[read more]