Woodworking
Woodworking: Jewelry Rack
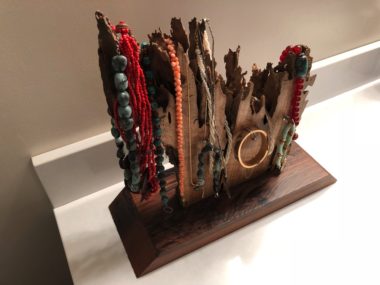
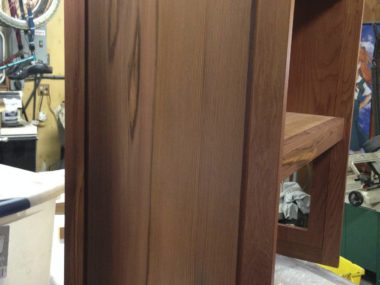
My wife requested one thing for Christmas: a custom made jewelry rack. Originally I was thinking of welding something together out of old gears and sprockets, but the power went out right when I was... [read more]
Jan
18
2018
Chesapeake 16LT Kayak: It hits the water
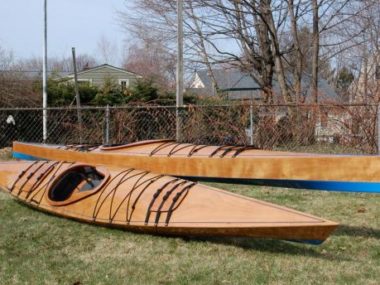
In October 2016 I got a wooden kayak kit. In February 2017 it finally hit the water! It took a little longer than I expected, but I’m happy with the result! Here I am taking... [read more]
Feb
7
2017
Chesapeake 16LT Kayak: Part 14 – Finished.
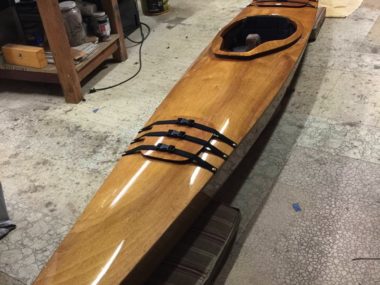
Happy days are here! Actually, most all my days are happy days, but the kayak is done! I installed the seat and hatch straps. The seat is just some foam glued in, and in the... [read more]
Feb
1
2017
Chesapeake 16LT Kayak: Part 13: Wet sanding
I did some wet sanding on the kayak after the first coat. The directions say to use 400 grit, but I wet sanded the first two coats with 320, and then switched to 400 for... [read more]
Jan
27
2017
Chesapeake 16LT Kayak Part 12: Starting the finishing process
I was gone for a few weeks in Japan, so progress on the kayak has been slow. I’m back to doing some work on it. First I had to sand it a ton. 80 grit,... [read more]
Jan
22
2017
Building the Chesapeake 16LT Kayak: Part 11 – Mark and Cut Holes
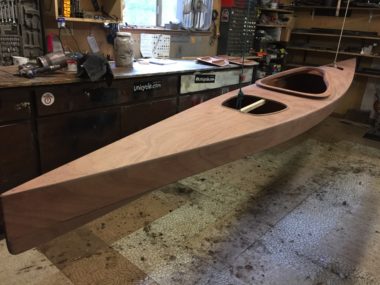
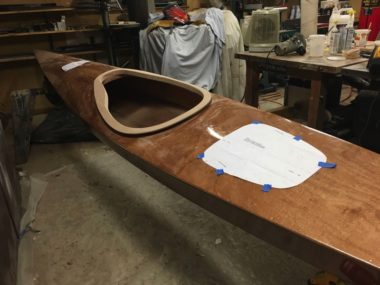
Okay! Progress is happening when I have spare time. I glued on the cowling around the opening, cut it to fit and sanded it smooth. The glue-up was a bit tricky…I didn’t have quite enough... [read more]
Dec
5
2016
Building the Chesapeake 16LT Kayak: Part 10 – Top Coat
I used 4oz fiberglass on top, per the instructions in the kit. I was afraid I was going to run out of epoxy hardener, so I only glassed half of the boat at first. This... [read more]
Nov
26
2016
Building the Chesapeake 16LT Kayak: Part 9 – Rounding the top and sanding
I’ve been busy having fun doing other things, so the kayak progress isn’t too fast. Yesterday I finished rounding off the corners of the top, and sanded through all the grits from 80 on up... [read more]
Nov
26
2016
Building the Chesapeake 16LT Kayak: Part 8 – Gluing the top on
The next big step in the kayak was to glue the top on. First you put a coat of unthickened epoxy on the bottom side of the top piece, and then use thickened (cab-o-sil) epoxy... [read more]
Nov
23
2016
Chesapeake 16 LT Kayak: Part 7: Planing the end clamps
The next step in my kayak building journey was to plane the end clamps. These need a specific radius that changes depending on where you are along the top of the boat. The kit includes... [read more]
Nov
15
2016
Building the Chesapeake 16LT Kayak: Part 6 – The bottom side glassing!
The next big step is to glass the hull bottom. I sanded down the putty with 80 grit, and then went through all the grades all over the kayak: 100/120/150/220. You then cover it with... [read more]
Nov
8
2016
Building the Chesapeake 16LT Kayak: Part 5 – The bottom side
The kayak is still moving along! I’ve been a bit busy enjoying the outdoors: mountain biking (yeah on two wheels!), camping, and rock climbing. The next part was to glass the interior middle section; there... [read more]
Nov
7
2016
Building the Chesapeake 16LT Kayak: Part 4 – Leveling and Gluing Together
The kayak is starting to look like a real boat! First you have to level it, propped up on some sticks/sawhorses: Then install the bulkheads: And finally, start gluing it together with... [read more]
Oct
17
2016
Building the Chesapeake 16LT Kayak: Part 3 – Stitching
I got to the stitching part of the “stitch and glue” kayak build! It didn’t take very long….the kit was easy to work with. I had to push my tablesaw off to the side to... [read more]
Oct
16
2016
Building the Chesapeake 16LT Kayak: Part 2 – Setup and Gluing
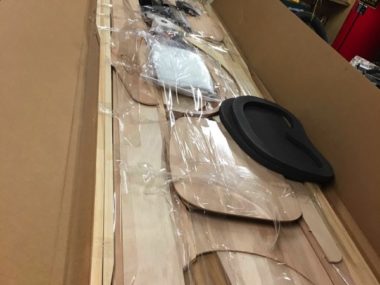
The kit came about a week after I ordered it. The delivery company received it in SFO, and was reluctant to deliver it to me right away — they wanted to wait an extra week... [read more]
Oct
15
2016
Building the Chesapeake 16LT Kayak: Part 1 – Choices
I’ve been wanting to build my own kayak for quite a while. Ideally I want to make a strip-style kayak; something out of locally sourced redwood would be awesome! For now, I decided to start... [read more]
Oct
15
2016
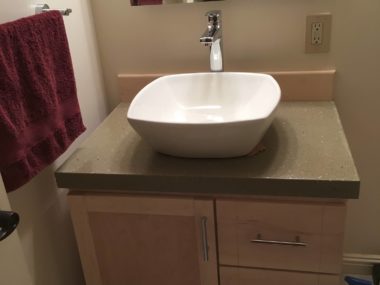
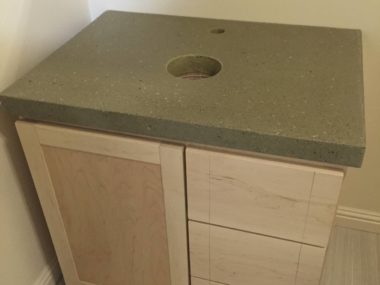
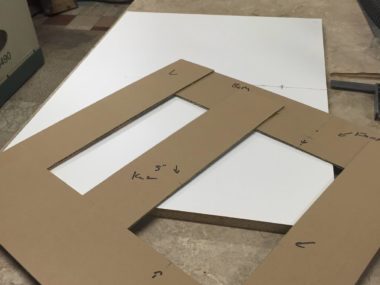
Utility sink counter top: The Sculpin IPA Counter
I wanted to touch up some of the areas next to my newly remodeled bathroom, and the laundry room needed a new utility sink. The plastic piece of crap I had was junk and I... [read more]
Dec
17
2015
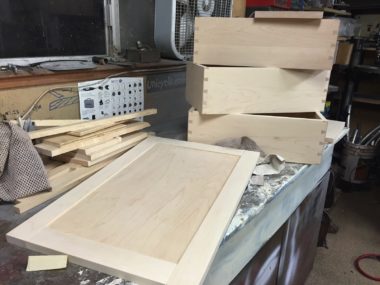
Aqua Coat water based wood finish on my utility cabinet
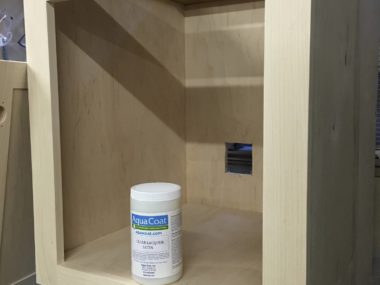
The next project after my bathroom vanity is a small utility sink cabinet made out of hard maple. Serendipitously I got a message from Aqua Coat asking to review their water based coating right when... [read more]
Nov
7
2015
Bathroom Vanity: Completed!
My bathroom vanity is complete! This is a picture before I fixed the sink on. I originally had a different more square sink, but it was simply too white. This sink is an off white... [read more]
Nov
7
2015
Bathroom Vanity: Counter Top (part II)
Some pictures of it roughly installed: THE SPROCKET EMBEDDED!
Oct
23
2015
Bathroom Vanity: Concrete Counter Top
The project continues with a nice counter top. I wanted to go for concrete as I’m fascinated by it, and got two concrete counter top books by Cheng and some premixed stuff from his website (more... [read more]
Oct
22
2015
Bathroom Vanity: Sanded, and Starting to Finish
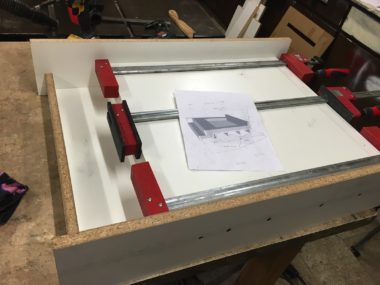
I finished up the drawers. I used the Bessey clamps to keep things straight and tight, and also to pull close any gaps on the end: After that, some still had some tiny gaps…I mixed... [read more]
Aug
23
2015
Bathroom Vanity: Taking Shape
My bathroom vanity is starting to finally look like something. Here it is dry fitted before glue up: The process will be to put one side on The back, and then the other side: Then... [read more]
Aug
12
2015
Bathroom Vanity Notes
These are mainly notes to myself on building my downstairs bathroom vanity (cabinet). Face frame construction was normal pocket hole screws and works well for the face and back frame (back side seen here): In... [read more]
Aug
3
2015
Kickback! and the bathroom vanity cabinet
I started planing some wood down to ¾” thickness for my bathroom vanity cabinet: As I was ripping one pice to width a small sliver came loose; there was a crack in the end... [read more]
Jul
31
2015
Bathroom Vanity Cabinet: Free SketchUp Model Download!
Here is my downstairs bathroom cabinet design in Sketchup: A quick rendering: And placed in my bathroom setup: Download the free cabinet SketchUp model: Downstairs bathroom cabinet 2015.skp
Jul
15
2015
Kitty Cabinet: Finished
I finally finished my Kitty Cabinet. I had to wait for some more Water Based Poly finish to come; I had accidentally ordered “gloss” when I really wanted “satin”, so it had to be put... [read more]
Sep
1
2014
Kitty Cabinet: Finishing
One coat of Target Coatings shellac (amber), lightly sanded and then one coat of their water based Polyurethene (9000). Time to order more….
Aug
3
2014
Kitty Cabinet
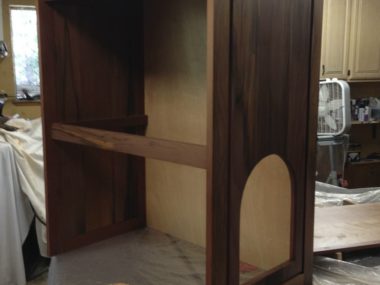
I’m building a little cabinet to hold the kitty litter box, and some accessories. On top I plan to put the cat’s food and water bowls, to keep them out of reach of bad doggies.... [read more]
Jul
19
2014
Master Bathroom Remodel Done! Custom Cabinets!
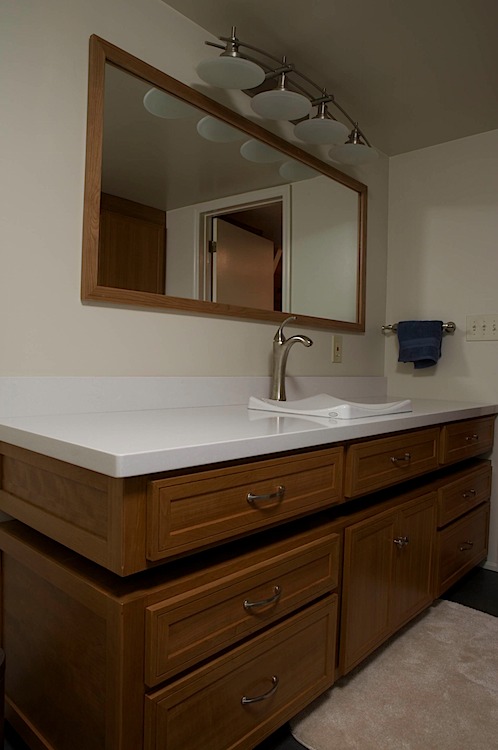
I finally completed all the trim and paint in my master bathroom remodel! It looks awesome! I am happy with every bit of it. Some of the final pictures below: Left side of the sink... [read more]
Jan
7
2014
As an Amazon Associate I earn from qualifying purchases.
(c) 2008-2025 Corbin Dunn
Subscribe to RSS feeds for entries.
50 queries. 0.189 seconds.

