Ep 1: CAD Dovetail Design in Autodesk Fusion 360
I design a lot of my projects in Autodesk Fusion 360. Well, I guess it is just called “Fusion” now, which I think was a bad move by Autodesk to rename the product. People can easily search for “Fusion 360” and get relevant results. Now, if they search for “Fusion” they will get a ton of irrelevant results, because it is kind of a generic term. Users now have to now search for “Autodesk Fusion”, but the problem is most people up to now have just referred to the product as “Fusion 360”, and not “Autodesk Fusion 360”, so a lot of that google history won’t work for people who are searching. This is relevant to me, as I now want to keep using both keywords to help people find my videos related to the subject.
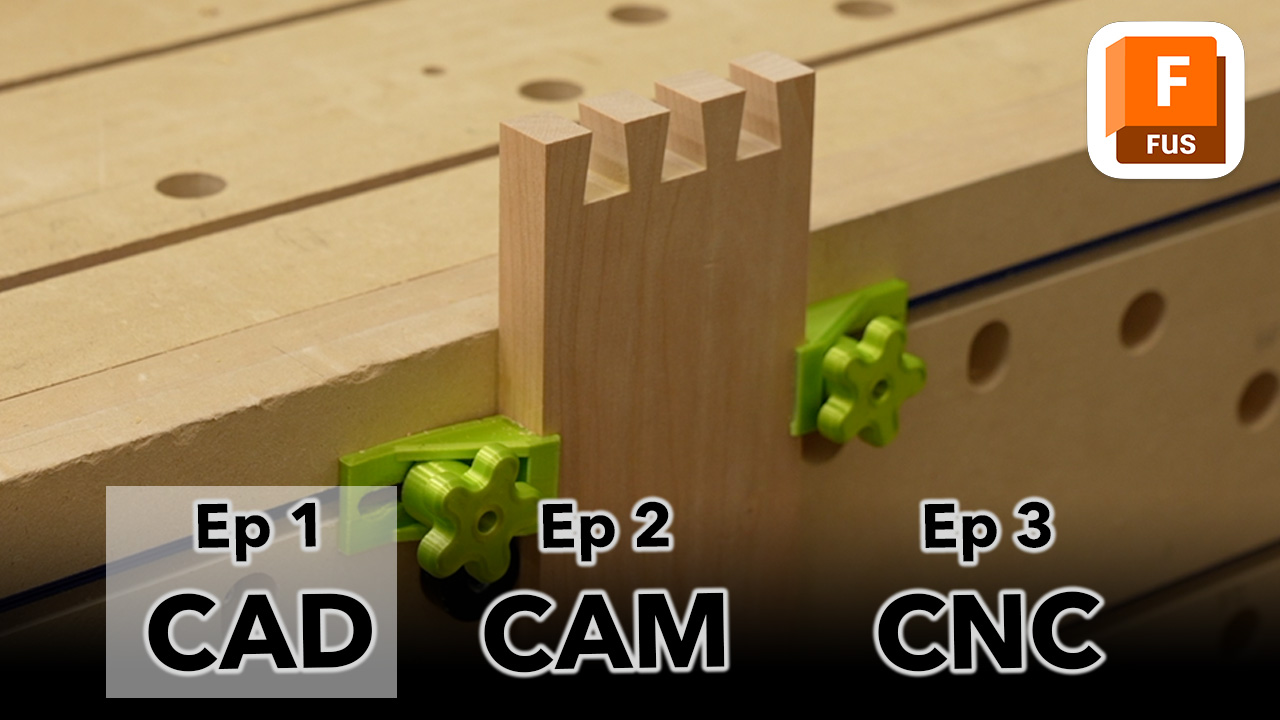
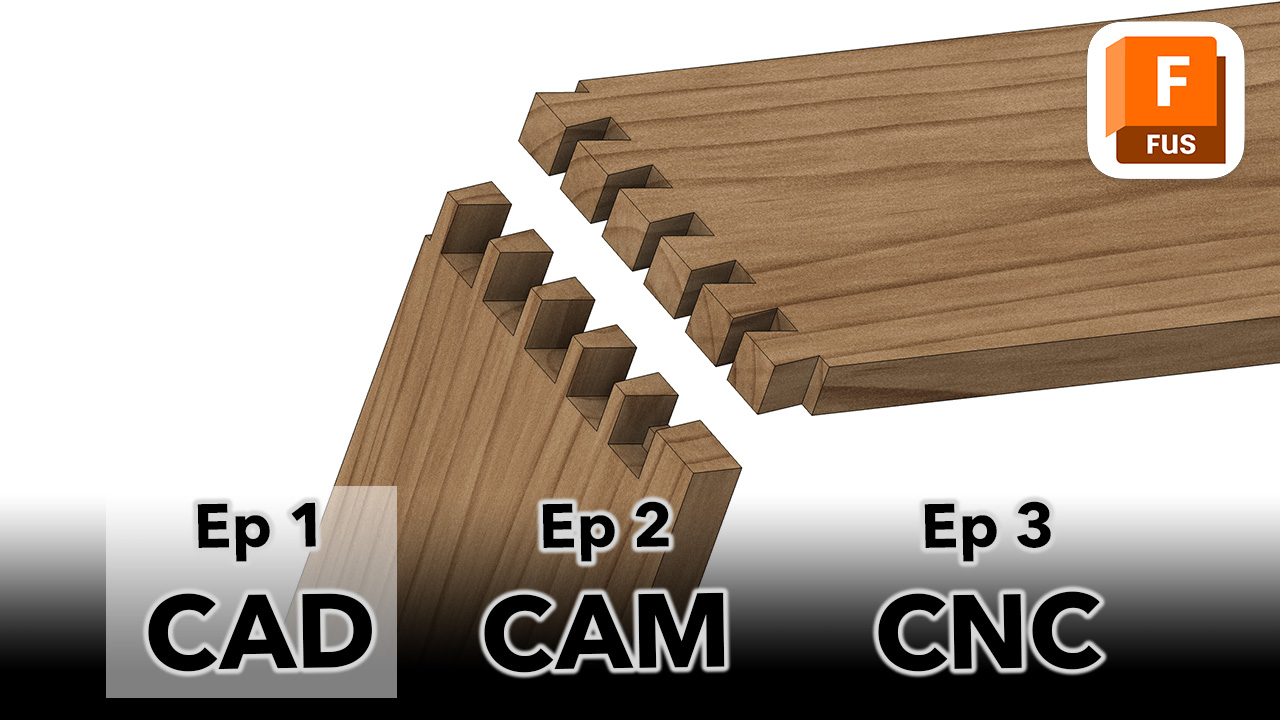
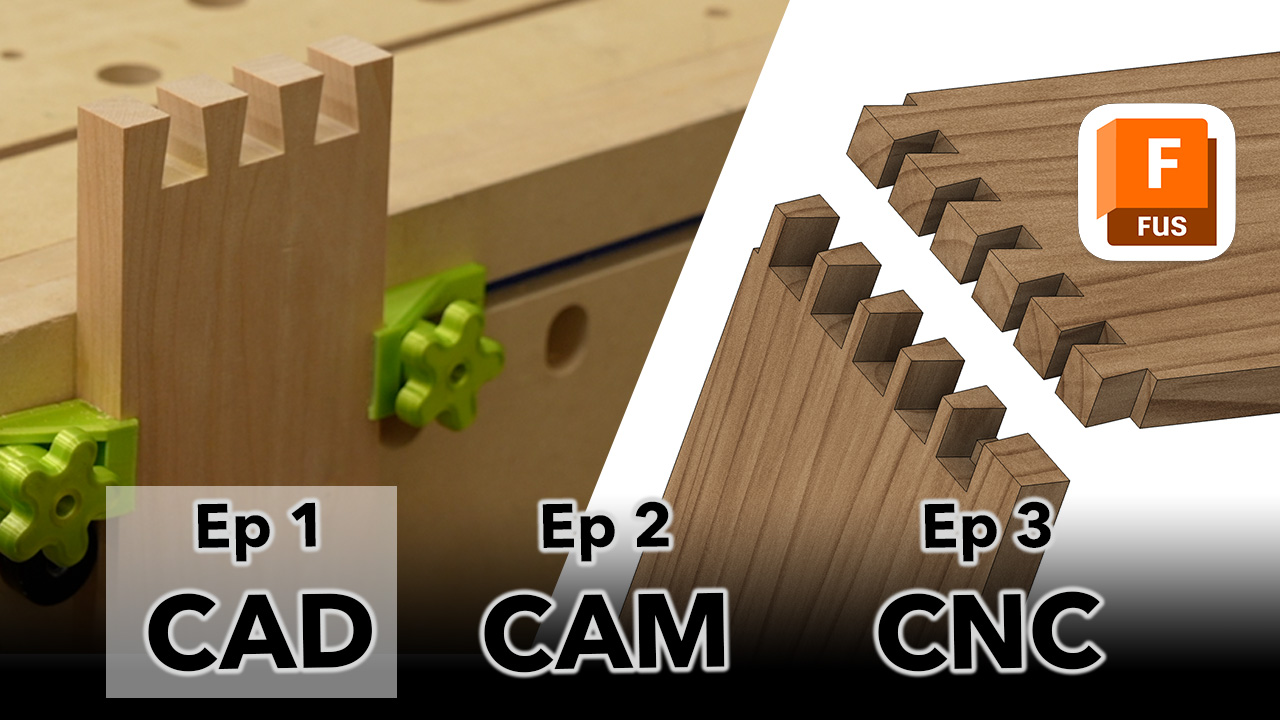
This video is how I create dovetails. I decided to break it up into three parts, as a full length single video would be over an hour long. The first part is how I do the CAD in Autodesk Fusion 360. This is really the first step, and a lot of people will do a design in CAD even if they want to cut it out by hand. Designing dovetails isn’t too hard; the most important part is to just create a line with the appropriate dovetail angle for your bit, which is probably 8 degrees. And to make sure the hole it is cutting is large enough for it to fit in; that means those super tiny pins won’t work when cutting them out on the CNC; they have to be at least as thick as the bit you are using.
Part 2 is all about toolpaths in Fusion. I’ve done CNC dovetails several times, but I always feel like there is a better way to do the toolpaths (or CAM / Computer Aided Manufacturing) than what am I doing. So I spent a good four or five hours trying to figure out the best solution. My ideal solution would be to have the dovetail bit just “kiss” the surface on each side of a board, and then remove the waste in the middle. This is purely for chipout. A bit has to enter the board on one side, and exit on the other side, and when it exit’s on the other side it will tend to leave chipout.
Chipout isn’t a new problem to people cutting dovetails with a router, as there have been dedicated jigs available for ages. I have the Leigh jig, and I’ve used it a lot to create a ton of awesome drawers. One way to minimize chipout is to just lightly run the bit across the surface of the piece of wood before doing a full cut. And ideally run it on the front and backside. You usually can’t do the backside when using a jig, and chipout is almost inevitable, but you can mitigate it a bit with some scarification boards.
So, I tried hard to figure out how to run the bit do to a light “kiss” on the front and back side. Ultimately, I couldn’t get it to do it. I know there is some dedicated dovetail Gcode generators that will do this — especially JointCam — but I didn’t want to buy and learn yet more software; I wanted to just use Fusion, since I’m already paying or a subscription.
The solution to avoid chipout is support. I discuss this in videos 2 and 3, where I support the piece and modify the CAM to accommodate the support pieces. This works great, and probably doesn’t take that much longer to do the cuts compared to doing a “kiss” in front.
One final thought: for this video I created three thumbnails. Which do you think will be the most popular on YouTube?