Video: Perfect CNC Inlays
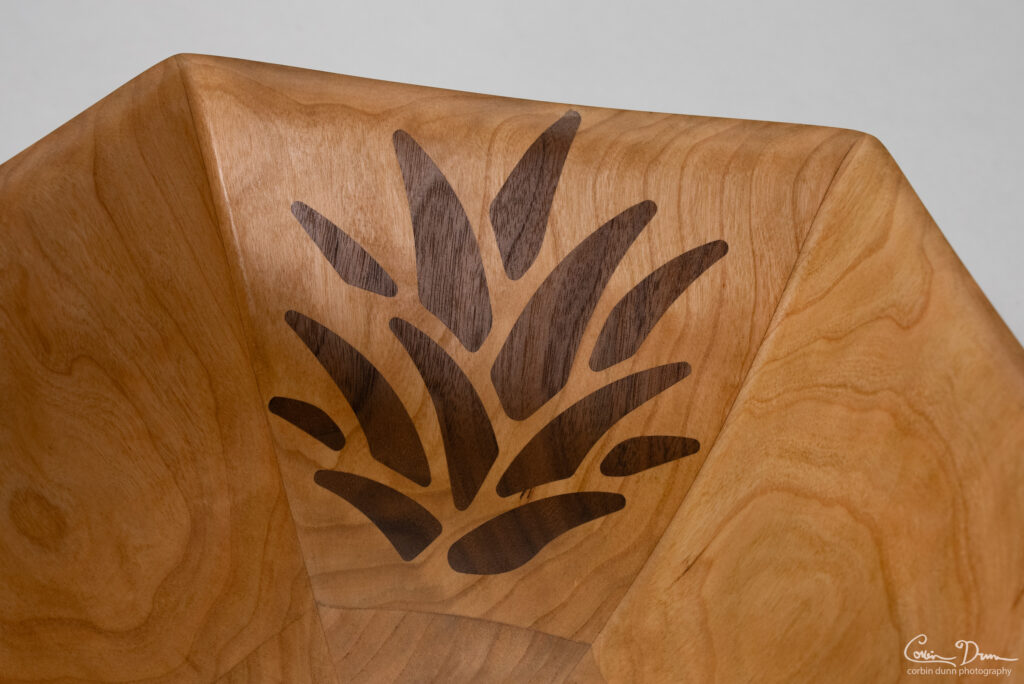
This video is for CNC woodworkers on how to get perfect inlays with a straight bit. Using a straight bit is required when you want a deep inlay; something greater than 1/2″ thick and up to 1″ thick (or thicker…if your bit can handle it!). You may want to do a deep inlay in order to have the design on both sides of the wood, or to show up after machining away some material. I did a lot of experimentation with my hex inlay bowl to figure out how to get this just right.

I cover a lot of detail: why to do them, how to properly work around vector design limitations, speeds and feeds, leaving material, and inlay tolerances. Then I’ll discuss what parameters to change in two of the most popular CAM/toolpath generation programs: Fusion 360 and Vectric VCarve (also applies to Vectric Aspire). You can skip over to the chapters that discuss the program you use. I’ll quickly cover how to make an inlay in each program, but this video is more about how to find the right inlay parameters, and not how to use VCarve or Fusion.
The alternative way to do an inlay is with a v-bit, and vcarve the inlay. I prefer VCarve inlays when doing a design that will only appear on one side of my project.
My blog has an email list for posts, but if you are interested in my CNC woodworking files and products then subscribe to my new newsletter dedicated for those things: Corbin’s Workshop Newsletter. I rarely send out posts from the workshop list, and I usually batch up a few things together into one email.


