Workshop LED Lighting Design – The Truckee Workshop Part 13
Designing proper lighting for a workshop can be tricky. I’m going to try to break it down into some simple decisions in case you are wanting to do something similar. In the last post I wrote about my siding and roofing; the next step was to figure out my lighting arrangement before I could put in the wiring.
If you are just jumping in, check out all my posts in chronological order for me building my workshop: Truckee Workshop 2021
Color Temperature
Color temperature is complex; check out the Wikipedia Color Temperature page for in depth knowledge. In simple terms, it affects the color of things in the shop.
For a workshop, it’s a decision somewhere between 4000K to 6000K. I think most people go with 5000K because it is pretty close to natural daylight. It is also a good value for video and photography. Some people feel that 5000K is blueish. Higher values, such as 6000K, tends to look way more blue, and are generally advertised as “Cold White” or “Cool White”. Lower values, like 4000K, tends to look warmer are are advertised as “Neutral White”. Lower than 4000k is considered a “warm” color.
I’ve seen some comparisons of cheap LEDs versus higher quality ones, and one thing some people notice is that cheap LEDs advertised at 5000k tend to really end up being bluer and closer to 6000k.
I’m going with 5000K.
CRI – Color Rendering Index
Ideally you should be a high CRI light to have colors accurately be represented. Most LEDs seem to be in the 80-range (or don’t even list it). The only affordable brand that has a high CRI shop light is American Green Lights with a 92-95 value; however, they cost twice as much as some other options and I decided the cost wasn’t worth it. Hopefully I don’t regret that decision!
Lumens Per Square Foot
Also known as “how bright is it”. I’m stuck with America’s archaic system, so I use lumens per square foot, but other more civilized countries may use lux, which is lumens per square meter.
I’ve seen shop recommendations anywhere from 75 to 150 lumens per s.f. (or higher). I asked for a recommendation in the Woodshop Planning group and I found several things. People who didn’t know their lumens per s.f. seemed to be around 75 when I calculated it out. Those who knew, seemed to target 150, and really liked it. But some suggested putting it on two circuits to cut it in half when not needed. That sounds like a good plan, and is what I’m targeting.
Brand Light Selection
At this point I found it useful to start searching for various light options and putting them all in a spreadsheet that calculates my target lumens and costs. An easy way to compare lights is by “dollars per lumen”, and just overall cost for the required number of lights. Here it is exported as a PDF for you to download:
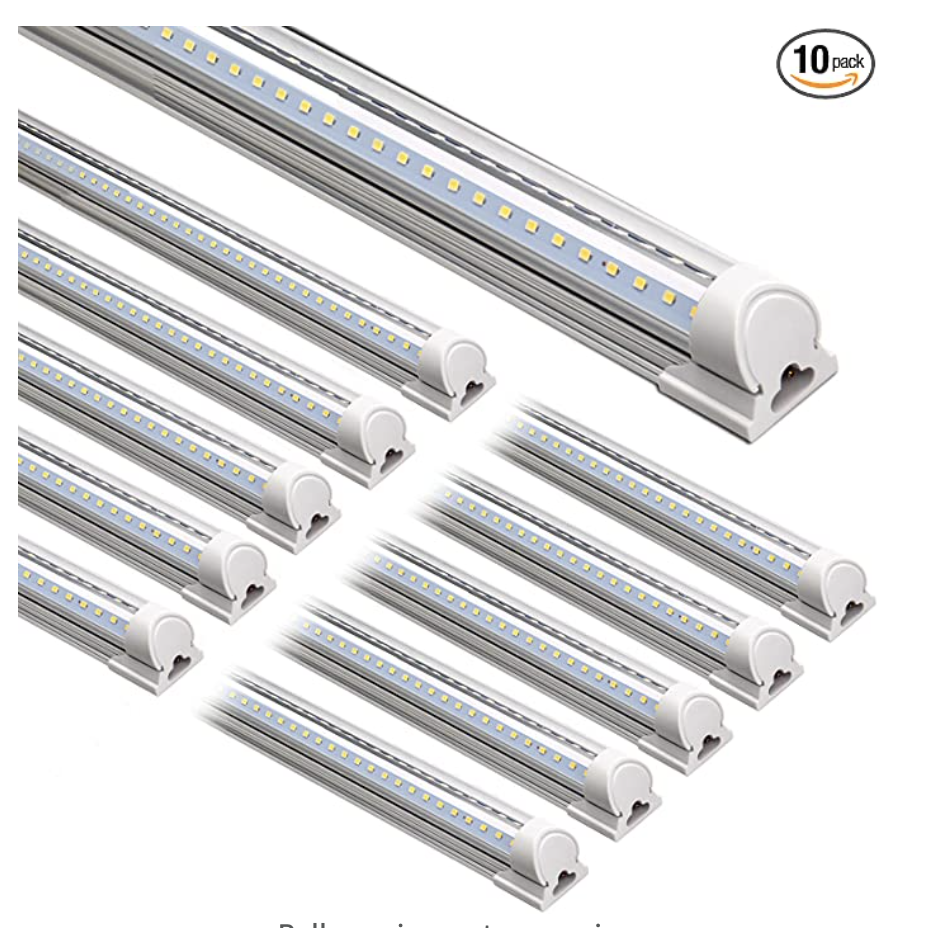
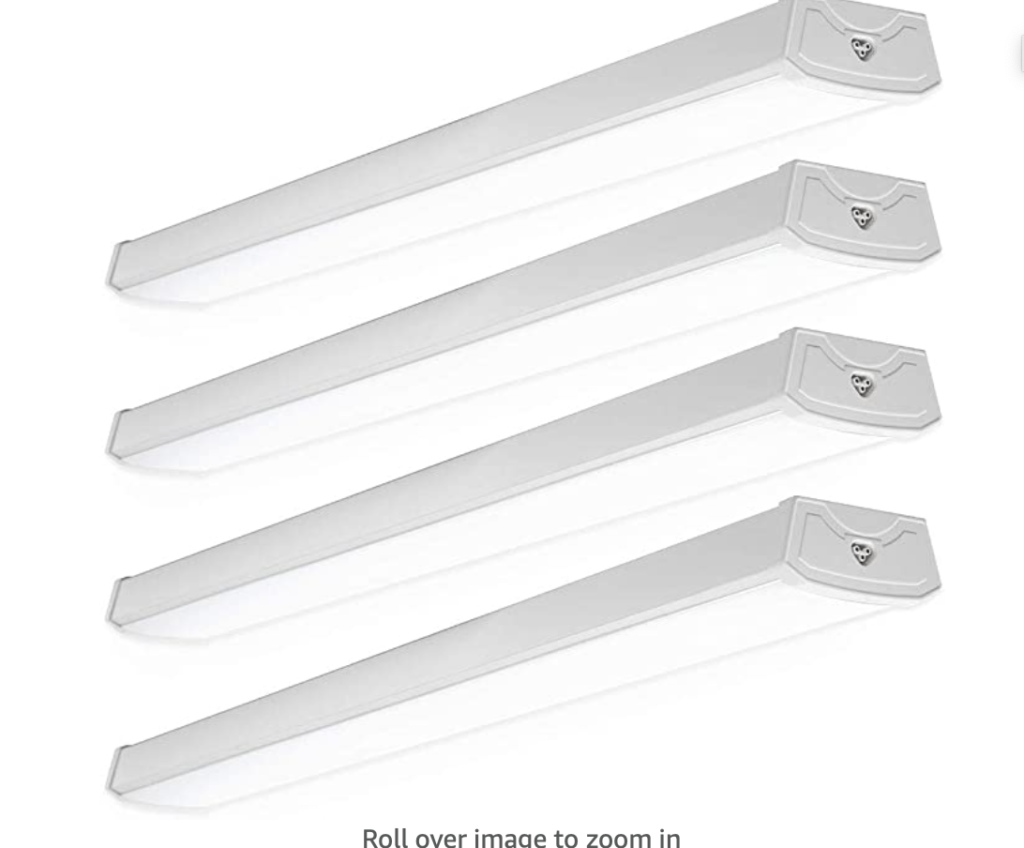
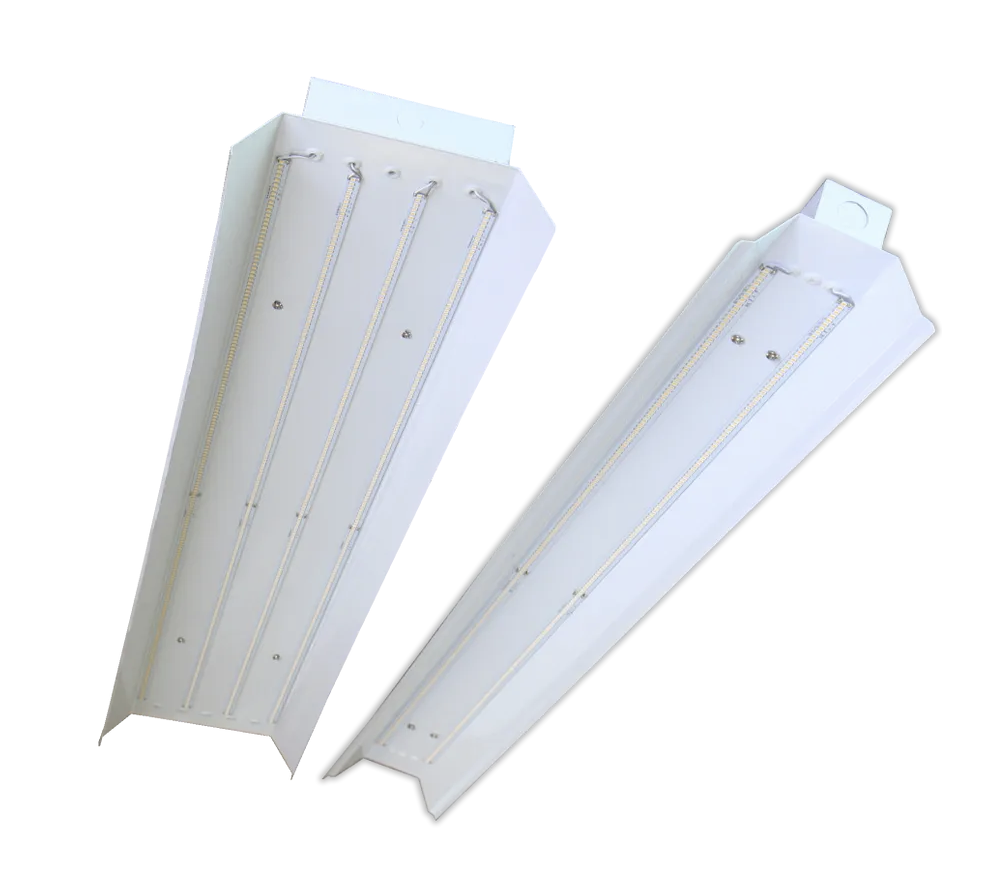
It will likely get out of date, and I recommend making your own spreadsheet and comparing various style options, with some of them shown below:
I don’t like seeing individual pixels, so I really want a frosted light or one with a diffuser. It also helps your eyes in case you look up.
I also don’t want the basic tube-lights (Barrina), even though they are incredibly cheap and not frosted. They just seem too cheap for the primary light source in a new construction workshop, and I want the wiring to be solid hard wired, and not something plugged in. I also considered making my own lights by buying directly from a supplier in China and wiring it all together. However, this would end up costing about the same as the Barrina lights and require a lot more DIY. I may still consider adding in some cheap Barrina tube lights if I need some additional point lighting at specific work areas.
American Green Lights seem to be recommended by a lot of YouTubers, and the 92+ high CRI is really desirable, but the cost is twice some of the other options. I’d would have liked to go with them (with the frosted cover), but they are simply too expensive and probably not worth the added cost just for the benefit of a higher CRI.
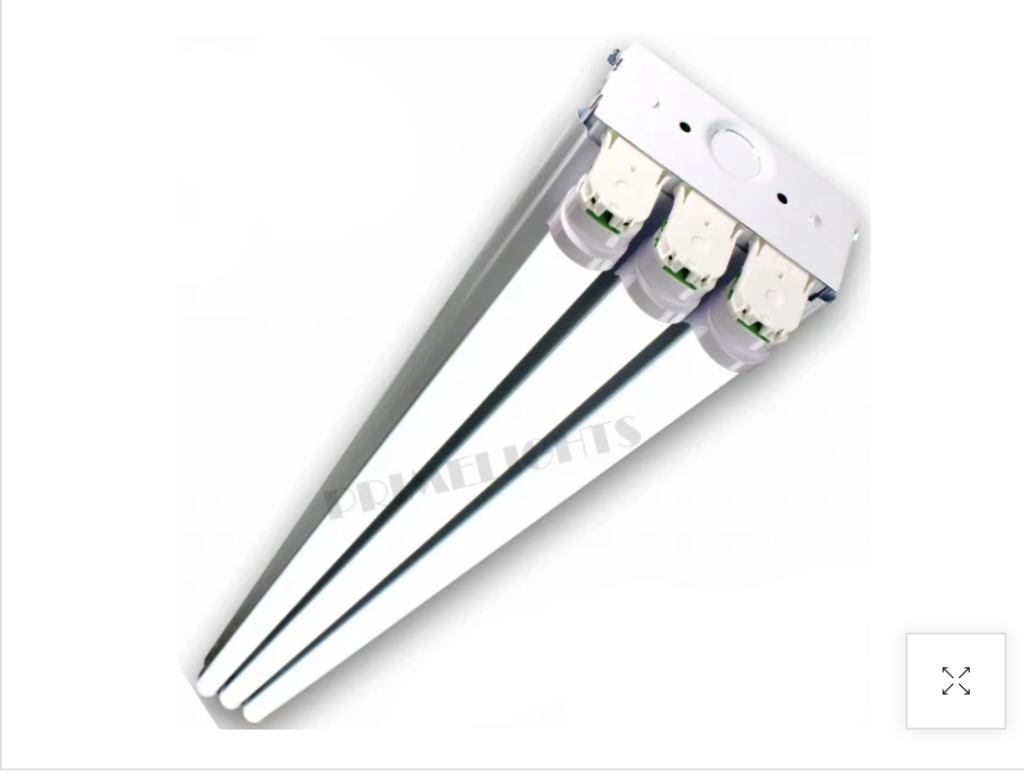
I’m going to be using Primelights – their 3-light Bolt and also some of their high bay 4-lamp Stingray for the vaulted area of my ceiling. You can generally get 5% off by emailing them or searching for a promo code. I bought my lights during their black friday sale; however, I realized that they had raised their prices by 10% from the last time I checked.
Layout
Once I decided on a number of lights, I did some rough spacing concepts. Blue lines indicate the 3-lamp Bolt lights, each putting out 8550 lumens. Red lines indicate 4-lamp high bay Stingray lights, at 11,400 lumens each.
This means my woodshop area will have about 149 lumens per s.f.
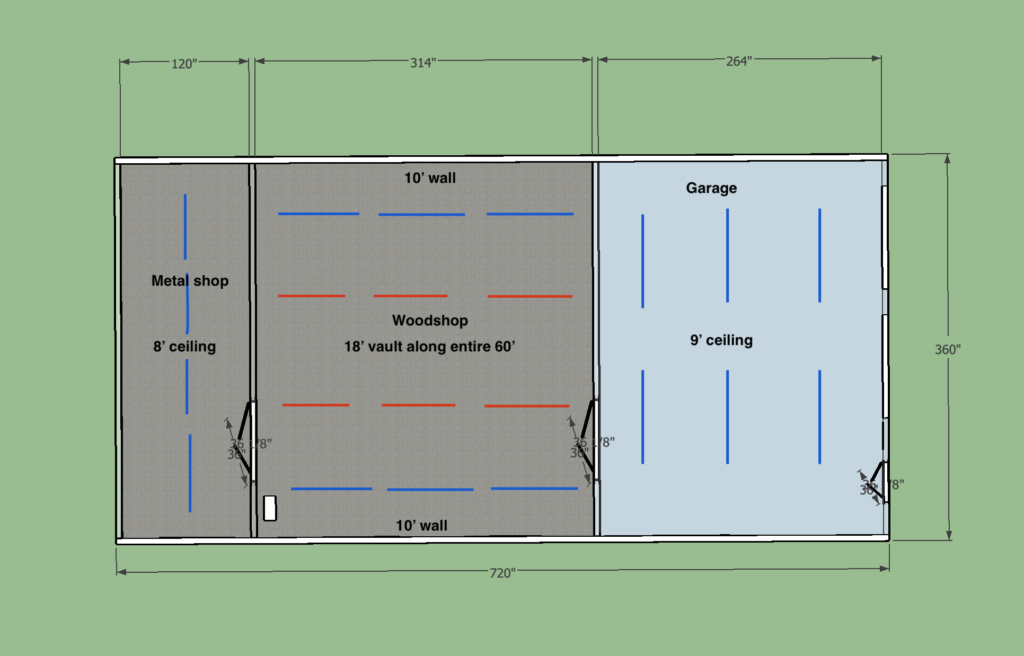
Originally I was going to split the lights on to two circuits so I could switch on only half at at time when I don’t need it to be too bright. However, I didn’t take the time to wire it up this way. Wiring started to become too expensive, and I didn’t think it’d really be necessary. I could always modify this if I later need to, but it’ll involve some drywall hacking.
My storage loft areas will also have a few lights…but I don’t think they are as important to worry about as the ceiling is pretty low. I’m going to put one 3-lamp Bolt above the metal shop, and two above the garage.
In total I ordered: 19 3-lamp Bolt lights and 6 4-lamp Stingray lights.
Hopefully I’m making the right decision! I’ll know once it is all in!
The next post in this series is all about how I wired the electrical for my shop.




[…] The next thing I had to do was to decide on a lighting arrangement. Check out the next post in this series: Workshop LED Lighting Design – Part 13 of the Truckee Garage Workshop. […]
[…] the ceiling painted I started to install the lights. I discussed my lighting plan in a prior post: designing workshop lighting. I was curious if what I designed would work out. I hung the lights from the ceiling and used a […]