Batman Joinery – Alder Wood Box – CNC Woodworking

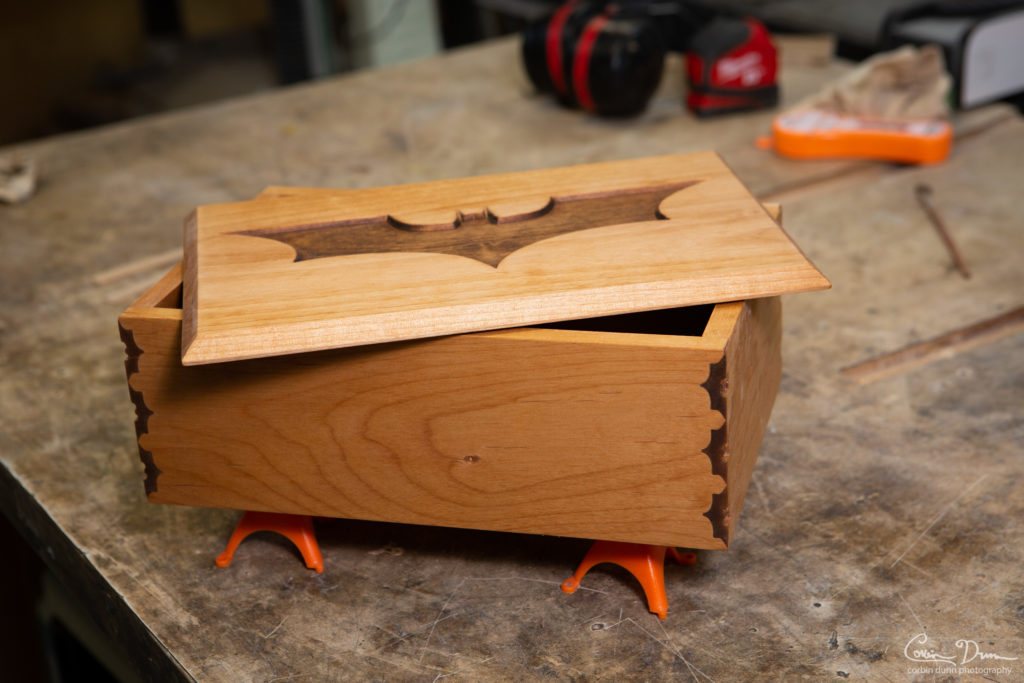
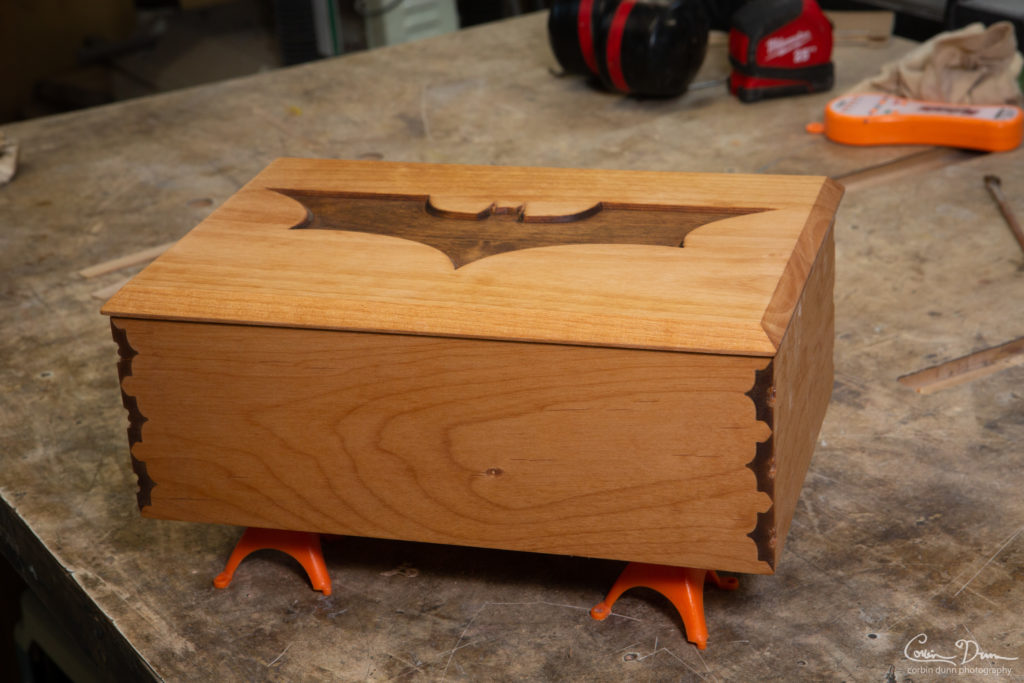
I’m really excited about this box! It started out as a way to create unique joinery. I was playing with basic shapes: circles, squares and such. Nothing was looking quite right, and then I had the epiphany to create a bat-shaped joint. And thus was born: the batman joinery box! A really fun project for cnc woodworking or cnc router work.
Check out the Batman Joinery build video on YouTube to see me make it.
Related post: Batman Joinery Box in Redwood
Downloads
- Batman Box 1b v21.f3d – Fusion 360 file with CAD and CAM
- Batman Box 1b v21.skp – Sketchup file exported from Fusion
- Batman Box 1b v21.stl – STL file exported from Fusion
- Batman Box 1b vcarve.crv – VCarve Pro file for engraving the top
- Batman Box Drawing v…pdf – Layout PDF
Bits & Tools Used
I machined this on my Tormach PCNC 1100; the machine is designed for metal, and the max speed is 5140 RPM, which is rather low for wood. My feeds and speeds are based on this max RPM; I would run different rates for a different machine. I really would love to get a dedicated wood router CNC machine!
- CNC Machine: Tormach PCNC 1100
- Roughing bit: 1/4″ spiral upcut bit
- 5140 RPM, 336 ft/min surface speed, 30 IPM cutting, 0.393 DOC
- Roughing bit, second pass: 1/8″ spiral downcut
- 5140 RPM, 168’/min surface speed, 30 IPM cutting
- Finishing bit: Tapered Ball Tip
- Note: buy this set to save some money
- 5140 RPM, 42’/min surface speed, 40 IPM cutting speed
- V-carve bit: 60 degree v-bit
- 5140 RPM …. see the vcarve file, as I forget the speeds
Materials
- Alder wood, 4/4 S3S, planed to 1/2″
- 1/4″ plywood for the bottom (1/8″ is also fine)
- Dark wood stain – although, any dark stain would work
- Wood conditioner – prevent’s blotching
- Oil finish
Build Notes
I carefully designed the joints so that I could use my tapered ball tip to do the finishing operation. The joints fit really well together; well enough that they hold together without any glue and have to be pounded apart with a mallet.
The sides needed to be held stable when machining, since they are machined vertically. I clamped a vice to my fixture plate, and then squished the piece between two pieces of plywood also clamped to the piece (as seen in the video). This provided additional support for the pieces.
After cutting the joints, I cut a 1/4″ groove in the bottom for the plywood bottom piece. I did it with two passes on the tablesaw using a 1/8″ kerf blade. The location was about 1/8″ up from the bottom, which missed the end joinery and allowed me to do a full pass.
I initially wanted to emboss the top with the bat logo, but the grain orientation kept letting the bat ears and bat tail break off. After two attempts I decided to just use V-carve Pro and do a traditional engraving at about 1/8″ deep.
In my version I cut the top oversize by 1/8″ on each side. I grooved the bottom edges with a dado set in my tablesaw to provide an indentation for the top to sit. The top of the top was chamfered with a 45 degree bit on the router table; I didn’t take the time to film this, and hopefully it is easy for people to figure out.
It is finished with Osmo oil; two coats.
Leave comments and questions on the YouTube video, or post them here!


[…] Alder wood with a satin oil finish (Osmo oil). CNC engraved bat logo on the top. Custom bat joinery. More details on my main blog. […]
[…] made a copy of my original alder batman joinery box and did it in reclaimed […]