DIY Kitchen Remodel Cost – How Much?
Last year I started the ultimate DIY kitchen remodel. I wanted it to be a high end kitchen built with quality materials. So many kitchens these days are made from cheap flimsy junk without any attention to detail. Even a lot of higher end kitchens tend to use pre-manufactured cabinets that are mass produced and lose some quality.
The big question: how much money does a DIY kitchen remodel cost? I’ve kept track and I want to share with you how much I spent on my kitchen remodel.
First of all, some things to consider:
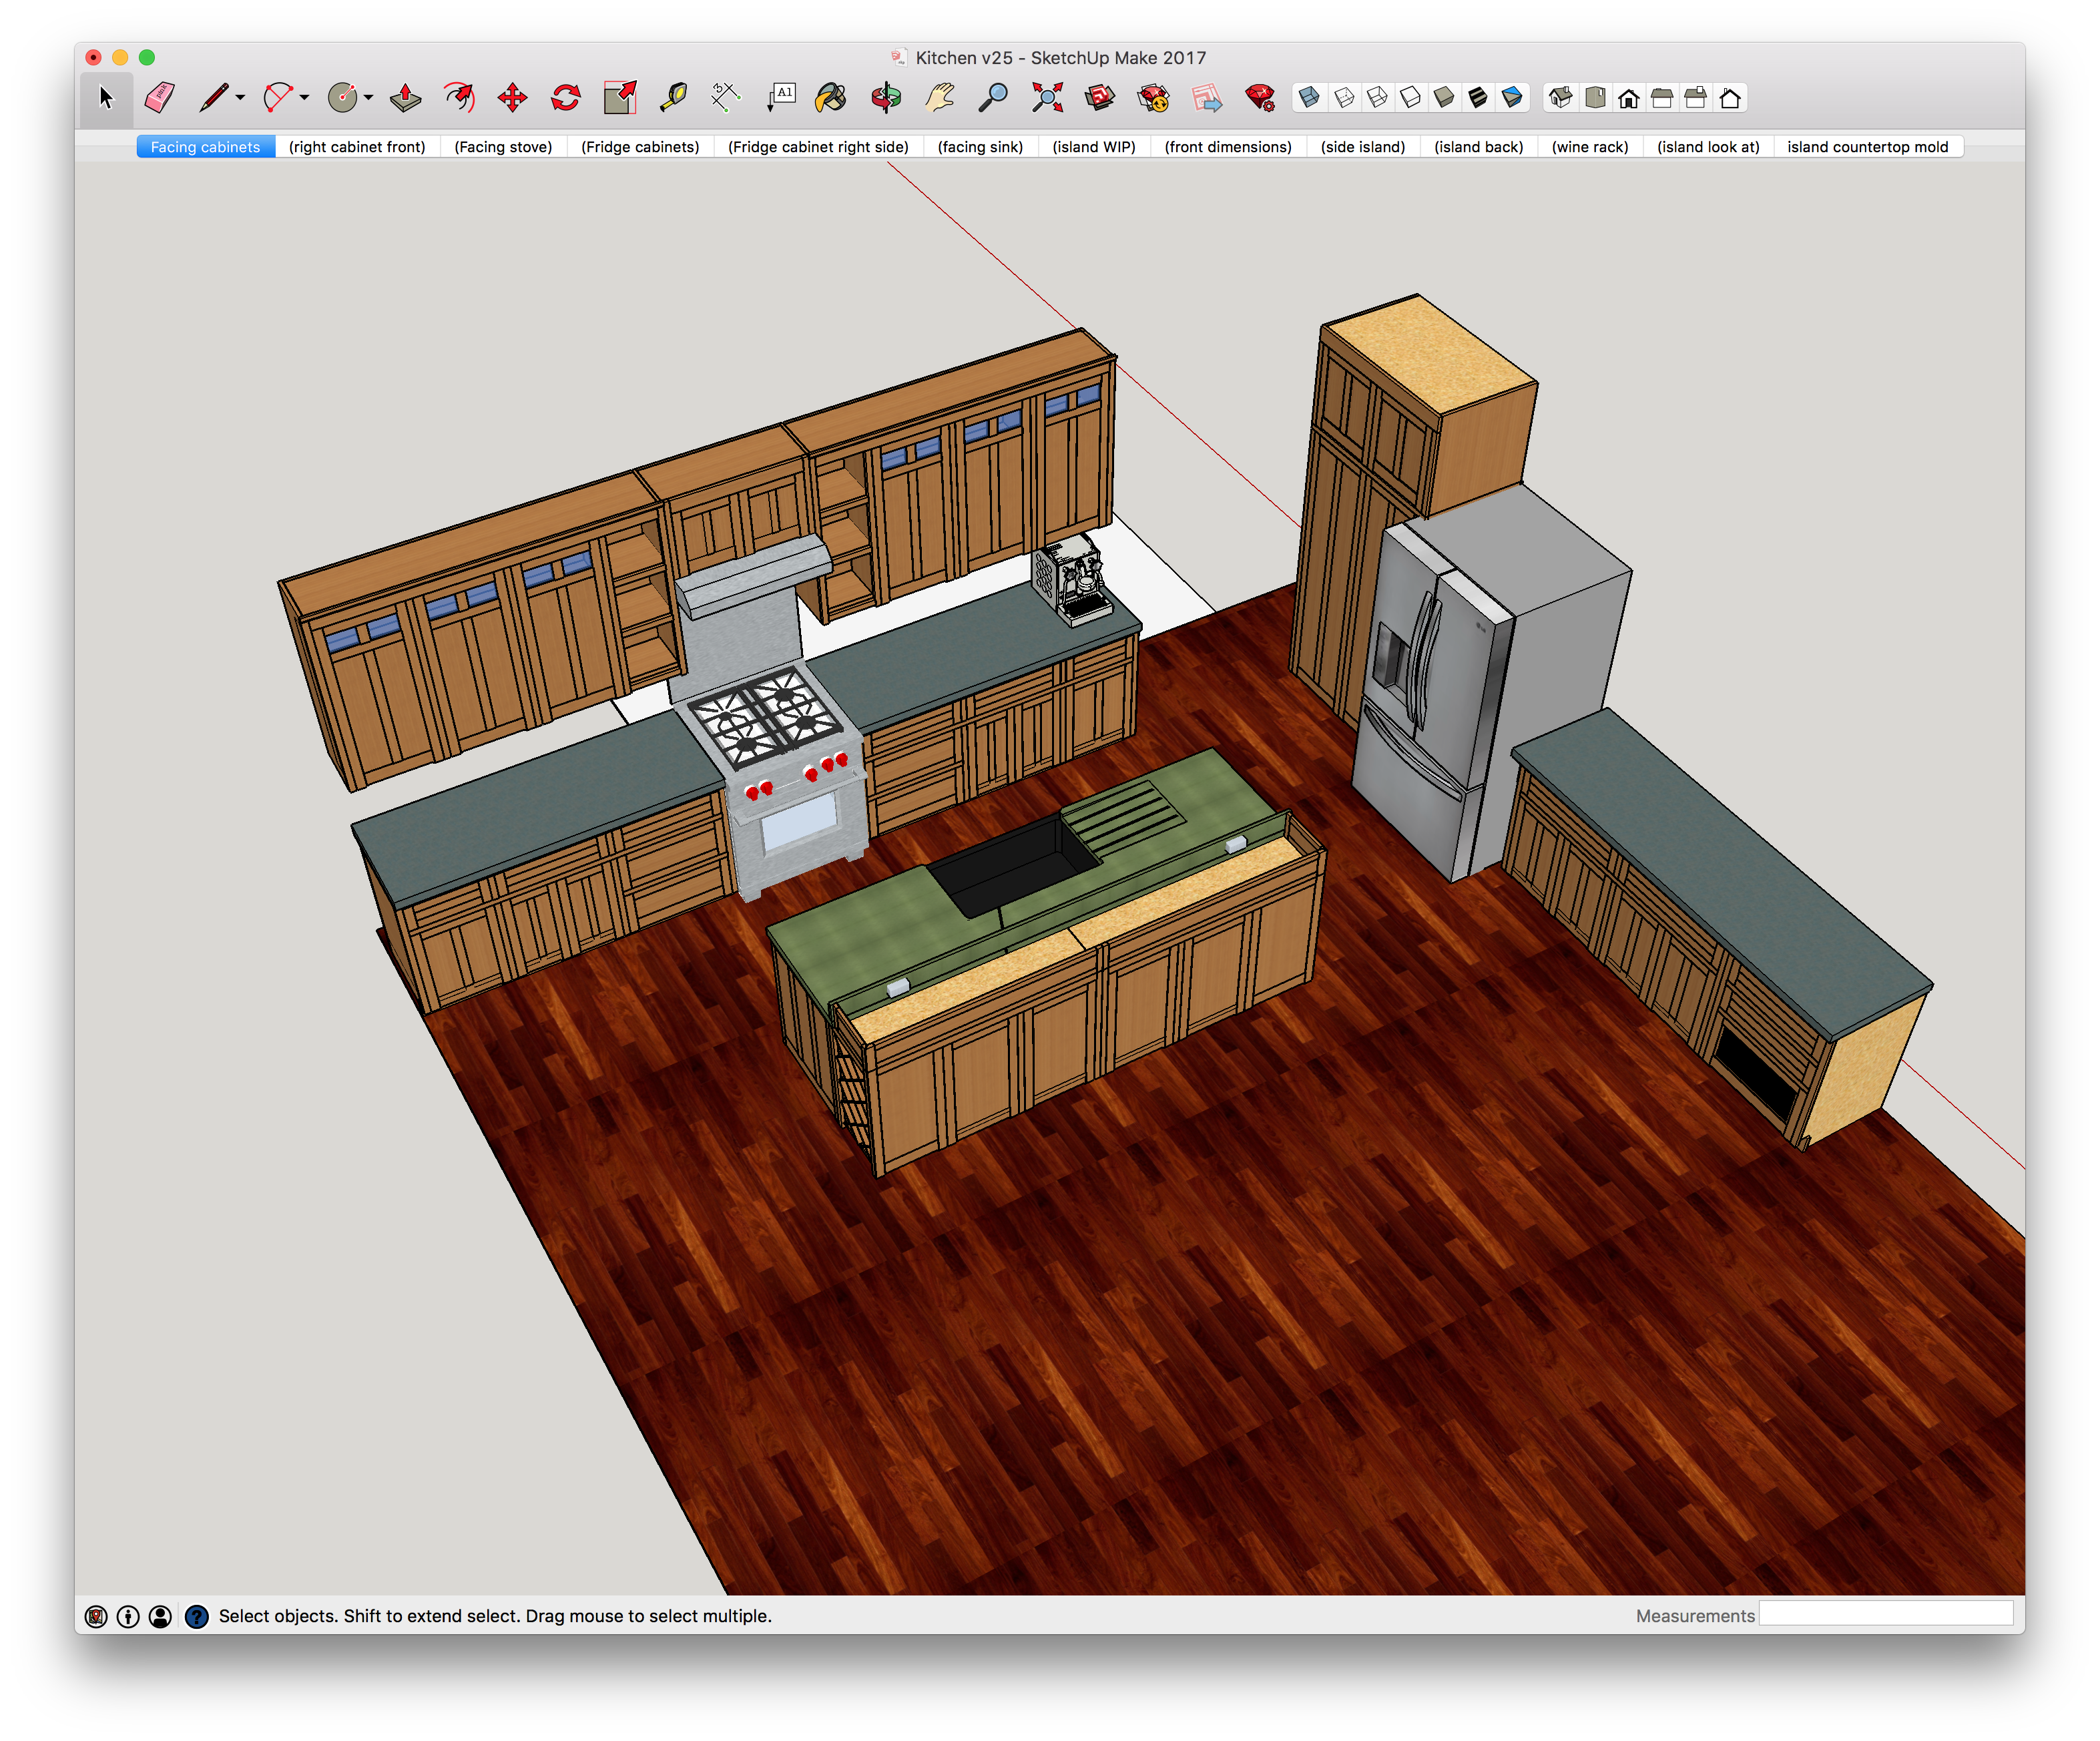
Size. My kitchen is pretty large, consisting of roughly three separate cabinet sections. There is the stove top section, with cabinets on both sides and the top. Then the island section, which is larger than typical islands and consists of a bar top. Finally, there is the fridge section, which has a large pantry and more cabinets on the side. As a reminder, you can download my SketchUp model from this first post on the kitchen remodel.
Quality. I used some of the best select alder wood for my cabinets. The plywood sheet goods were mostly A-grade sheets, with a few B-grade sheets through in and some cheap Home Depot plywood for certain parts that no one will ever see. (I called these “cheap plywood” in my model). I also utilized 3/4” plywood through most places, including the back of the cabinets. 1/2” would probably have been adequate, but I wanted more strength. If I were to do it again, I probably would use 1/2” sheets — and I’m actually doing this now for the pantry so I can save a few dollars. I also used the highest quality drawer and door hardware (blum soft close hinges and drawer runners), and those added up to quite a bit.
Labor. I did all the labor myself. I spent a lot of time on this kitchen, and I’m not done! Labor is quite expensive, and will add up if you end up paying someone else to do some of the work.
Appliances. Literally half the cost of my kitchen is in three things: the Wolf stove, the granite sink, and the dishwasher. One could easily cut the cost in half of a kitchen remodel by re-using what they have for appliances or buying something cheaper than what I used.
Gas, Electric and Water. I swapped the original location of my sink and stove. This meant re-doing some plumbing under my house. Our previous stovetop was electric, and we wanted gas, so I had to run a gas line over to the new stove location. This wasn’t too hard to do, as my gas water heater wasn’t far away, but it ended up costing me a bit of money to do this. You could save some money by designing a kitchen without moving appliance locations, and keeping the same style appliances (ie: if you have an electric stove top, keep it electric. We just really wanted a gas stovetop!). We also swapped out a small sub panel with a larger one so I could run more circuits. This involved running some higher gauge wiring to it, which was quite pricey.
Cabinets
- Wood: $3,726.78
- Finish: $826.30
- Hardware: $1,066.31
- Total: $5619.39
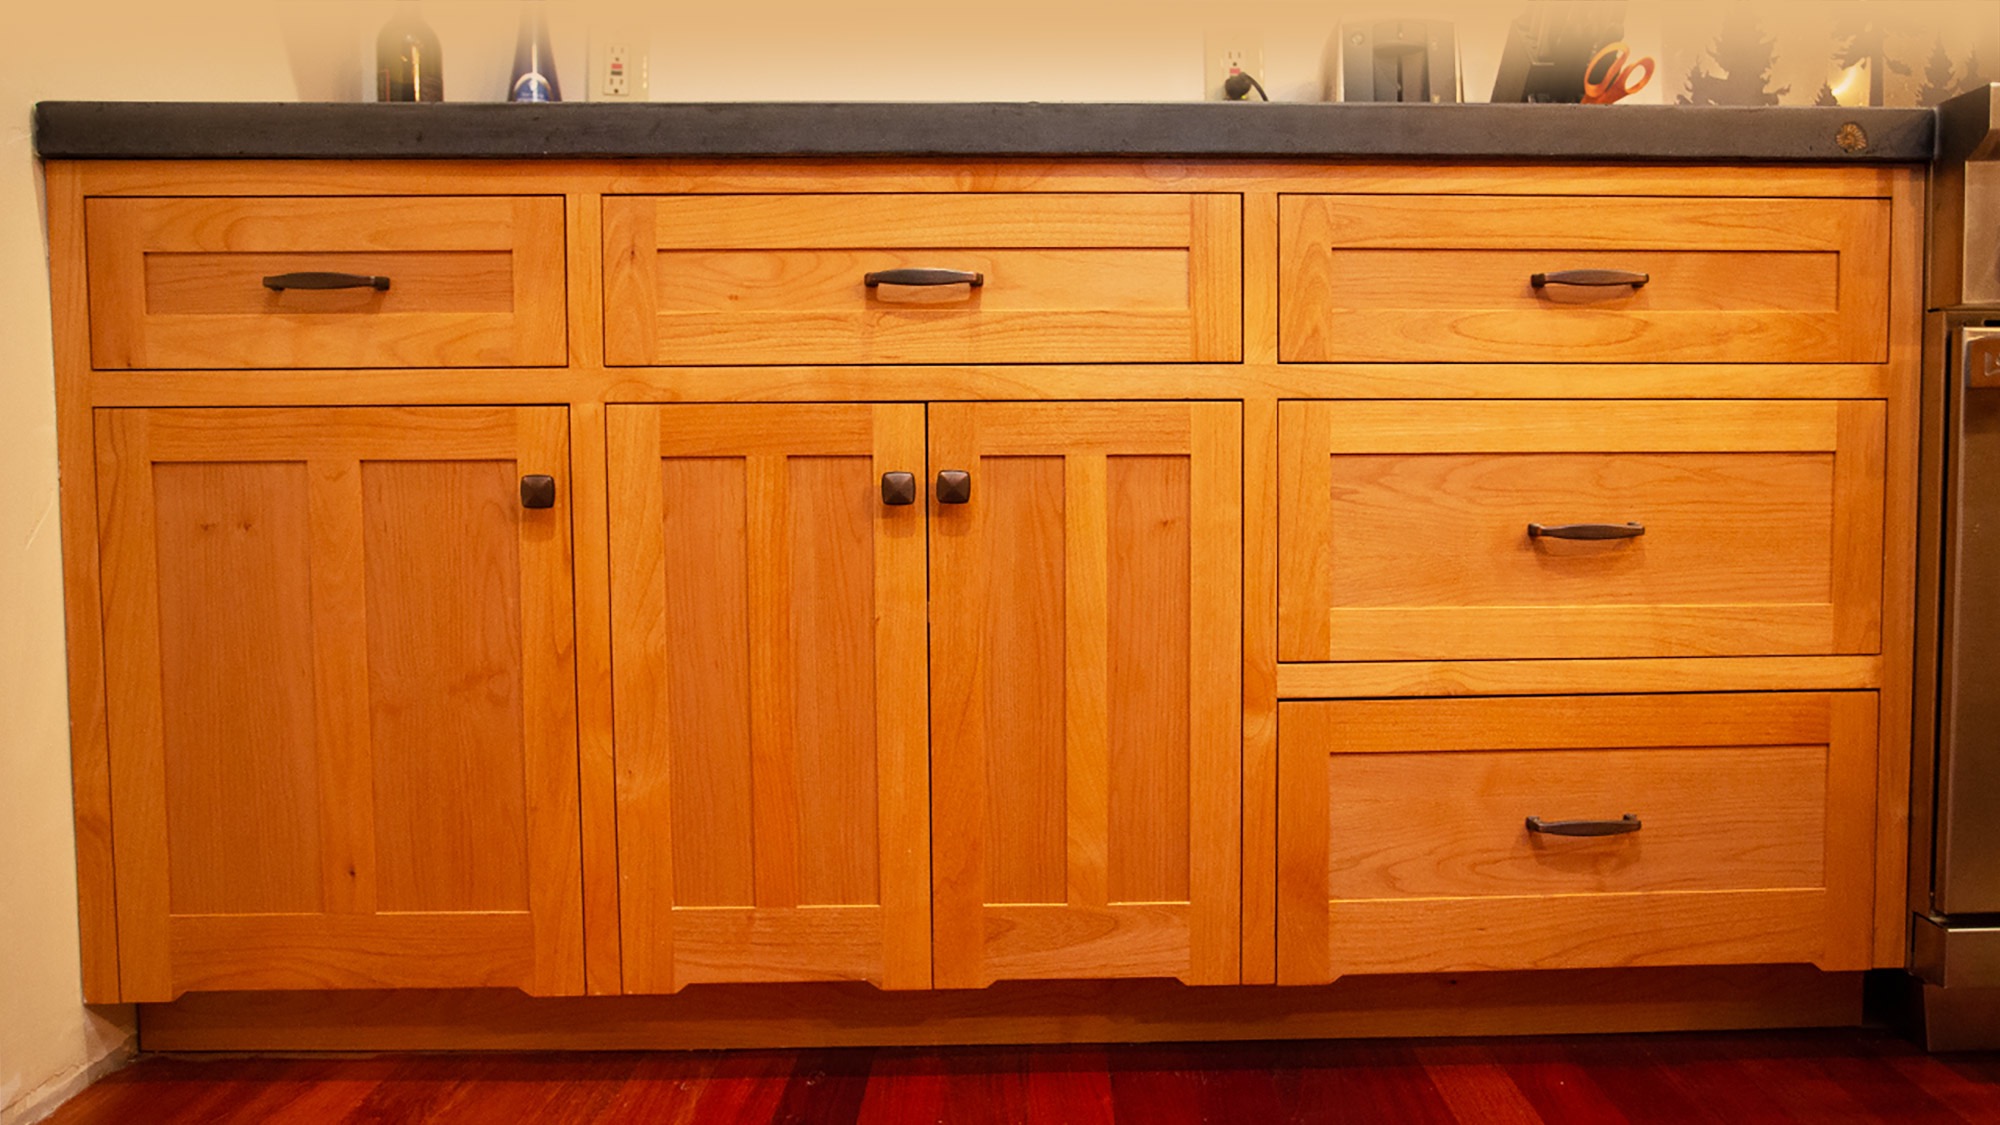
I spent over $5k for just building the cabinets! It would have been pretty easy to drop this a bit lower by using 1/2” plywood for the back sheets, and using some cheaper hardware. I purchased the majority of my wood from Moore Newton in San Leandro, CA. I created an account with them and registered as a woodworker, hoping to get better rates. The place is about an hour away from where I live, so I probably used about 6 gallons of gas for my diesel truck to make the trips, and I didn’t include that in the costs. I have found that Moore Newton has better prices and better selection than some other closer places, such as Aura Hardwoods in San Jose. However, it is sometimes a toss up depending on the wood I’m buying, as sometimes Aura had better prices on certain sheet goods.
For my finishing recipe, check out this post on finishing kitchen cabinets. I purchased all my finish from Target Coatings. I prefer water based finishes for safety, ease of use, easier cleanup and environmental reasons. I ended up buying a 5 gallon bucket of the EM6000 lacquer, and that probably saved a bit of money, but I am pretty sure I have used at least 10 gallons total for the entire project. I wish I would have bought two 5 gallon buckets to start with, and bought some of the WB shellac in the bucket quantity to save some money. However, it sucks to buy too much and have it go bad, so it is better to err on the “less needed” side of stuff. I also bought the gel stain I used from Lowes in San Jose; it was cheaper to buy it in person than to get it anywhere else and incur shipping costs.
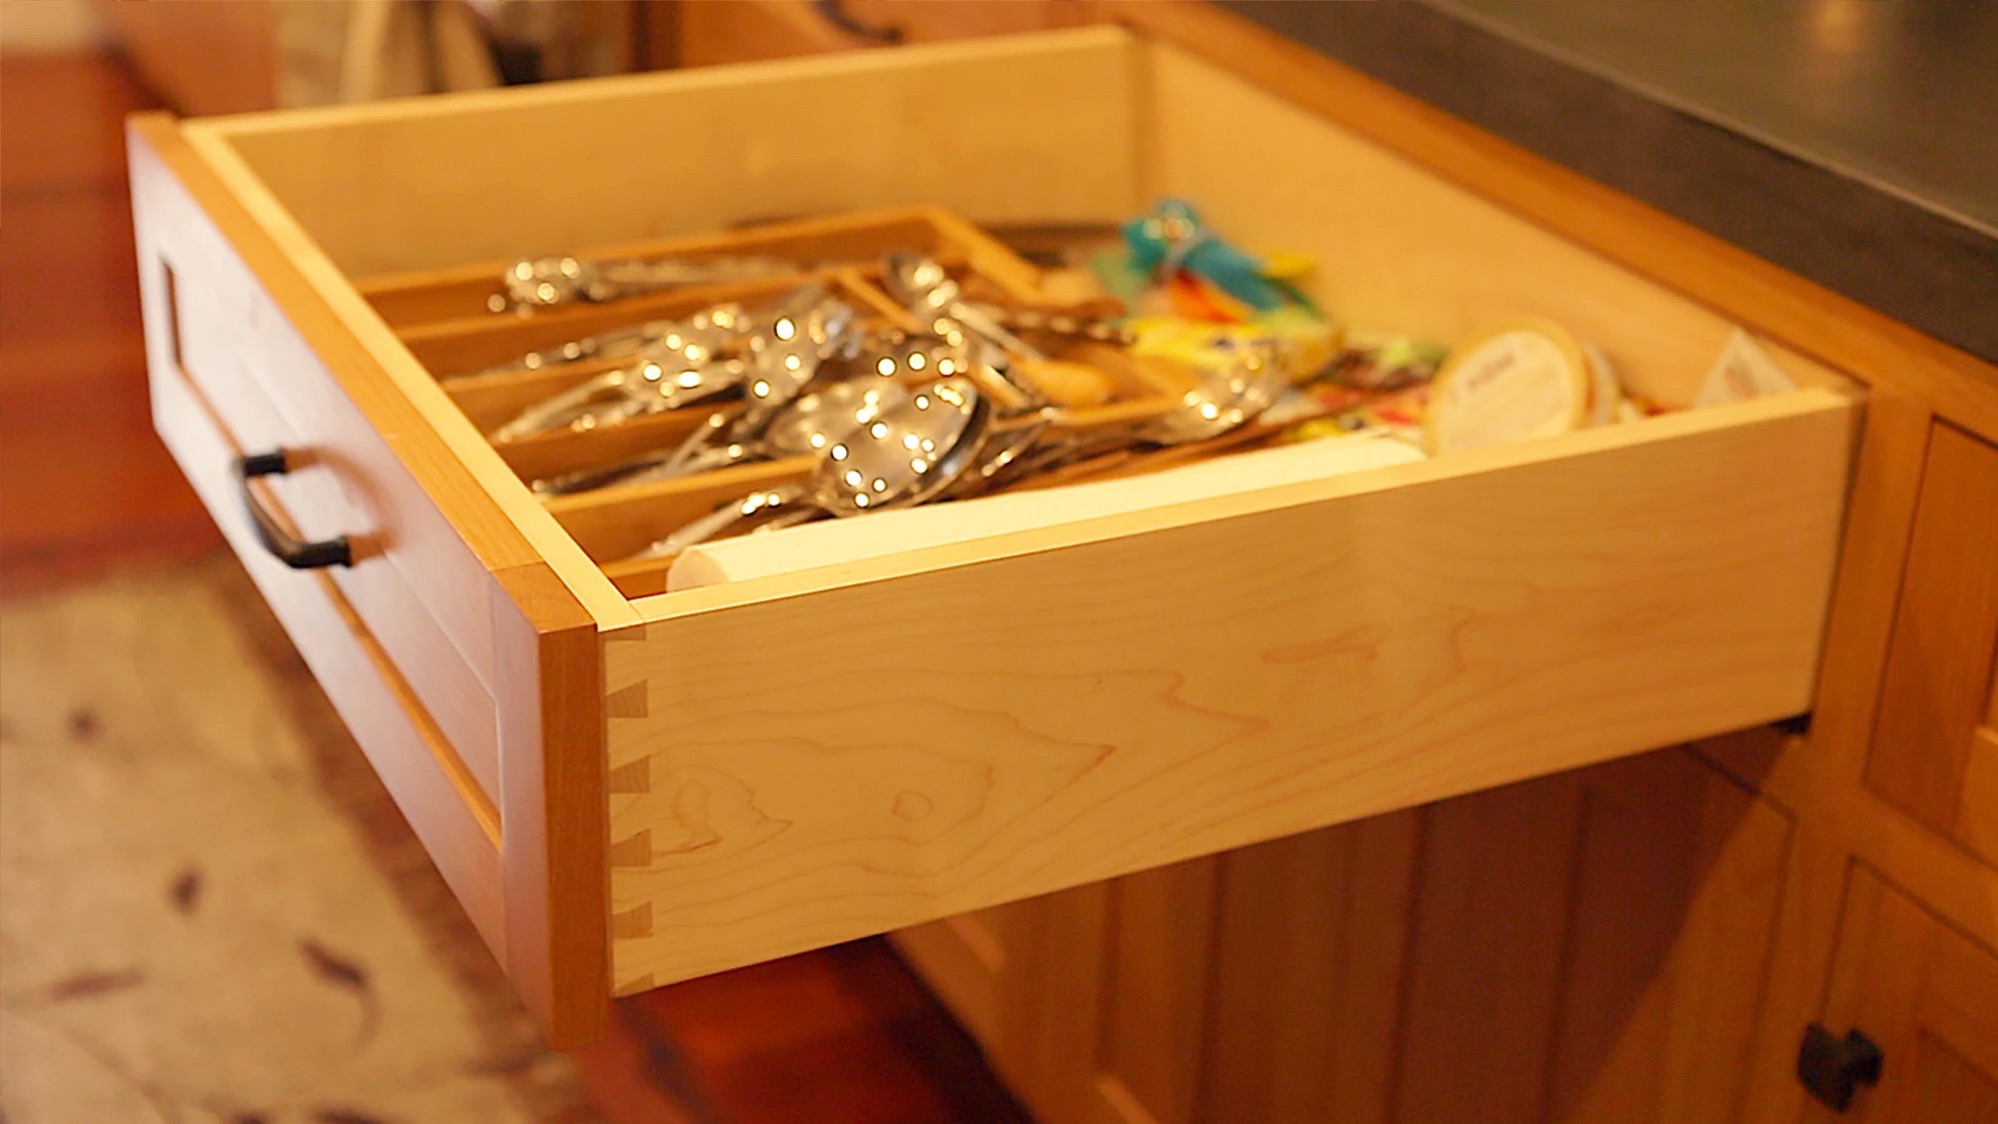
Another place to save money is on the drawers. I use 1/2” thick plywood bottom sheets for the drawers, whereas 1/4” is more common. These drawers are so solid that you could stand up in them!
The drawer slides and door hinges are all Blum Blueotion soft close (ie: Blum Tandem with Blumotion). I shopped around quite a bit for them, and AH Turf has always had the best prices. They were way cheaper than anything else, and had pretty quick shipping. I ended up buying some extra hardware I didn’t need; I originally planned a small set of upper cabinets above my fridge side, but ended up not building them. Included in the hardware price is also my drawer pulls and knobs; they were about $100-$120, purchased from build.com. Other retailers have similar style hardware, but it easily would cost twice as much. I found some super-cheap hardware to be pretty crappy, but the stuff I got from build.com was pretty decent.
Concrete Countertops
- Concrete: $1,543.40
- Mold materials: $153.33
- Total: $1,696.81
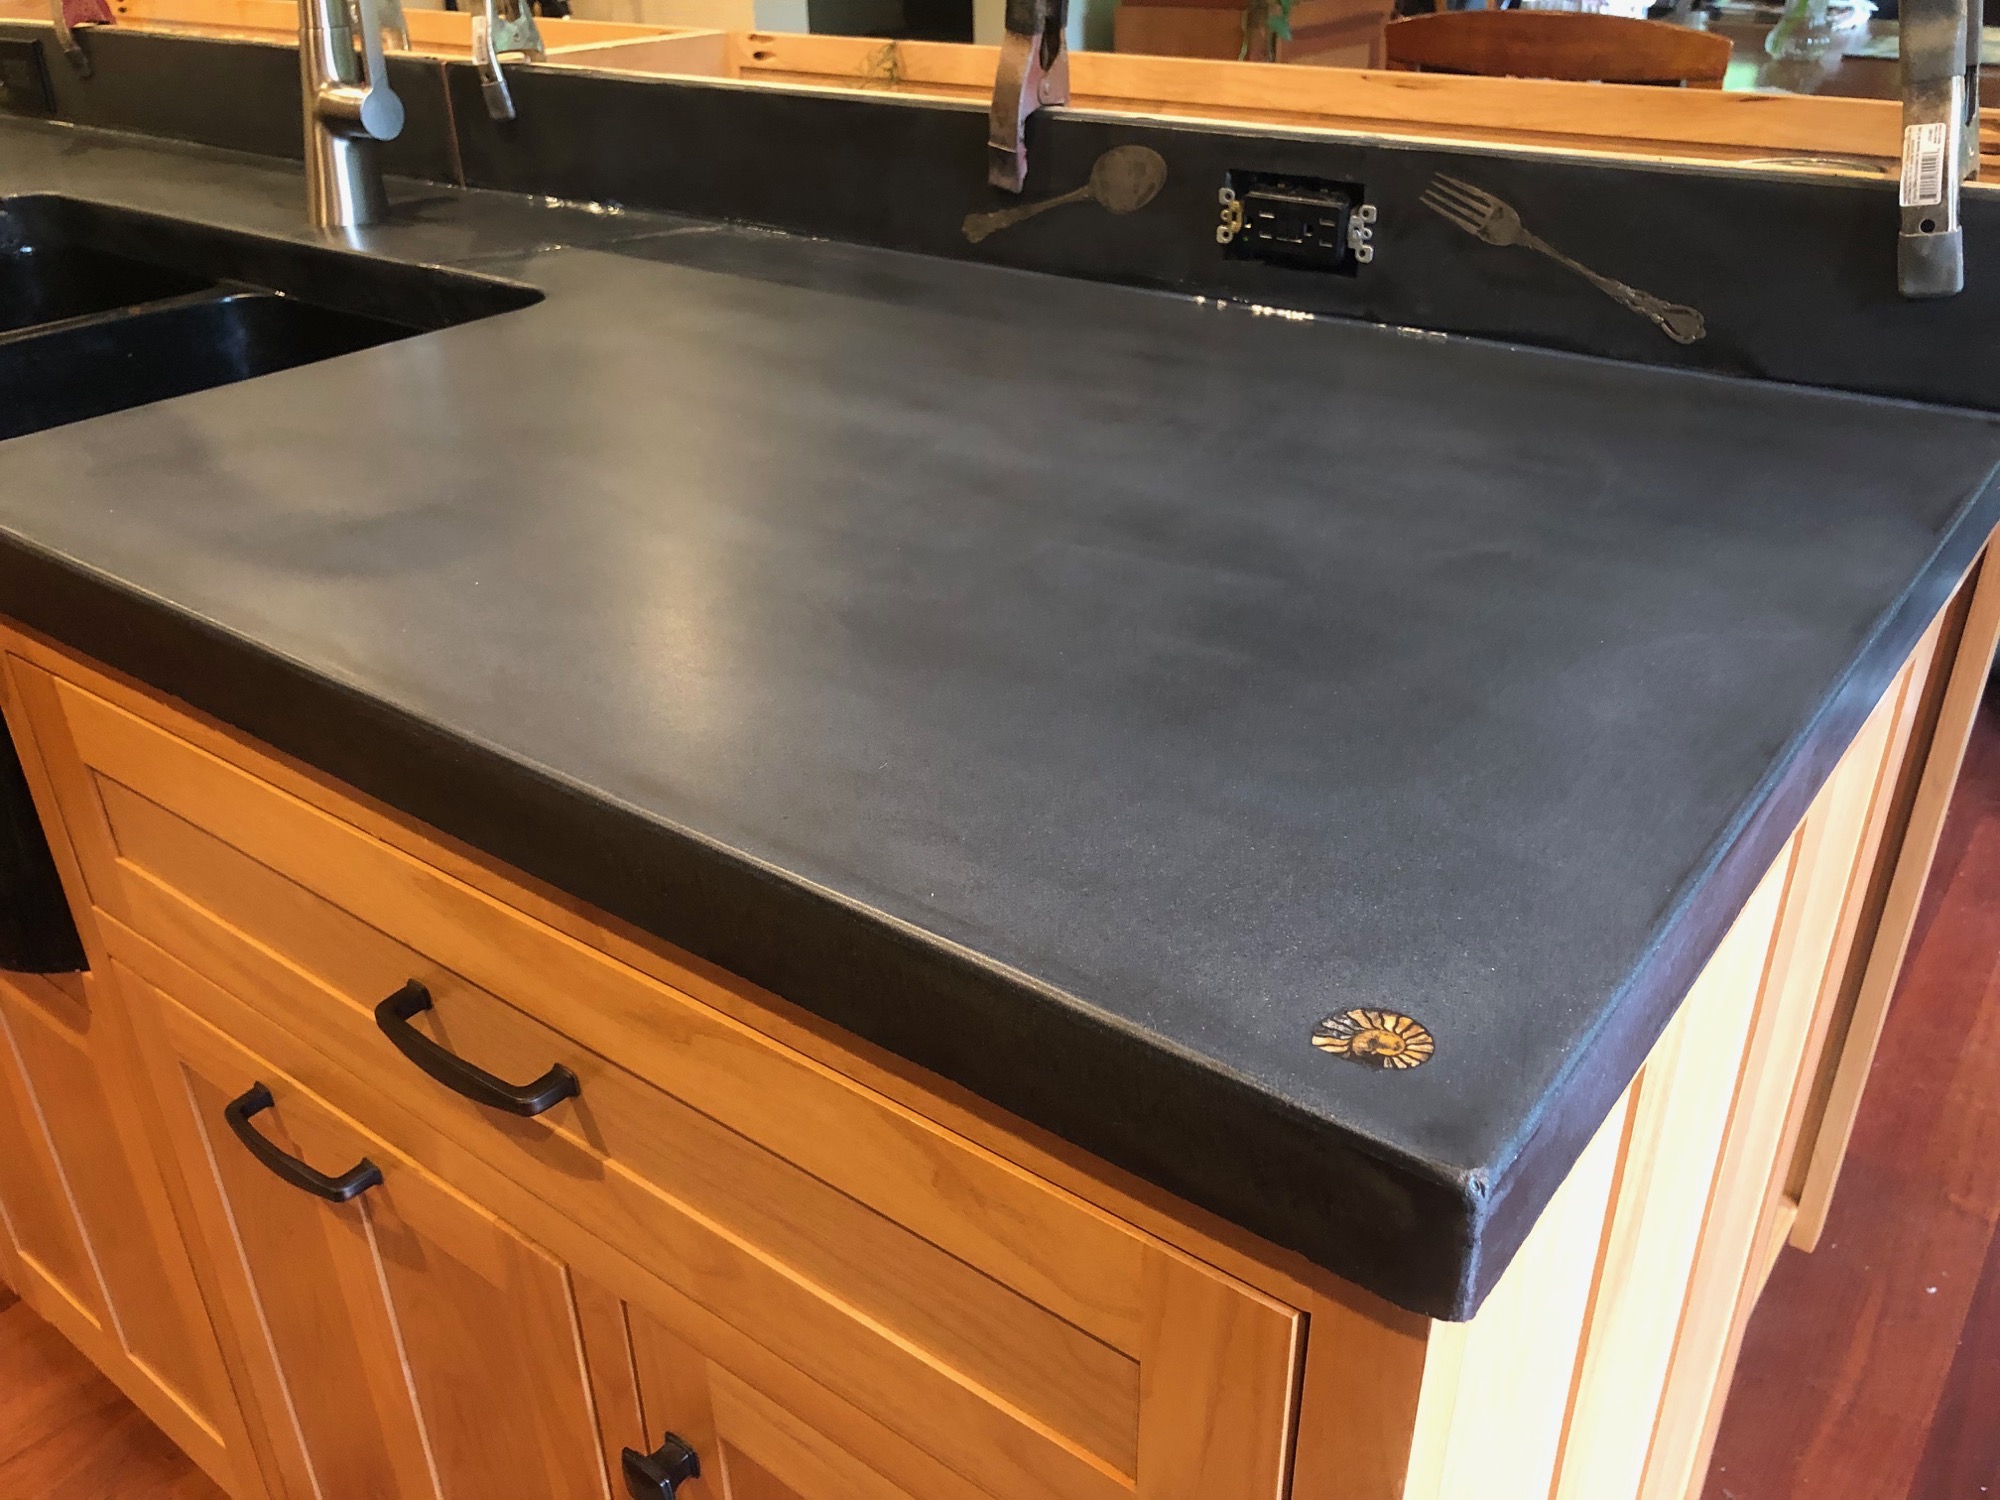
Episode 10 of my DIY Kitchen Cabinet Series went into some detail about what I used for the countertops. I purchased D-FRC concrete from the Concrete Exchange in the bay area (Concord). I avoided paying for shipping by driving there myself and picking it up. They do have affordable freight shipping, but it is still cheaper for me to pick it up in my EV. D-FRC concrete is expensive! It requires a special additive liquid to make it set right. One could easily half or quarter the cost of the countertops by going with traditional Secrete 2000 concrete from Home Depot and adding the color additives. However, I didn’t want the look of secrete where the aggregate shows through, and instead I wanted a very smooth countertop.
I also made my island countertop twice! The first one I didn’t like, and we re-did it. However, I still have one more portion of my countertops not yet done, so I’m estimating the cost to be pretty accurate for the overall cost of the project for someone trying to replicate what I did. Well, for me, I’ll have to consider an additional $400 loss, but that was simply because I didn’t like the color and aggregate in our first brown countertop.
Sink, Faucet, Plumbing
- Sink: $1327.00
- Faucet: $217.95
- Plumbing (gas and water): $622.32
- Total: $2167.26

We wanted a granite farmhouse style sink, and it cost a pretty penny! We purchased the 33″ Polished Granite Offset Double-Bowl Farmhouse sink from Signature Hardware. It looks like this same sink is now $1749 with the drain! One could easily save a ton of money by reusing their existing sink or purchasing something else.
The faucet is a Kraus KPF-1673; we got it from Build.com but now I see it on Amazon for $176. I have bought cheap faucets before, and they quickly wear out. I think it is important to buy a good faucet, and have it last a long time.
Our remodel involved swapping the original location of the stove with the sink (and vice-versa). This involved a bit of plumbing work, and running gas to the stove from our water heater. I spent a few hundred dollars at Home Depot for the miscellaneous stuff related to this. We mainly swapped the location so we could have a proper vent hood over the stove. It would have been hard to vent from the island, and downdraft options were more expensive and didn’t seem as functional.
Appliances
- Wolf Stove: $6,660.82
- Range hood vent: $211.32
- Bosch Dishwasher: $931.94
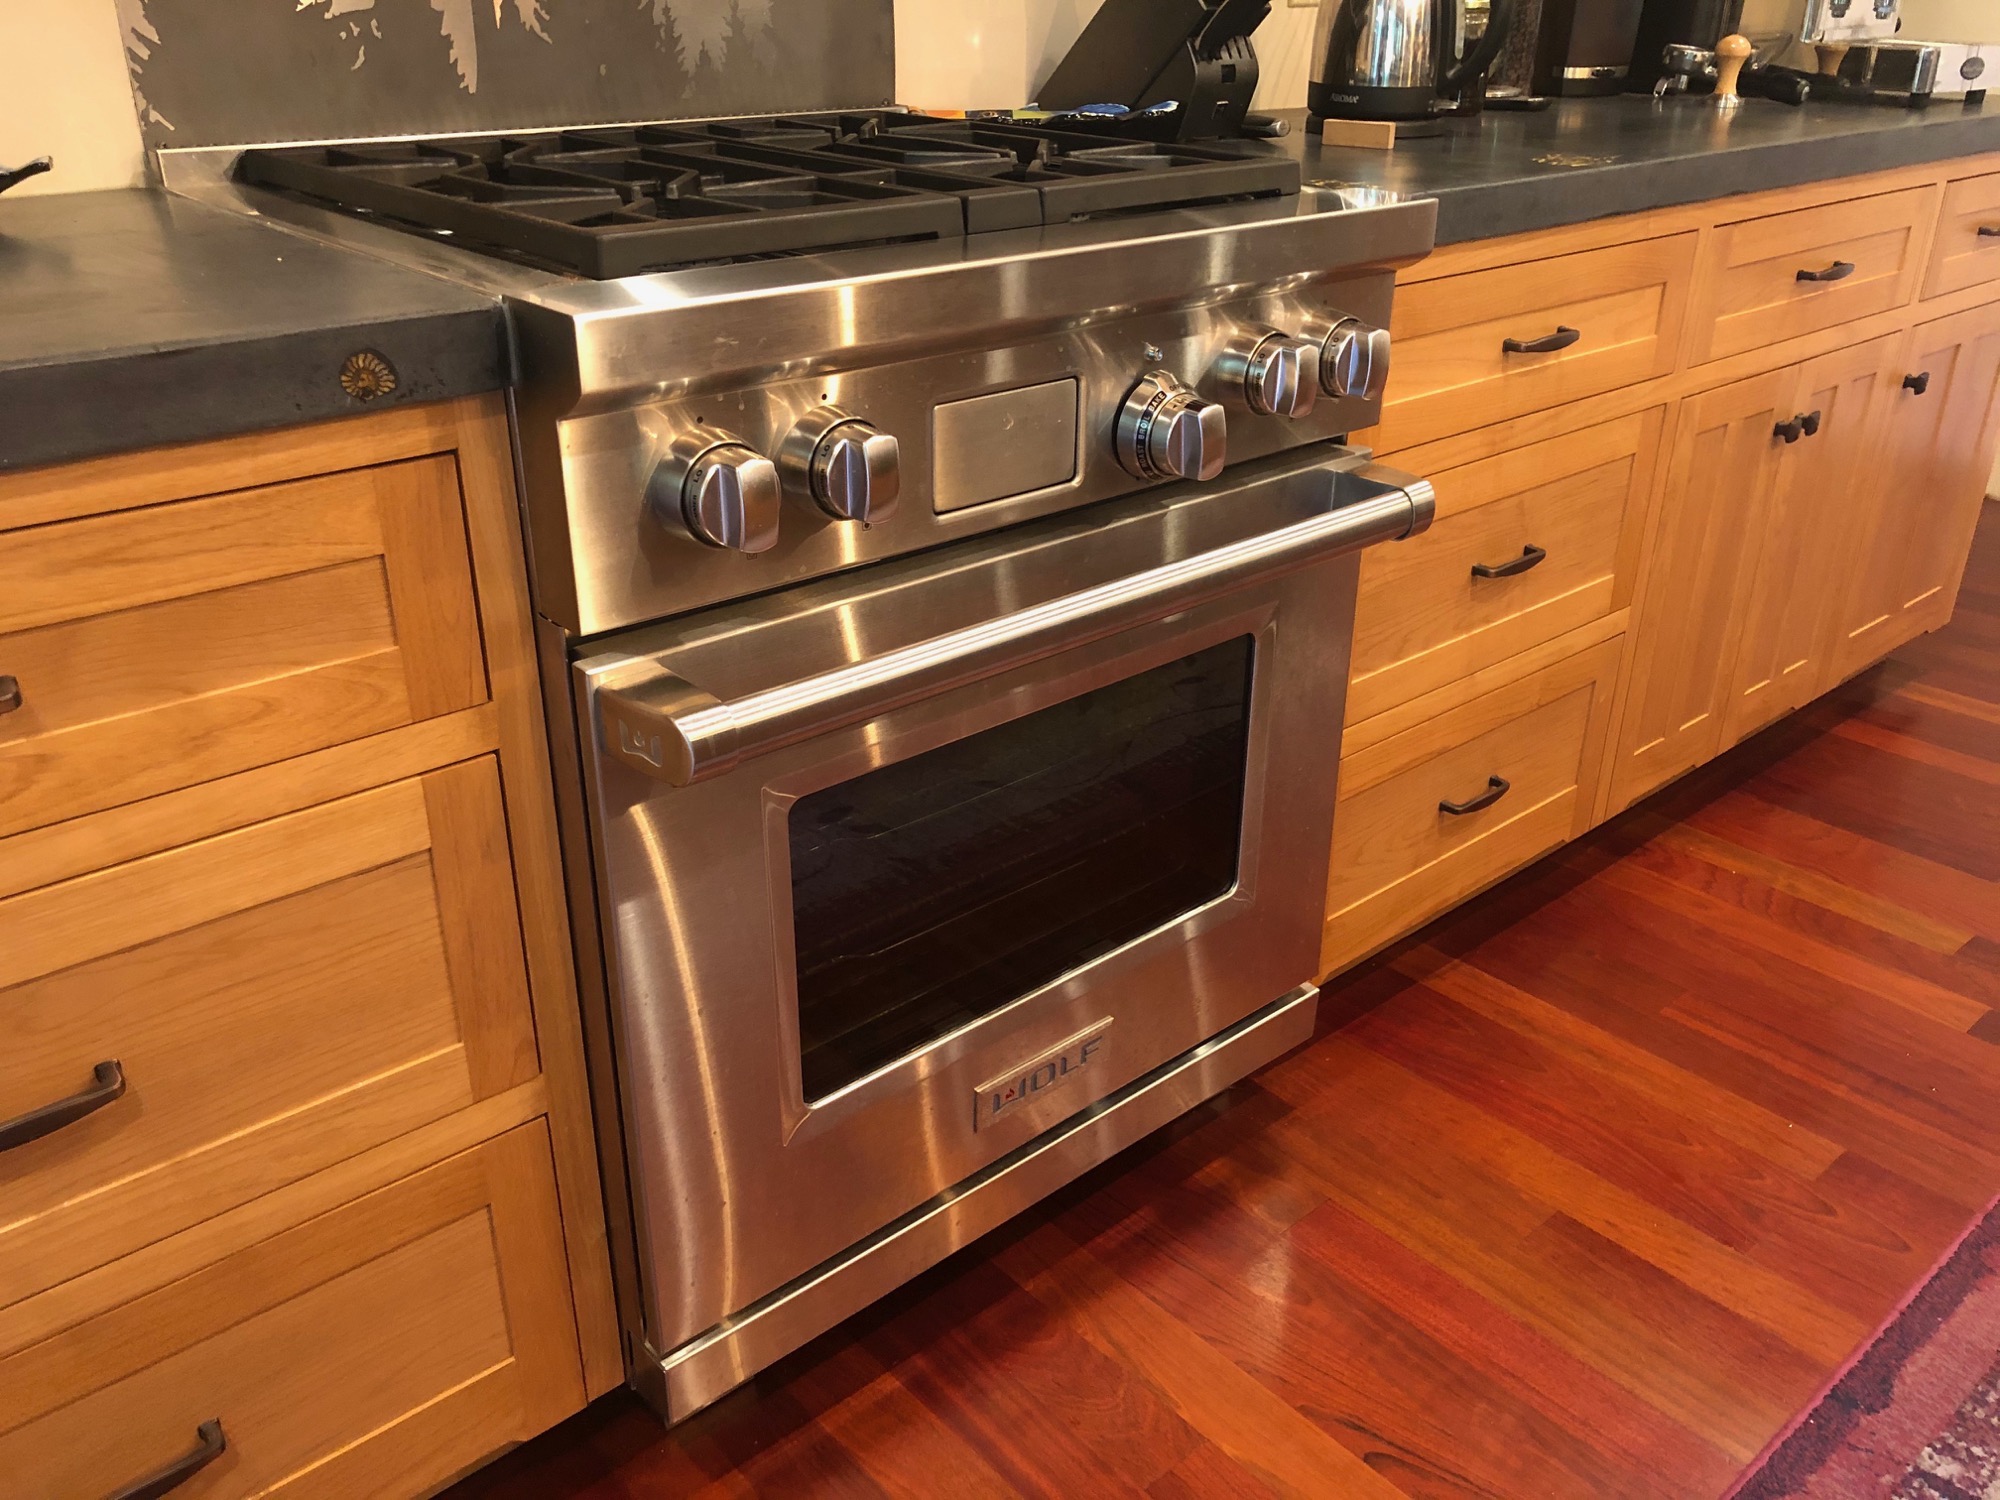
As I mentioned before, half my kitchen remodel cost is in the appliances and granite sink! We love to cook and wanted a high quality stove. Our existing cooktop was a very old electric Jen-Air stove top; it looked straight out of the 70’s. The ovens (yes two) were detached. We never used the second oven, and it was a large waste of space. The main decision we had to make was Wolf or Viking. Lexi found out that Wolf stoves had less issues, so we went with them. We wanted gas on the top, but an electric oven. Electric ovens are much more consistent for baking, and can cook a lot faster with convection.
Wolf stoves are expensive. Ours is one of the smallest, at 30” wide and four burners on top, but it still cost $6,660. Wolf only sells through a redistribution network, so we had to buy it at our local dealer in Santa Cruz called Built-In Distributers. I found it at a better price elsewhere, but places wouldn’t ship it out of state. In hindsight, I should have shopped around at some San Jose stores, and could have placed bids against each other to try to get a better deal.
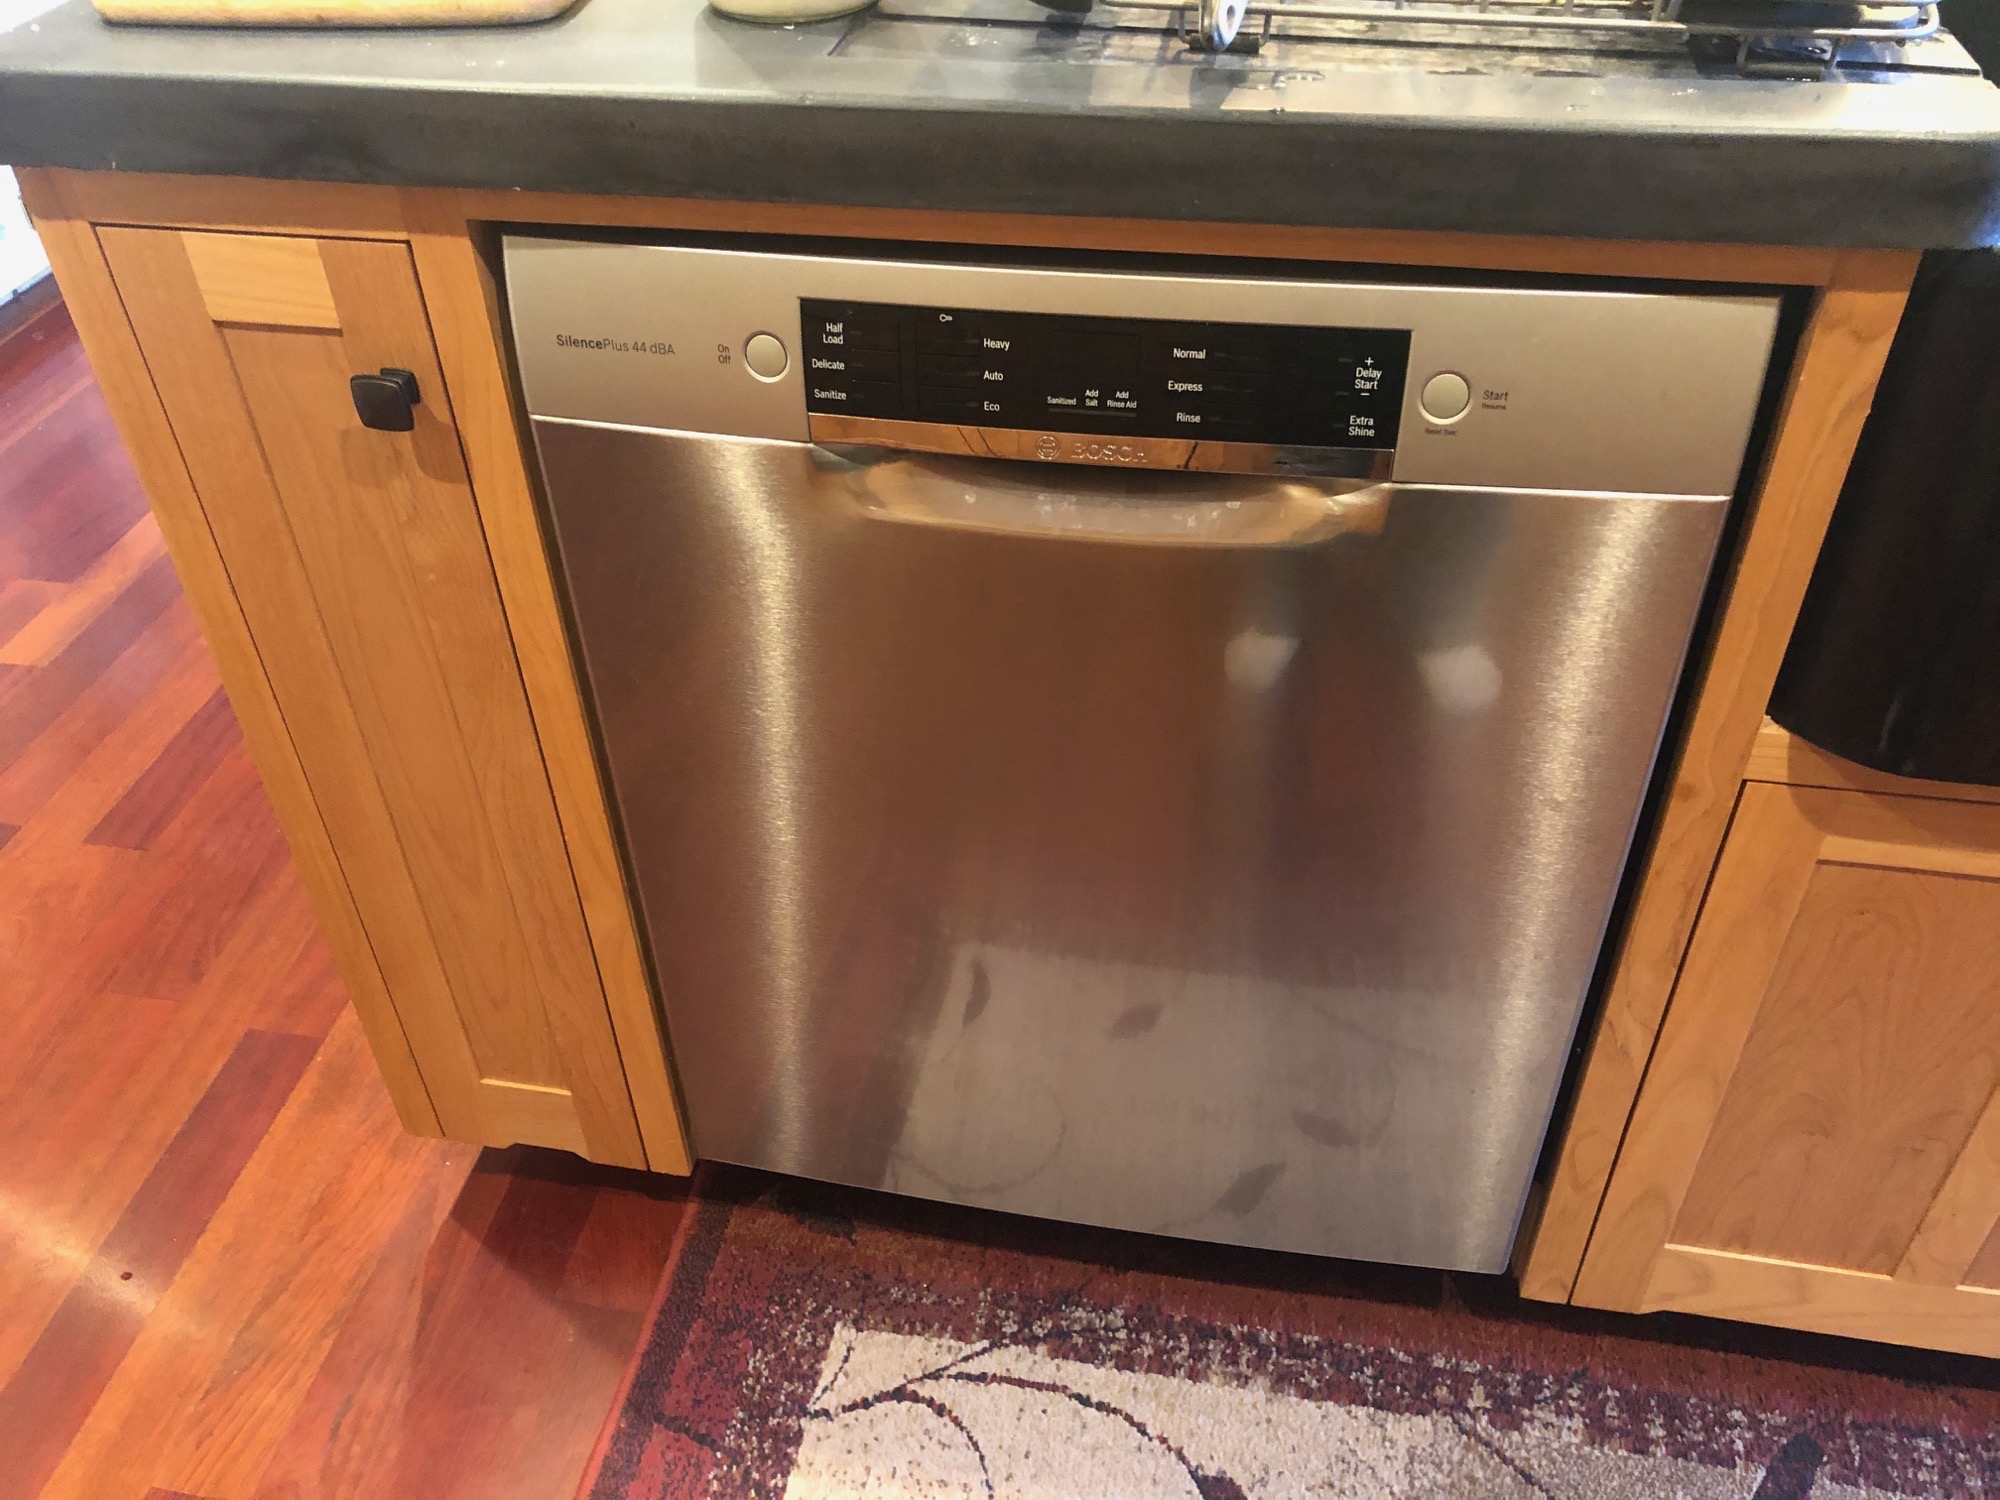
We originally were going to keep our existing dishwasher. I lowered the height of our countertops a bit because Lexi and I are short. The concrete is 1.5” thick, and that it is a full 1.5” — most countertops are 3/4” thick with a facade at the front that makes them appear thicker. This means the actual cabinet height is pretty short, but I designed it in my model for the dishwasher to fit perfectly based on the specifications. In reality it didn’t want to fit. We could have removed the plywood and top wood piece above it and floated the concrete on top of it to make it all work out, but I wanted the additional strength of having a 3/4” sheet of plywood above it. This meant finding a dishwasher that would fit in the hole we had. There are ADA compliant dishwashers that are a bit smaller than traditional dishwashers for this very reason (accessibility height). We went with a Bosch dishwasher that fit into the hole, and had a ton of room to spare. We like certain things about the dishwasher: it is super quiet, and the third drawer on top dedicated to dish-ware is awesome! However, it is quite a bit smaller than our previous dishwasher, and we end up running it a lot more often. It is also difficult to load; for some reason it is hard to get dishes to sit right in it. Still, we are pretty happy with it overall. We got it from Best Buy, mainly because we wanted something that could arrive fast.
Paint, Lights, and Misc
- Paint: $175.27
- Lights: $848.46
- Misc: $456.81
- Total: $1480.54
I removed the terrible florescent lights from our ceiling and installed a bunch of round inset lights. This involved some drywall work and paint. I also did some cool pendant lights over our bar top (note: the bar top isn’t yet made!).
There were lots of other little things I bought along the way, but didn’t categorize well, or I just lumped together Home Depot receipts into the “misc” category. One example is wiring and a new electrical sub panel to replace one that was too small.
Total
So, how much in total? I’ve spent about $19,000. My spreadsheet total is $18755.62, but I’m sure I’ve forgotten to add a few things and I also included a few things I returned. I think this is a bargain for the quality of the kitchen that we have. Hiring a typical contractor would have cost us at least $40,000, and a custom cabinet maker would probably add another $10-20k on top of that. Always, I hope this helps some people with their estimates for doing their own kitchen cabinets. For what is worth, my rough budget was $20,000.


