Utility Sink & Concrete Counter Top
This is an older project, but I’m going to document a few details and share the SketchUp file so other people can repeat it. I needed a small utility sink to replace a cheap plastic one.
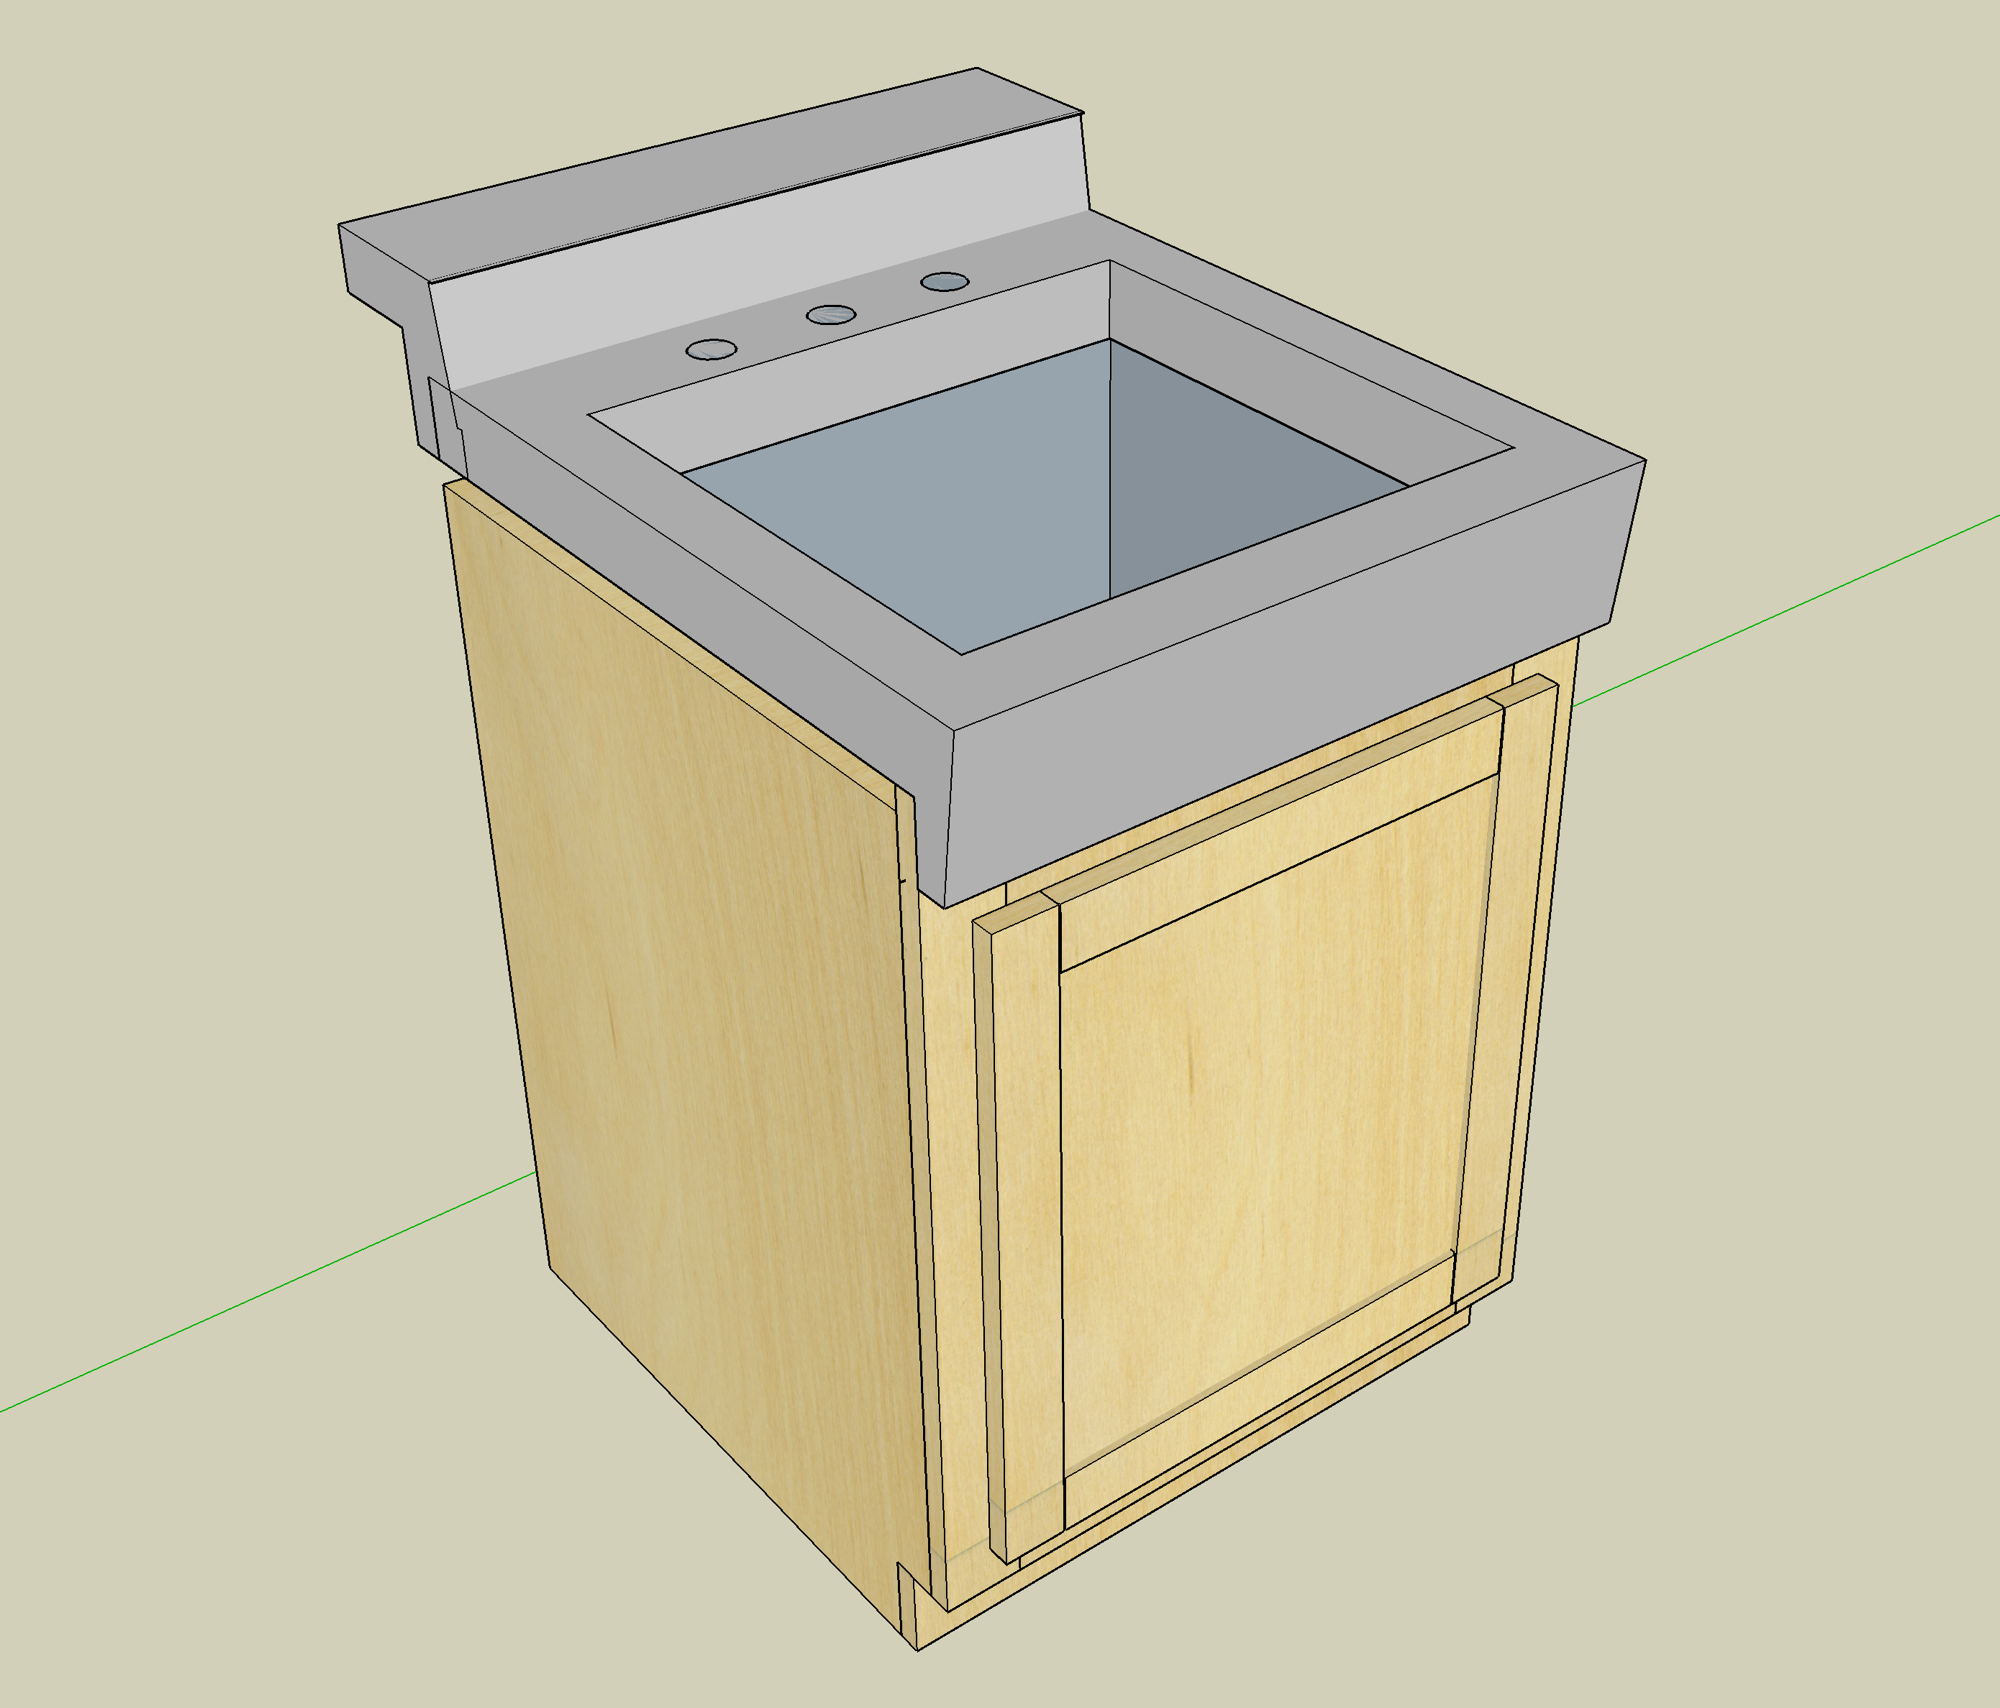
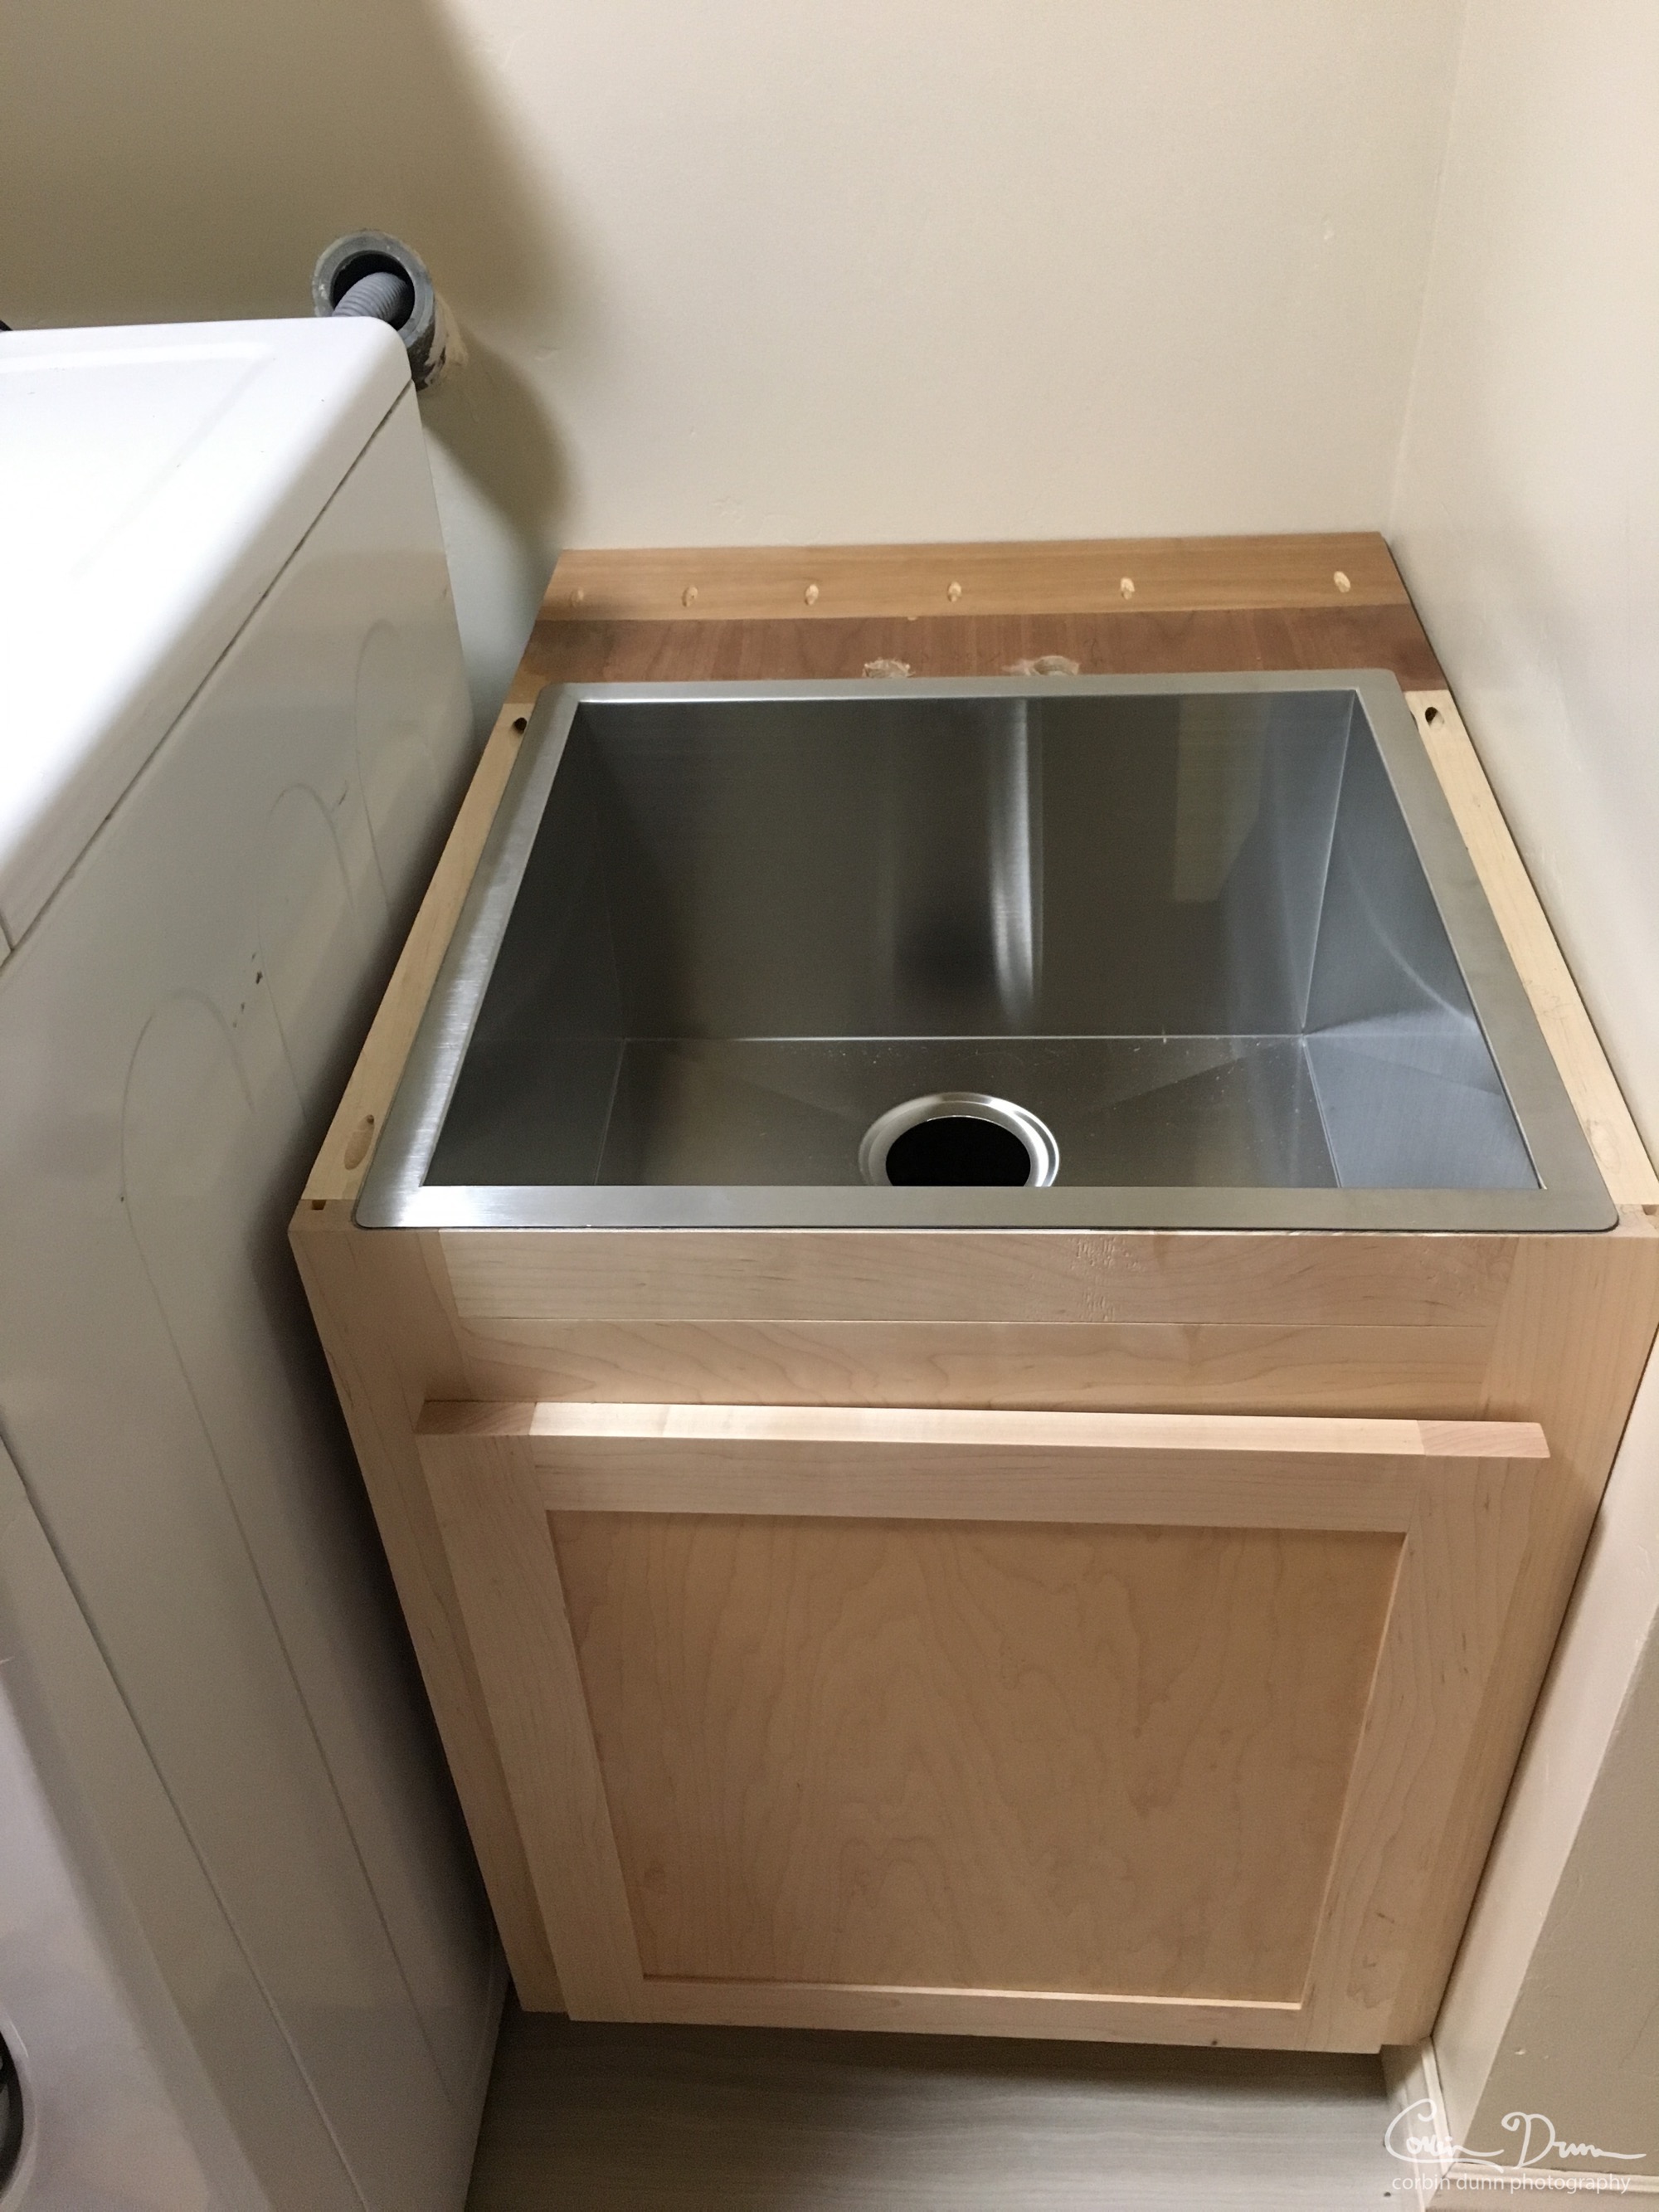
I designed the cabinet around a stainless steel sink that I bought off of eBay, but I can only find it on Amazon now.
Related Blog Posts
SketchUp / Plans
- If you want individual plans, send me an email to request them and I’ll see if I can write them up!
Materials (Rough List)
- 2321S Rectangular Stainless Steel Utility Sink (or find it on eBay)
- Maple hardwood for the face frame and door frame
- Maple plywood, or misc plywood for the sides (you won’t see them, depending on where it goes)
- Concrete and color additive as desired
- Malamine for the mold
- Black silicone caulking
Construction Details
This is about the most basic vanity you ca do. I printed out dimensions base on the SketchUp file and cut the sides and back out of plywood. The face frame was pocket holed together. The door frame is biscuit jointed together, and the door face material is plywood, allowing me to directly glue it in and not worry about wood movement.
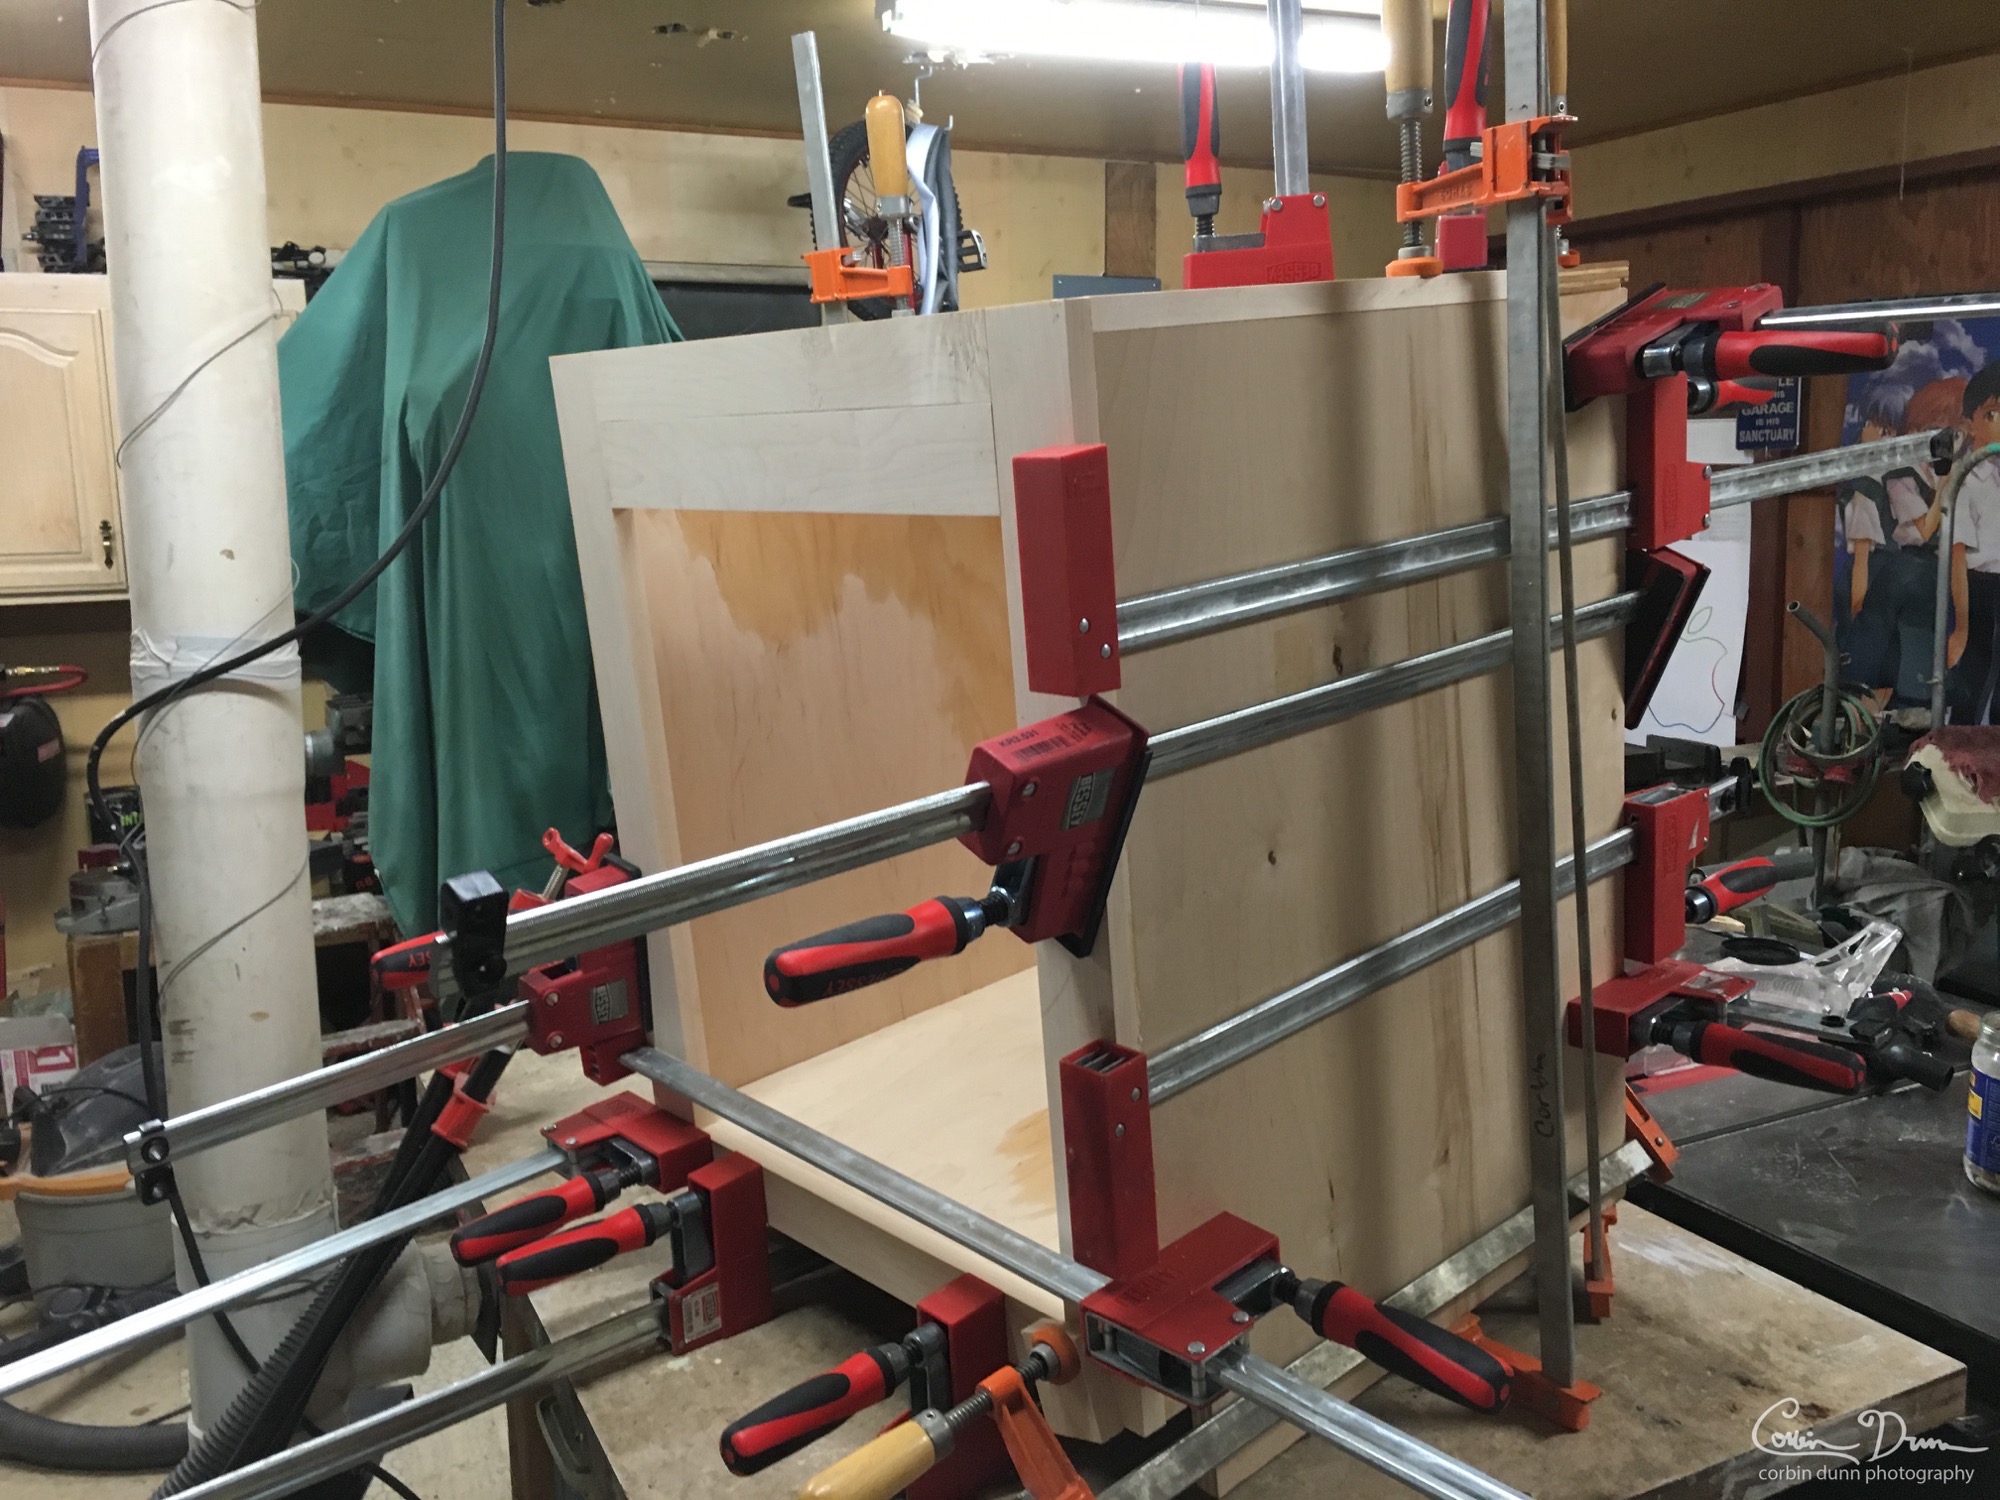
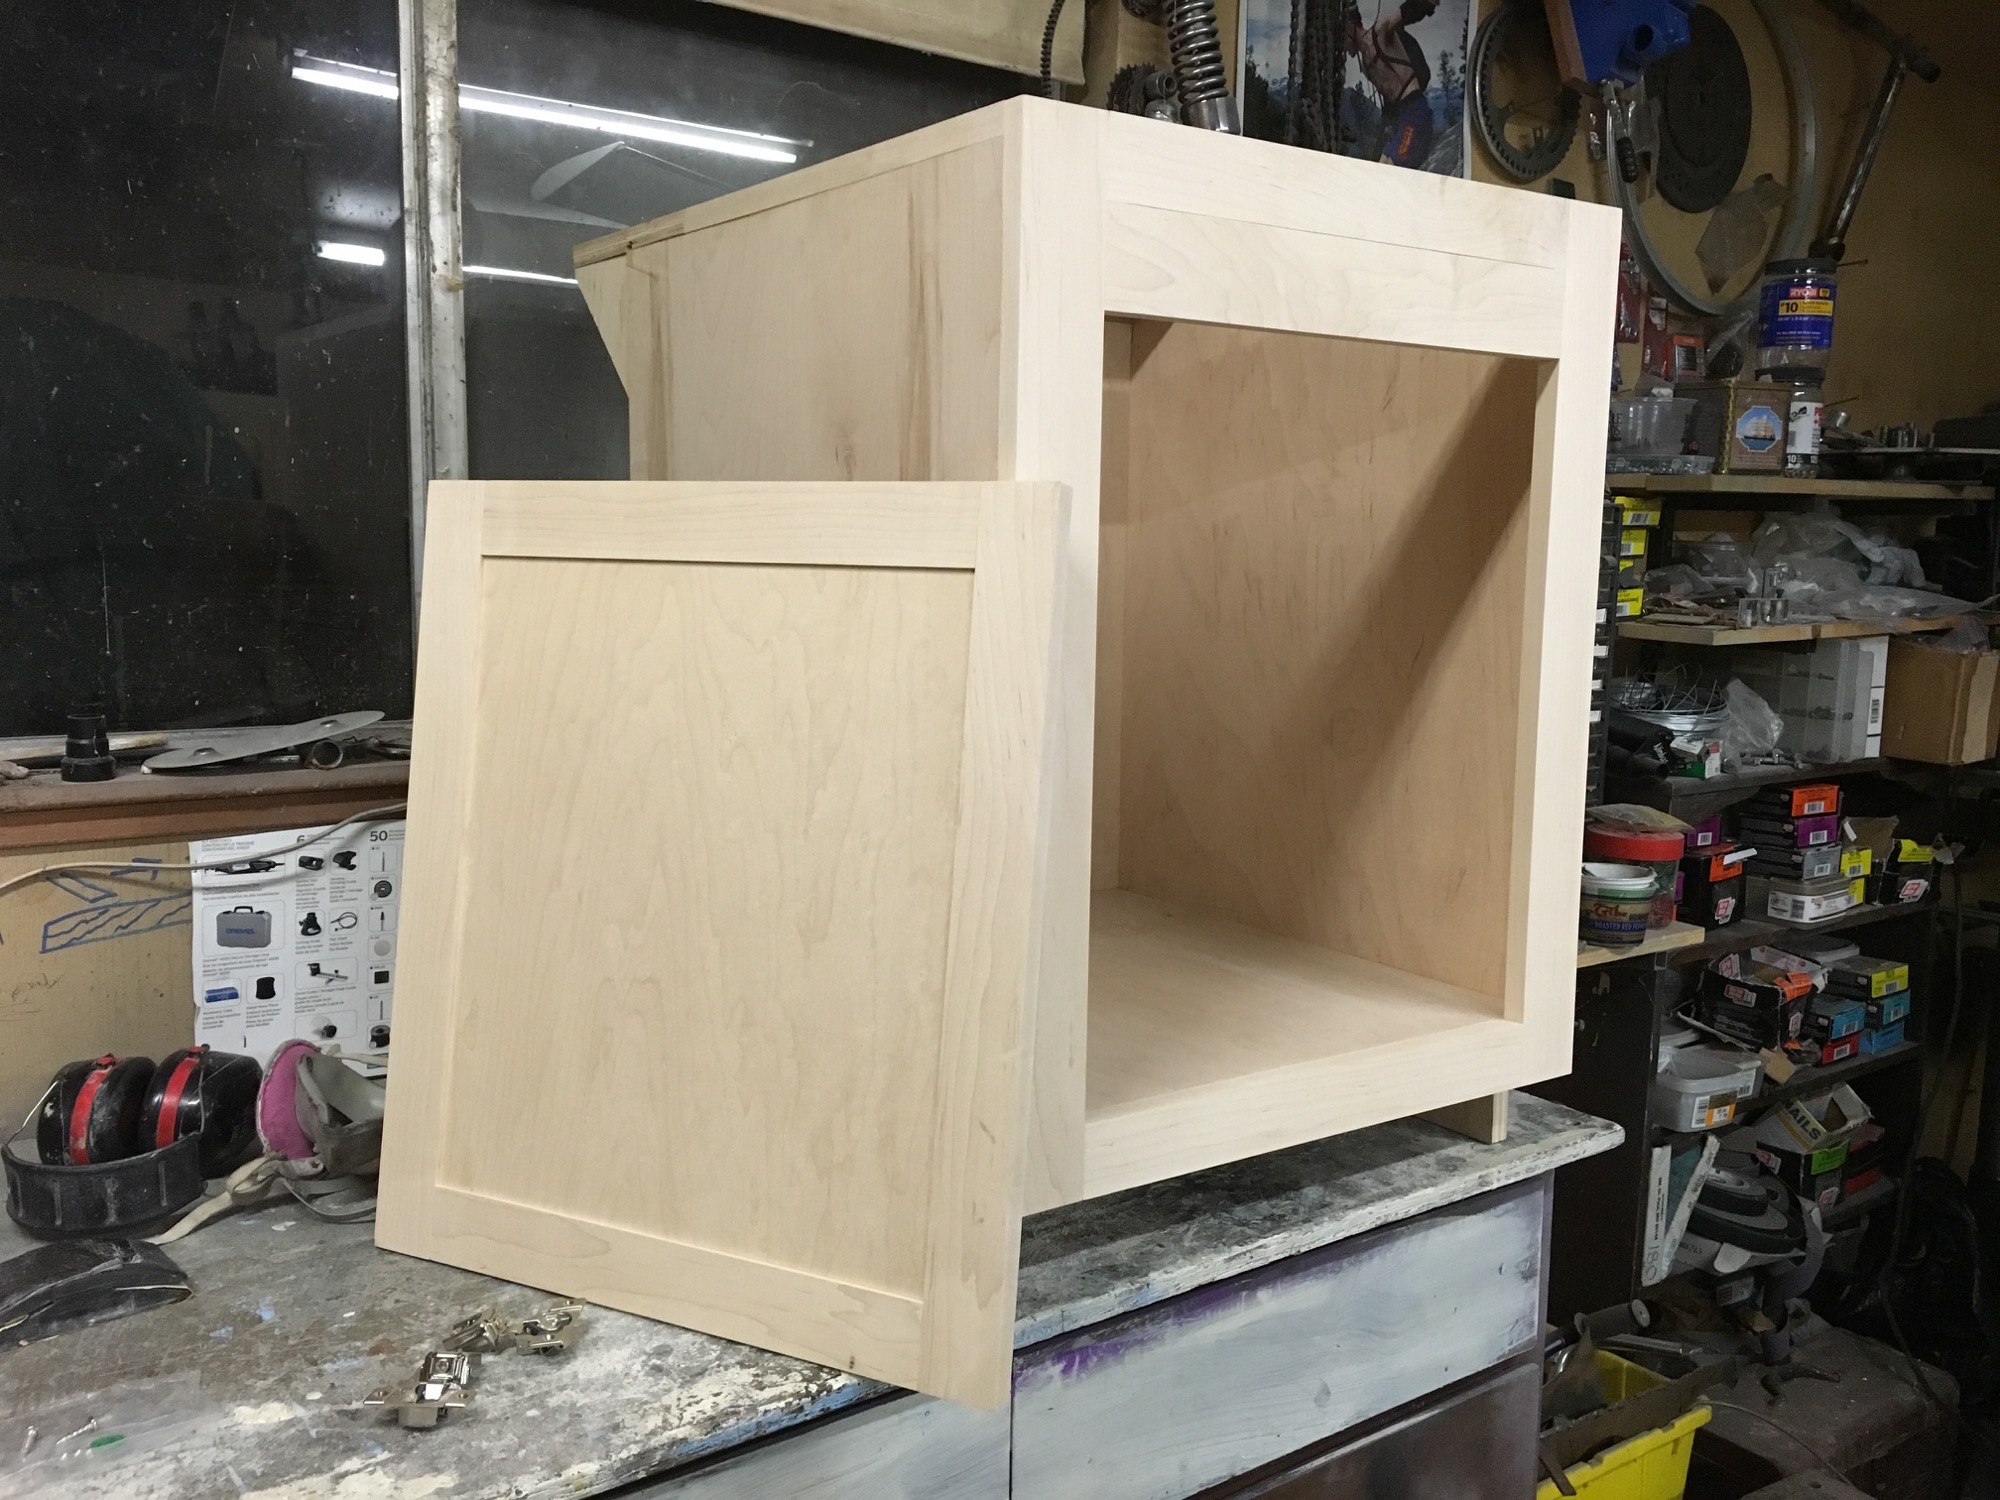
Counter Top Details
The real detail is the mold for the concrete counter top.
I took my desired design and created a mold directly over the counter top in SketchUp. This is included in the SketchUp file; simply click on the “mold” Scene to see it:
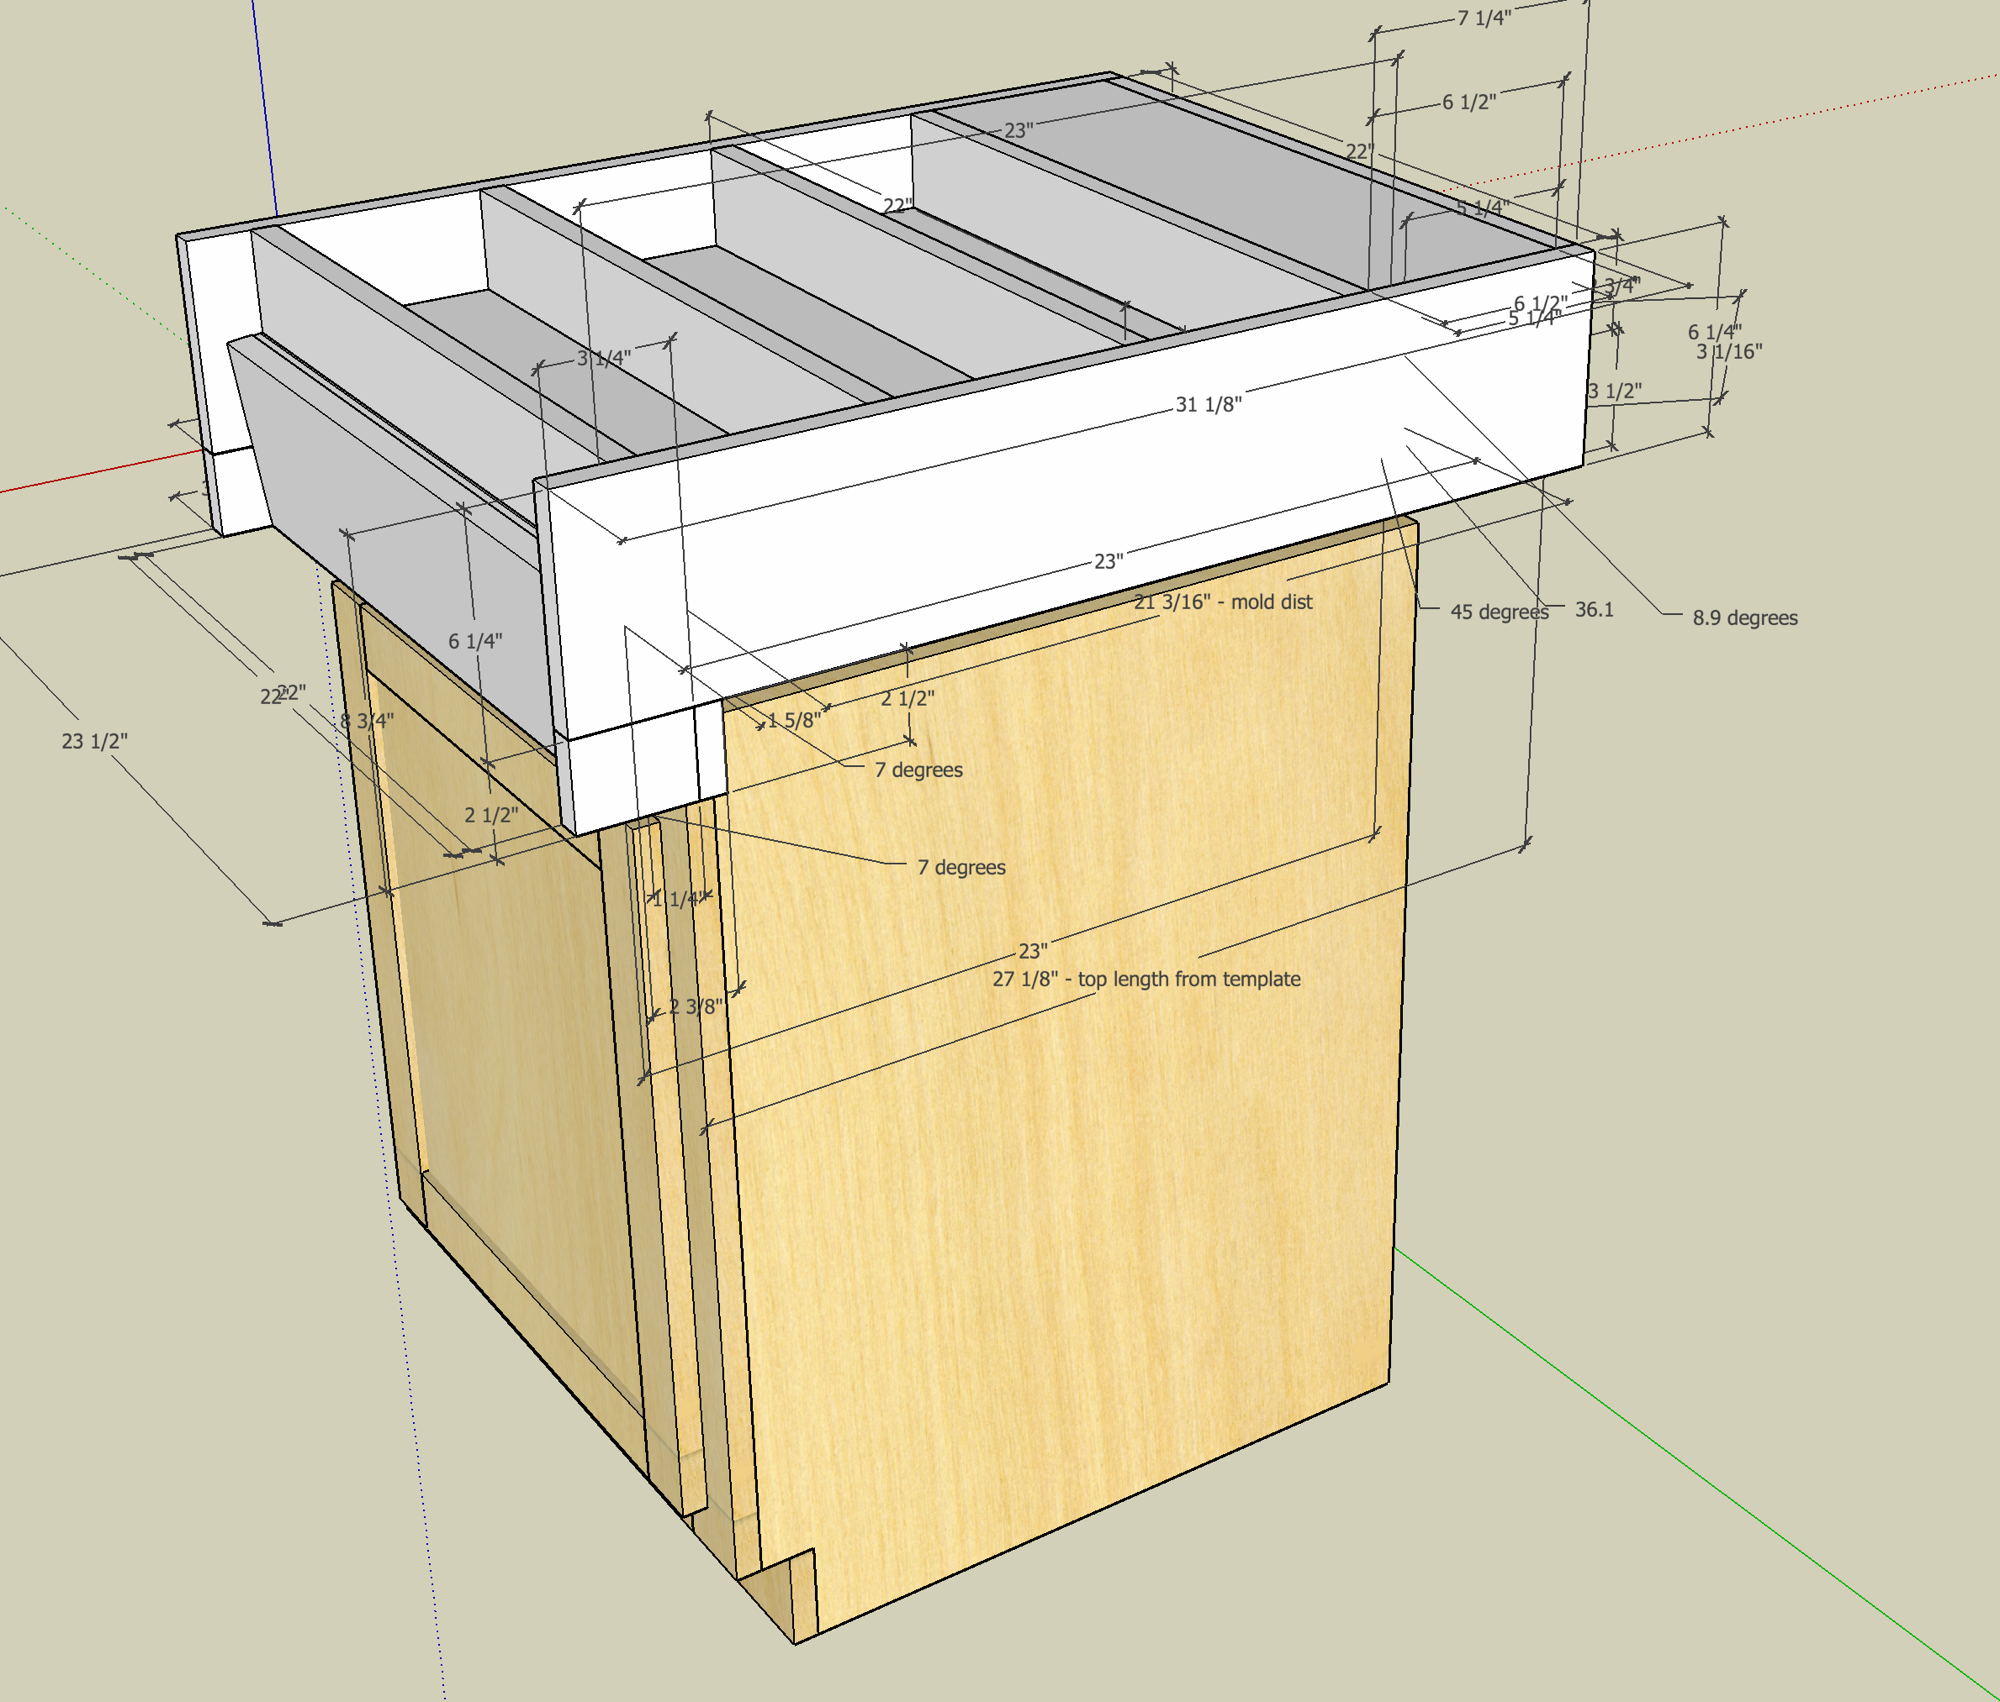
In the above photo, you can see the horizontal supports that will support the countertop when it is poured, since concrete is poured into a mold upside down. If you click on the “Mold 2” scene in my SketchUp file you will see the mold that I needed to create (it flips the orientation):
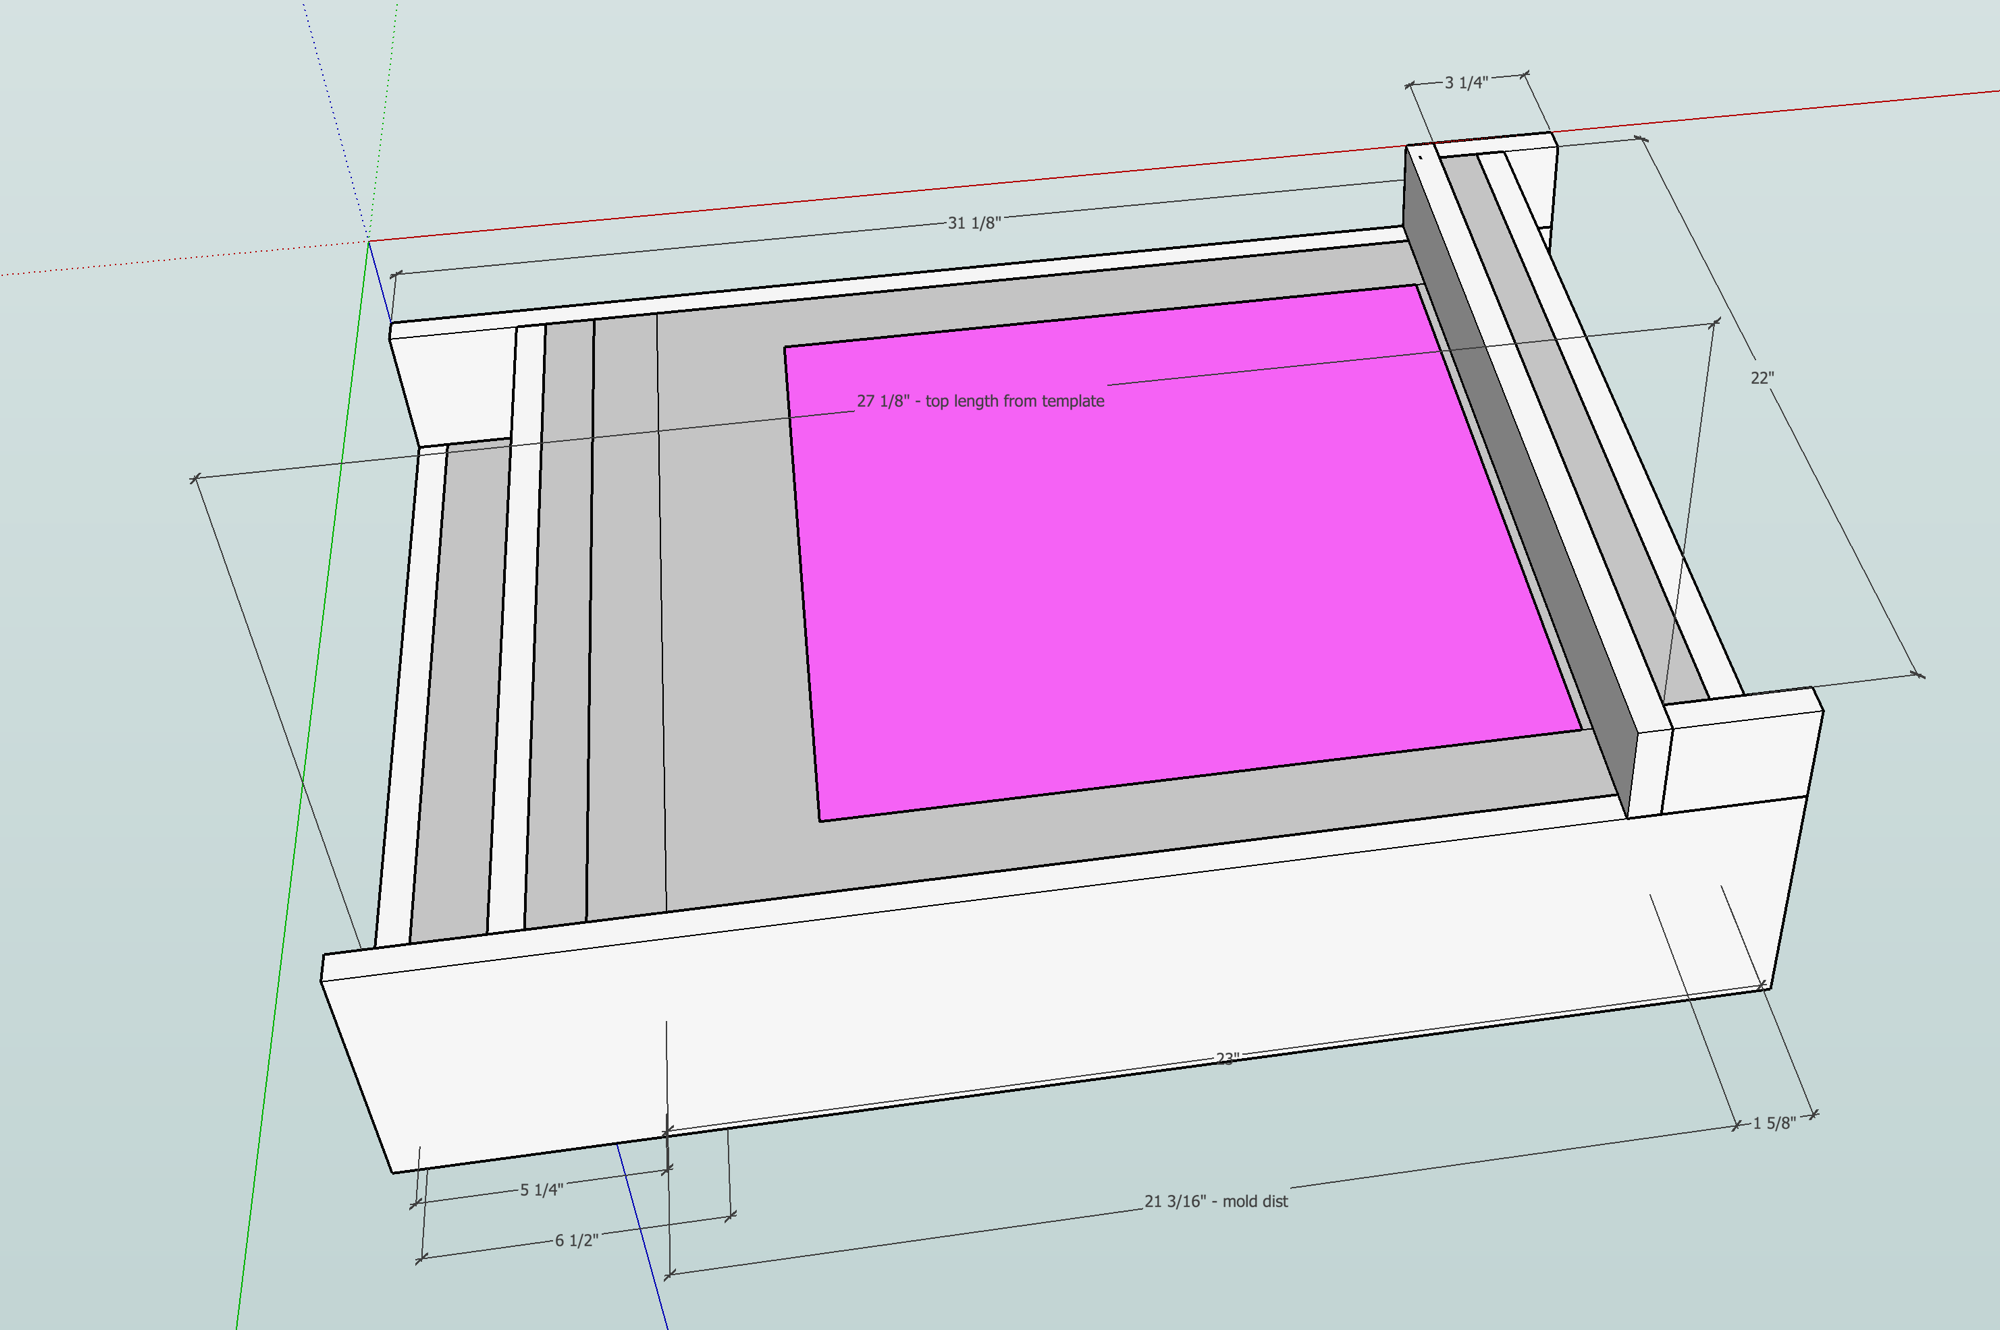
In the above photo, the dark gray area is concrete, and the pink area is the knock out for the sink hole. The left side is the back of the utility sink, and the right side is the front overhang. I didn’t make the back side full depth simply to save some weight (and this turned out fine to not have it supported).
Based on the above drawing and some measurements, I made the mold out of ¾” malamine; glued and screwed together as necessary:
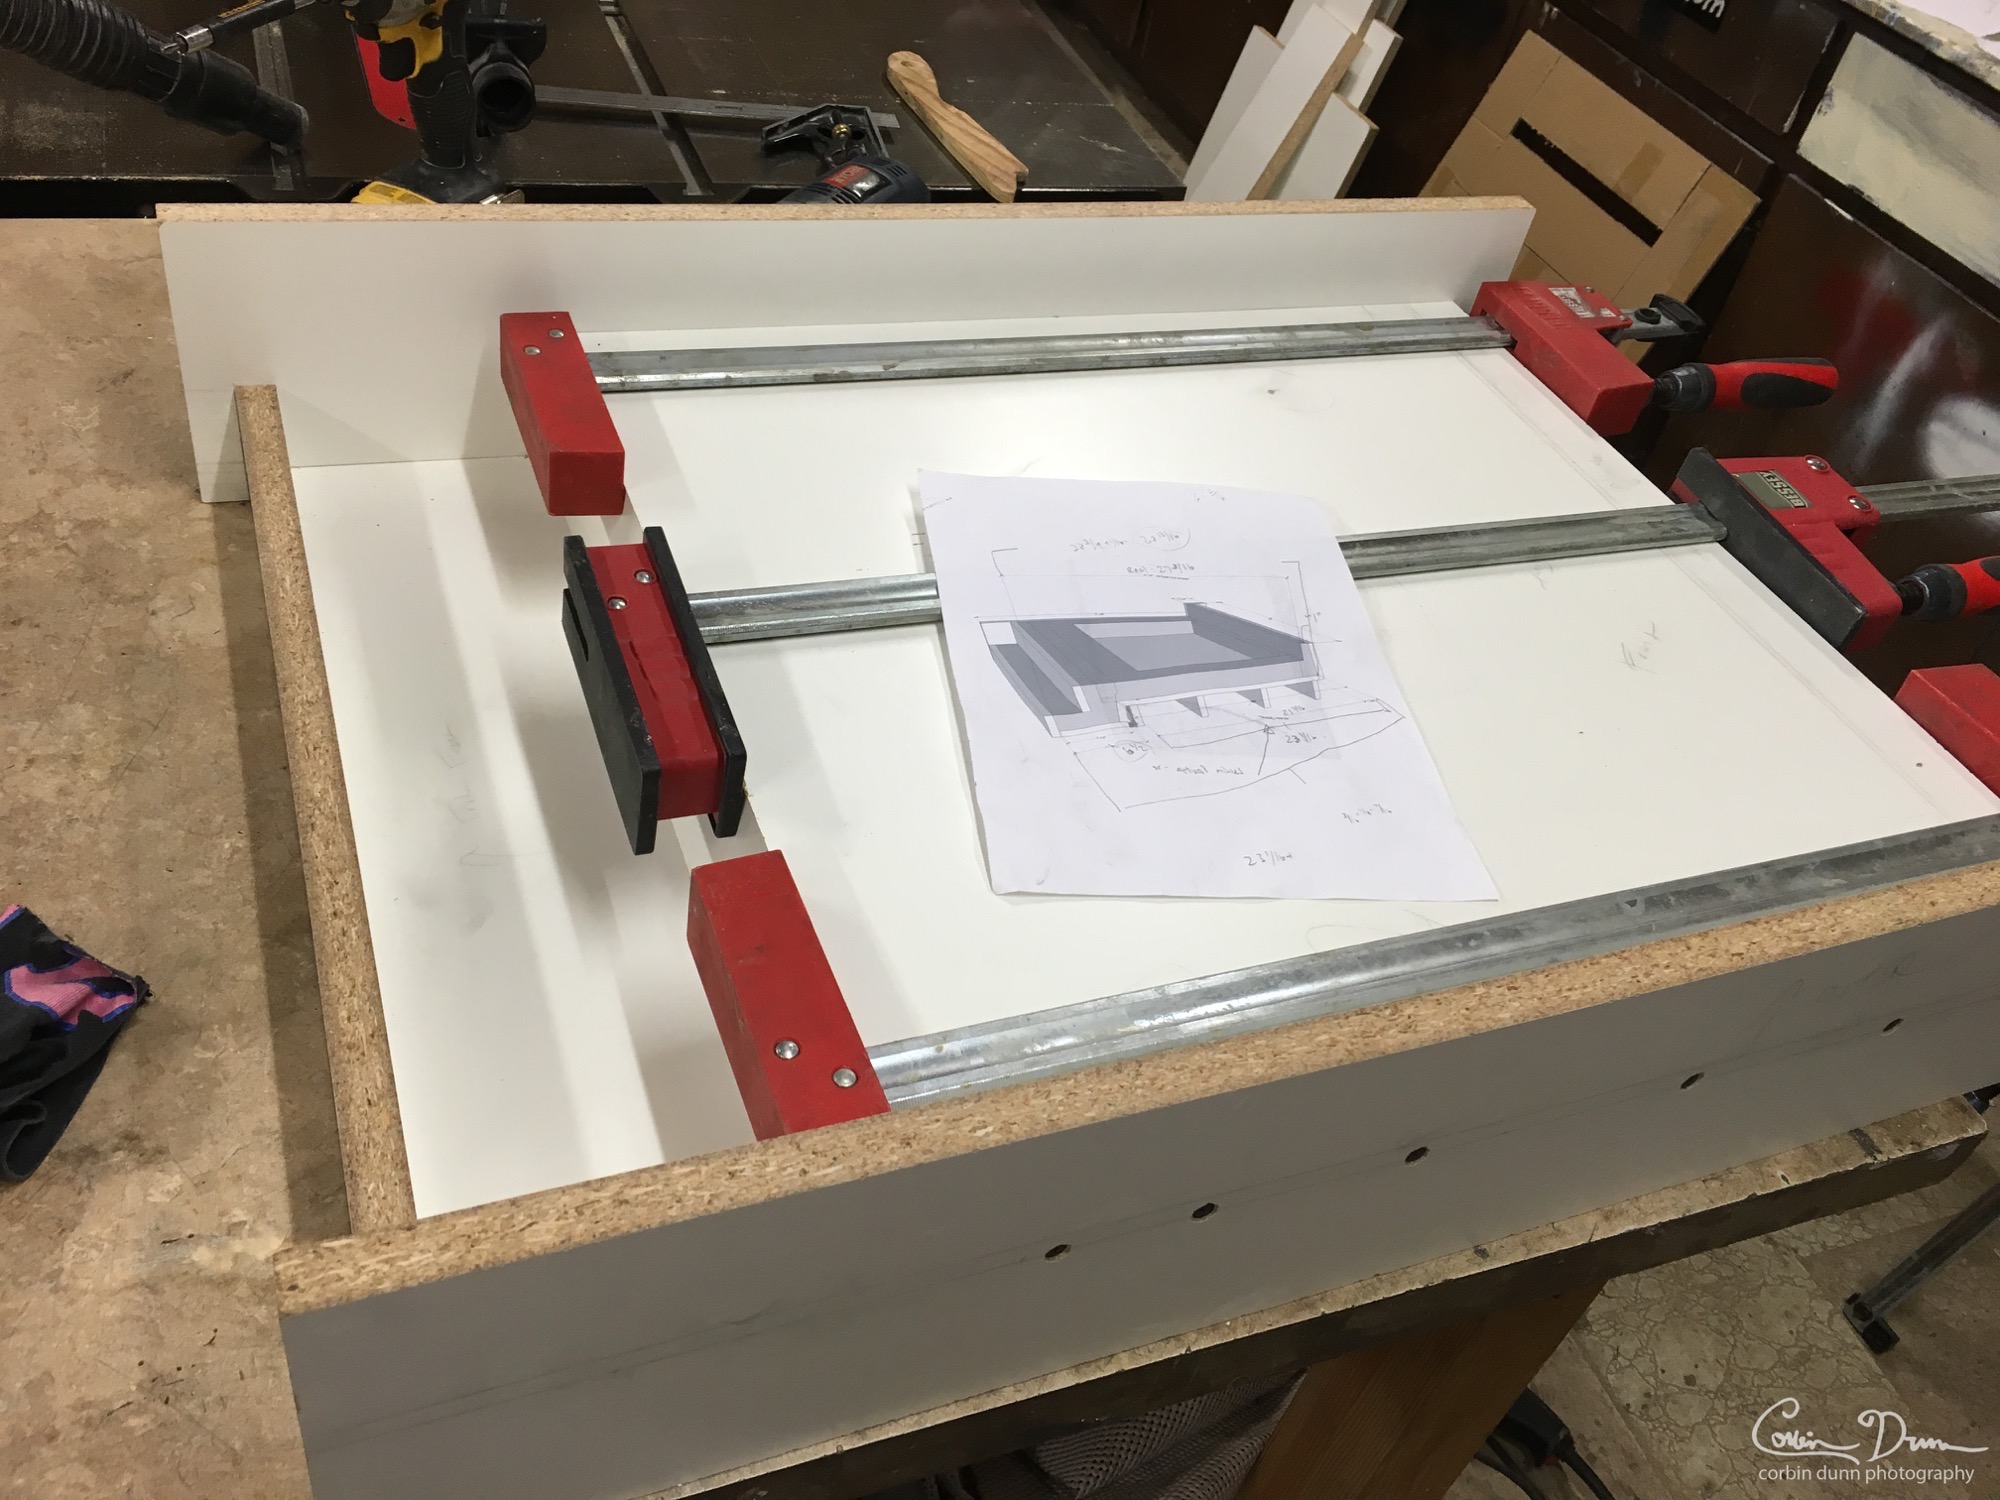
After that, I created a rebar re-enforcement area around the mold to strengthen the whole structure before pouring in the concrete. I’m not going to go into details on concrete countertop construction; there are a lot of great books about it by Cheng, and I highly recommend them. Sadly, I didn’t take any pictures of that process.
After the concrete set up, I removed the sides of the mold. Remember that it is still upside down in this photo! The right side is the front of the counter top, and the back side is on the left; the knockouts for the faucet can clearly be seen, along with the center area for the sink itself:
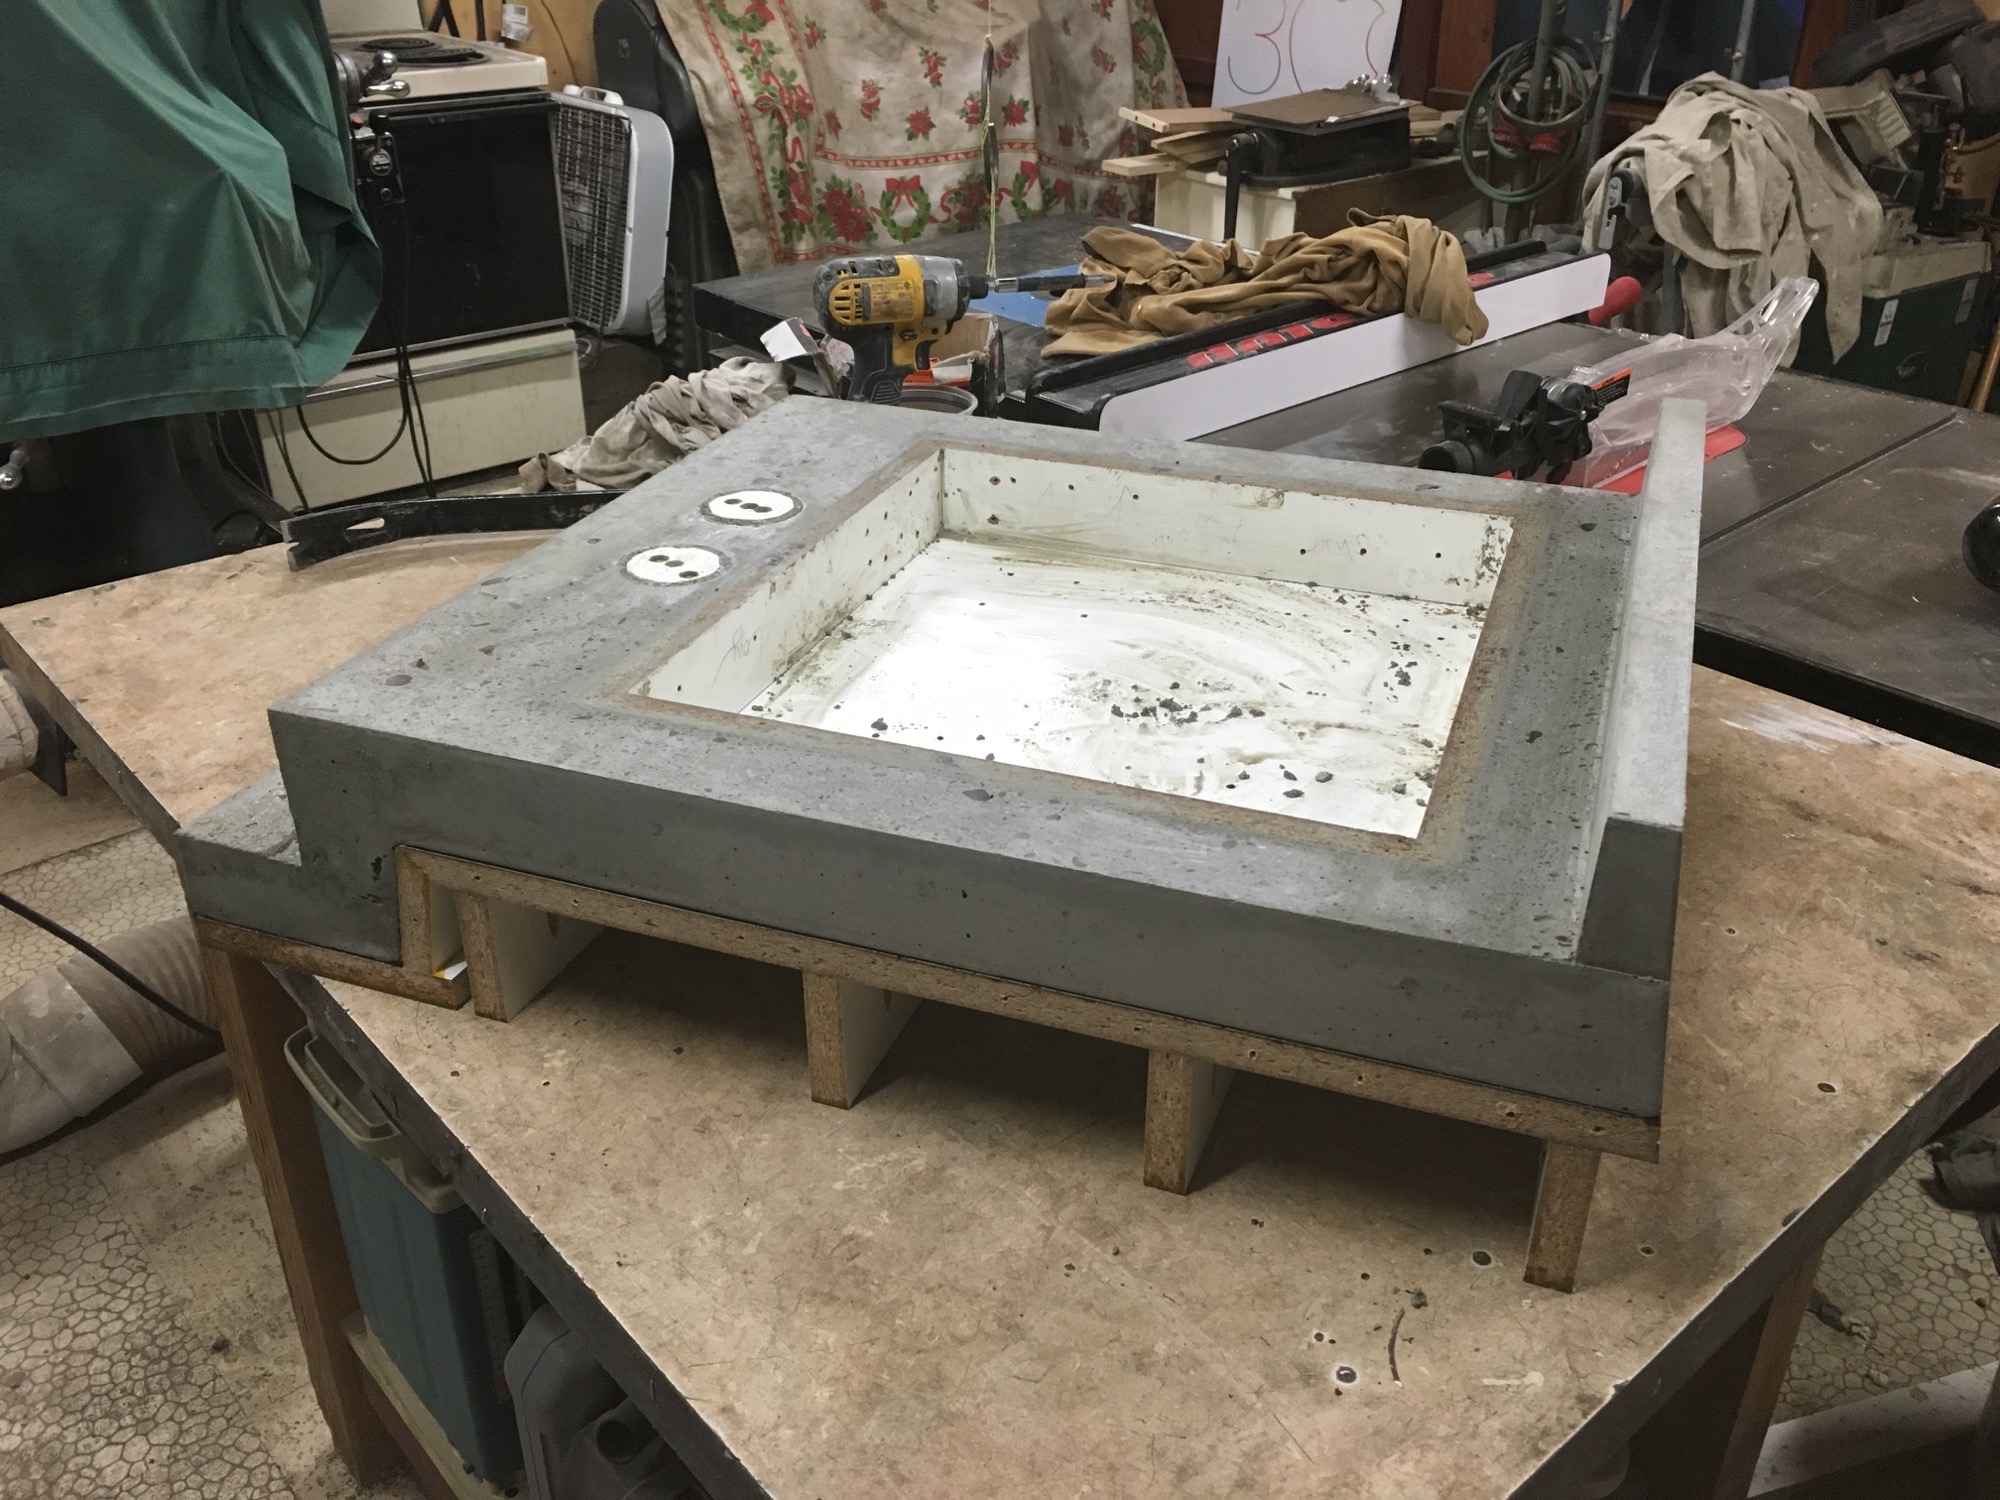
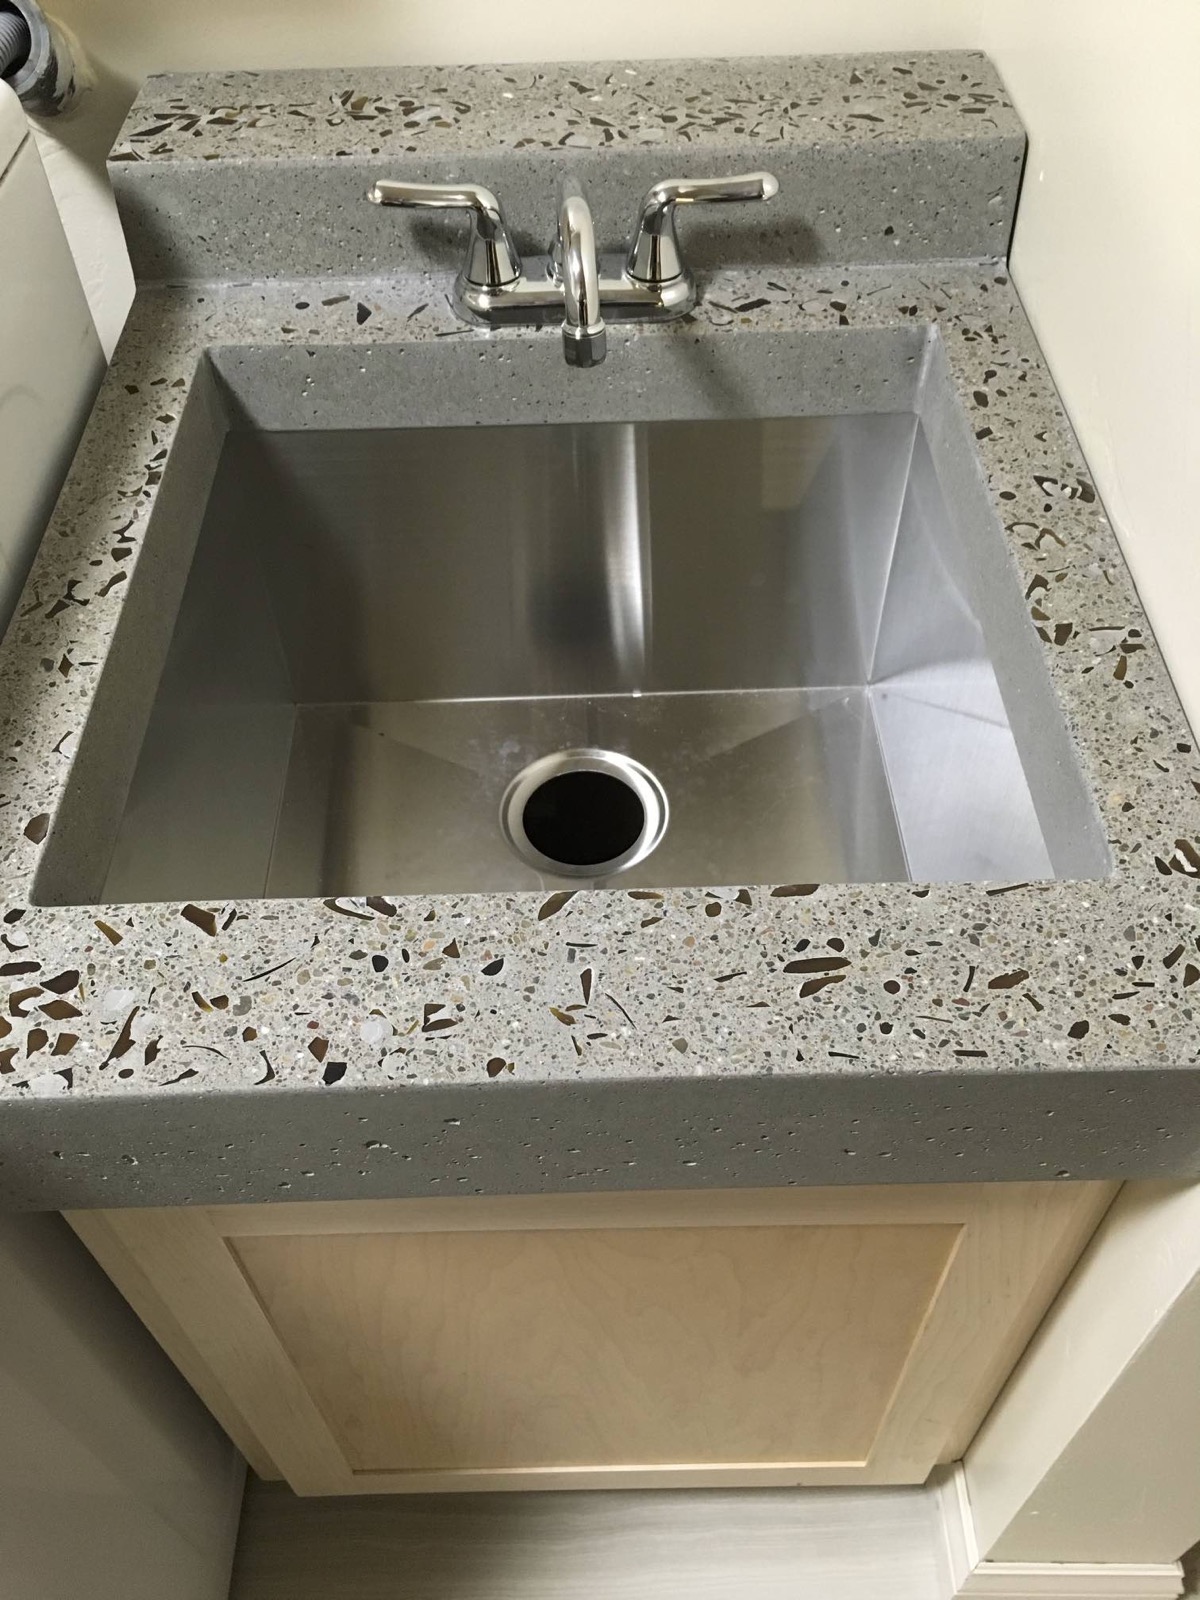
Installation was simple; I dropped the sink on top, and then plopped the concrete countertop on it
