The Second Treehouse in 1998 – Construction Begins – part 2
This is a continuation of The Second Treehouse in 1998 – part 1.
Once I had the floor layout I could start building the treehouse. The entire process took about a year from start to finish. Below are some pictures and notes that I have from back then. As I mentioned in the last post, a lot of this is for nostalgia purposes and I do not recommend these techniques!
Construction Begins!
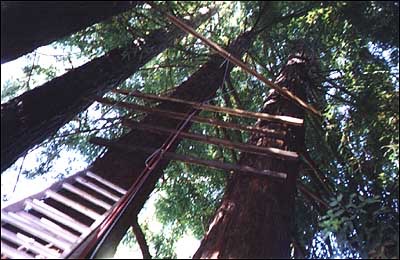
The first thing that I did was get up to the tree. I used a latter to reach as high as I could, and then I started putting 2 by 4’s across the trees to climb up higher. Then Chris Howland’s dad (Tom Howland, a great contractor) loaned me his climbing gear, which made everything much easier.
More beams are put up
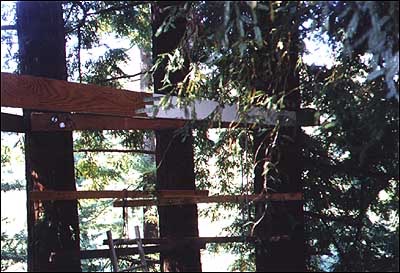
In this pic I put up some more beams. I use a level to make sure they were level with each other and the earth. These beams are 2 X 6’s. The one closest to you has a long span and is 2 doubled up 2 by 6’s. See the floor plan for details (look at the 14.2′ one).
Detail of lag bolts
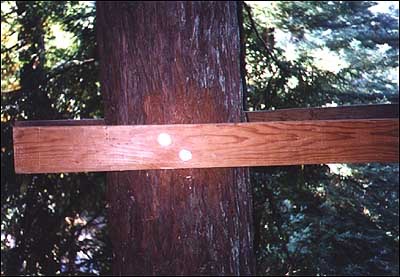
This is a detail of the lag bolts. I used 6-8″ lags (usually a 6 and and 8, maybe a 10 incher) and two on each contact with the tree. Notice how I scraped some bark away before putting the bolts on…there is a lot of bark on redwoods!
Far away view of lags
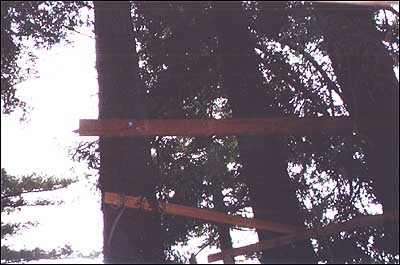
Here is a picture from a distance of the very first beam that I set. It was really difficult doing this by myself and hanging from a rope 45 feet in the air!! Plus, leveling it by myself was a chore, but i did it!
Some inside framing starts
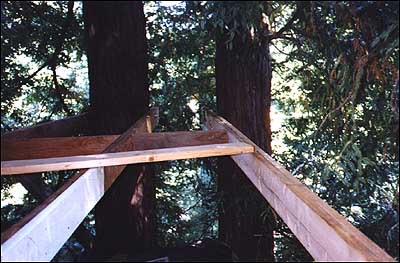
Note the doubled up 2 by 6 in the middle. This is the edge of the house. Past this on the far right is the edge of the larger deck. I actually doubled up the middle 2 by 6 after the first one was already up. Also, notice the painted wood (used wood!)
Detail of around large redwood
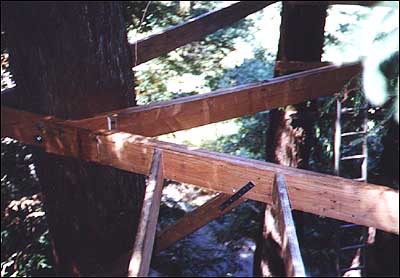
Detail of the corner on the left past the far left beam there is now a small entrance deck and the stairs lead up to this part of the house. Notice the doubled up 2 by 6 (which was also doubled after I put up the initial one…it just didn’t seem strong enough). Also, notice the brace coming out from the tree to assist in holding up the beam.
Detail of around large redwood 2
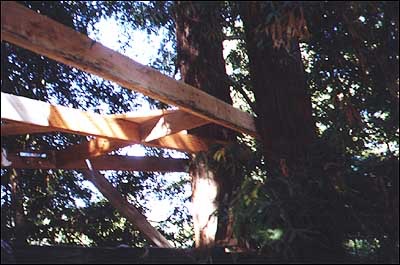
This photo is of the same spot as the 3rd photo listed above, but an underneath shot.
Photo of the right half
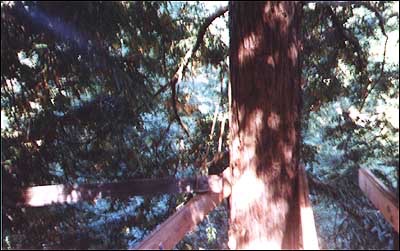
This is a picure of where the large deck now resides. It is looking at where the East wall will be.
Look, it’s Corbin!
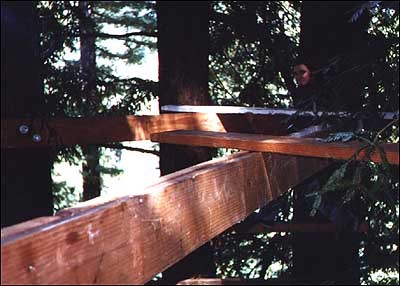
You can see me hiding in this picture. The doubled 2 by 6 is the edge of the East Wall, and the beggining of the large deck.
Looking at the West Wall
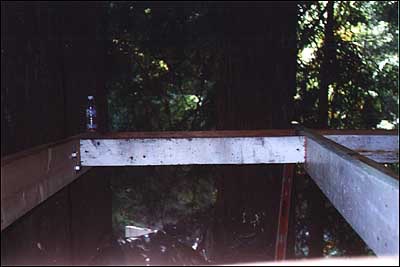
This is a terrible picture of where the West wall will become, and the main enterance door and stairs will come up to.
High Shot of Future Deck
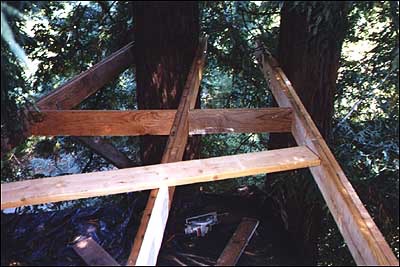
This is another high shot of where the edge of the East Wall and the Deck will be.
Woah! The floor is filled in!
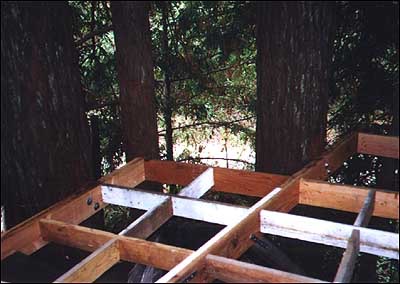
The floor looks filled in! The corner is the West Wall (on the right) meeting the South Wall (on the left). The extended looking area on the far right is where the enterance deck will be.
Overview of floor, looking West
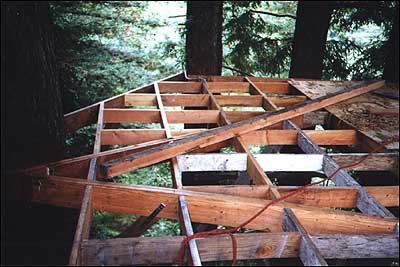
This picture is an overview of what the almost completed framing of the floor looks like. Note where the West wall meets the North wall how there is an angled corner. This was built into the house, and turned out really cool with a small wall on the small piece there.
Overview of floor, looking East
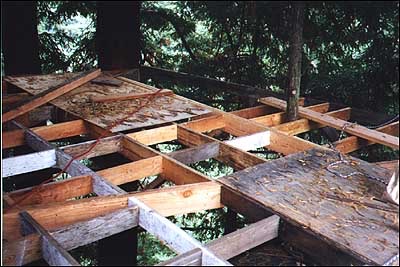
On the far right of the picture you can see where the deck was started. All braces are approx. every 2 feet.
Detail around tree on West wall
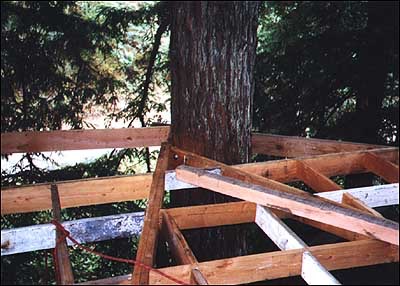
The West wall, detail around the tree. Notice how much of a pain it is to cut the angles to meet the main beams that flow through the house and connect the trees together.
From underneath, old treehouse visible
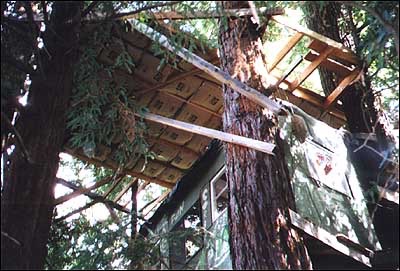
In this pic you can see the old treehouse. You can also see my braces and the insulation. The closest wall to you is the West wall, and you can see the small enterance deck being built. This is where the stairs lead up to. Notice that it is about 3 stories up…the bottom story is further away than it appears.
West wall, Enterance deck
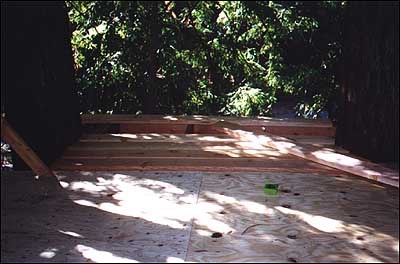
This is the small enterance deck being built. The floor was put on. This is the west wall.
A wall is framed!
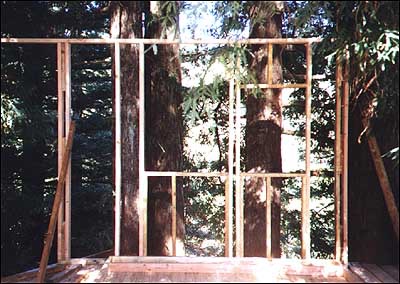
This is actually the second wall that I framed. Greg Nitzel from Maui, Hawaii (my birth place) took a day off from his vacation to California and helped me put on the floor. He also showed me how to frame walls. In this picture you can see spots left for 2 windows. I later added another window to the left. This is the North Wall.
From underneath, standing on the old treehouse
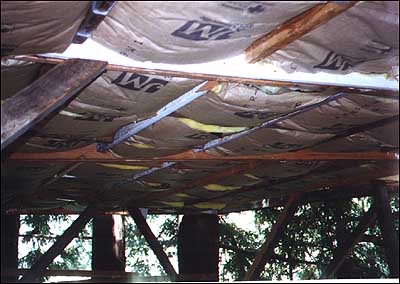
This is a picture of the insulation. I put the insulation on before I put the plywood on the floor. I am standing on the old treehouse, which helped a lot for building half of the new treehouse. To see where the old treehouse is in relative to the new one, look at the blue part on the floorplan picture.
South meets East wall
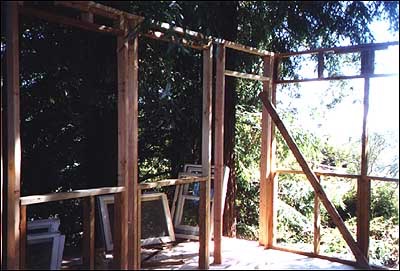
This is a shot of where the South wall meets the East wall. You can see the door frame where you get out to the large deck on the left (East) side. The two large windows on the South wall point towards off the hill. On a clear day, if you look between some trees, you can see the ocean! It is about a 15 minute drive from my house in Corralitos.
East Wall
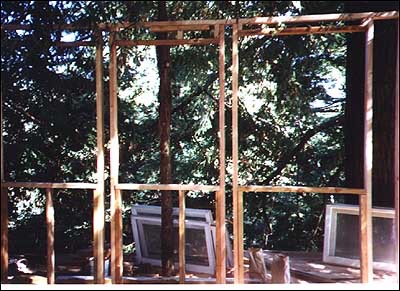
This is a shot of the East Wall frame. You can see the deck, the old windows that Chris’s dad gave me, and the large window holes for the windows. Also, you can see a bit of the frame for the door on the right.
East Wall meets North Wall
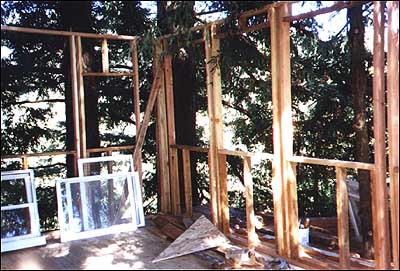
This is a shot of the East Wall on the right meeting up with the North Wall on the far side.
I make the stairs!
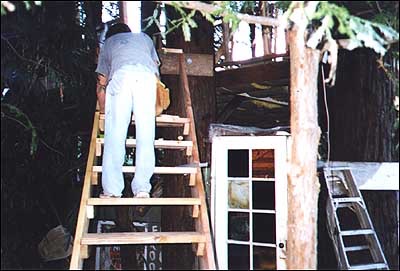
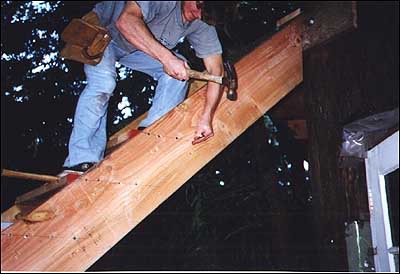
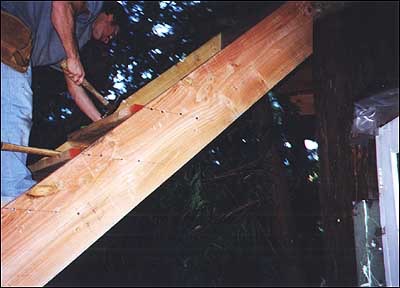
I finally made the stairs. I was getting up to the second story by climbing up past the bottom story using the little latter you can see in the picture. However, as soon as I started putting the walls up, I could no longer get in this way and I had to make the stairs. In this picture you can also see the bottom story’s enterance door.
A distance shot
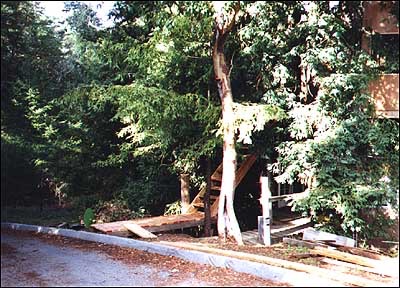
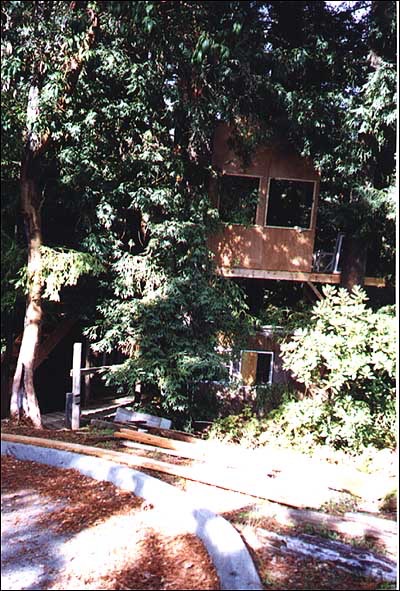
A shot of the stairs and walkway leading up to the stairs. You can also see the South Wall. Underneath the South Wall is the old treehouse, but it is hidden in the branches.
Both treehouses!
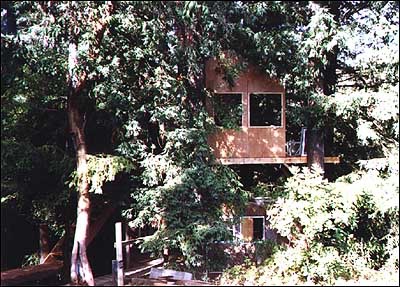
This picture is a little better. You can clearly see the old bottom story treehouse. You can also see how the bottom story appears to be setting on the ground, however, this is an illusion because the house is on a hill. It really is in the air.
The North wall
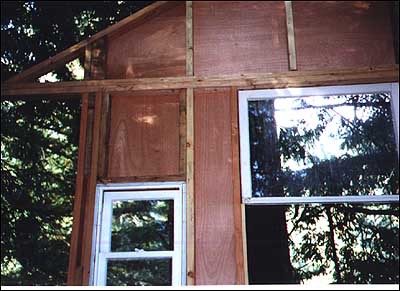
This is a shot of the north wall, as seen from inside the house. You can see the windows i put in it. I got the window on the left from Butch, who goes to the Corralitos Coffee Court way too much
I install a window
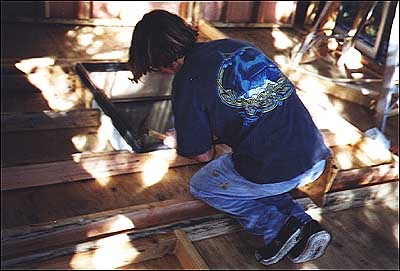
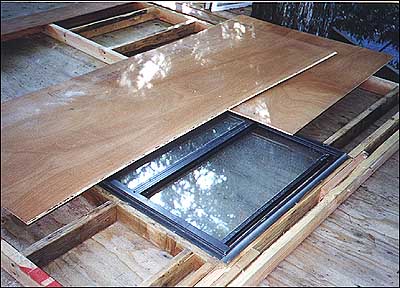
Here i’m installing a new window that I managed to scrounge up from somewhere for free. You have to put these windows in before you add the side paneling. This is the East wall.
A few more old pictures



[…] my series reminiscing about the second treehouse that I built. Previously, I showed initial design, construction starting, and then the house starting to […]