Making Vector Images from Pictures for Vinyl Cutting
In this video I’ll create custom silhouette vector images for use in a vinyl cutter such as the Silhouette Cameo. I walk through the basics on how to do this in Adobe Illustrator.
Tools and Materials (affiliate links):
Step 1: Find Your Image
If you are like me, you probably want things written out instead of watching a video. First, download some pixel image that you want to create into a vector. In this tutorial, we’ll start with an image that is already a silhouette. Subscribe to my YouTube channel for how to create these from your own color images! I found this awesome dinosaur that has a creative commons license:

Step 2: Fire Up Illustrator and Open the Image
I created a new blank Illustrator document that was 12” by 12”. I used inches and not pixels because we are going to be dealing with a vinyl cutter in the real world. I dragged the image into Illustrator.
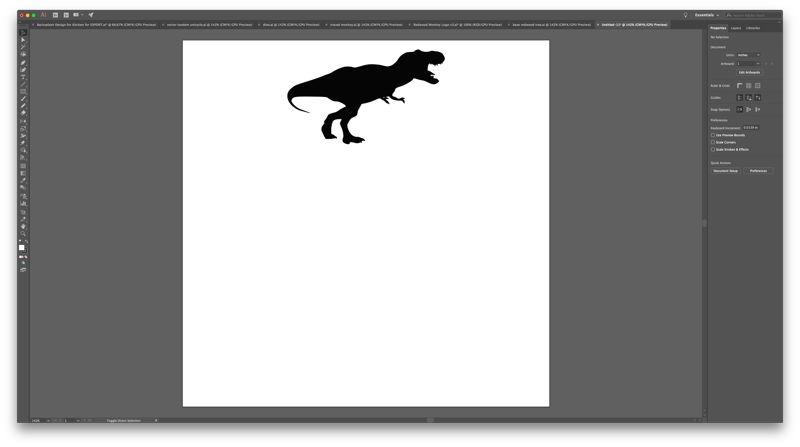
Step 3: Rasterize
I selected the image, and then clicked Object -> Rasterize to rasterize it at the smaller size. This helps create a smaller vector image, which will be easier for the Cameo vinyl cutter to cut.
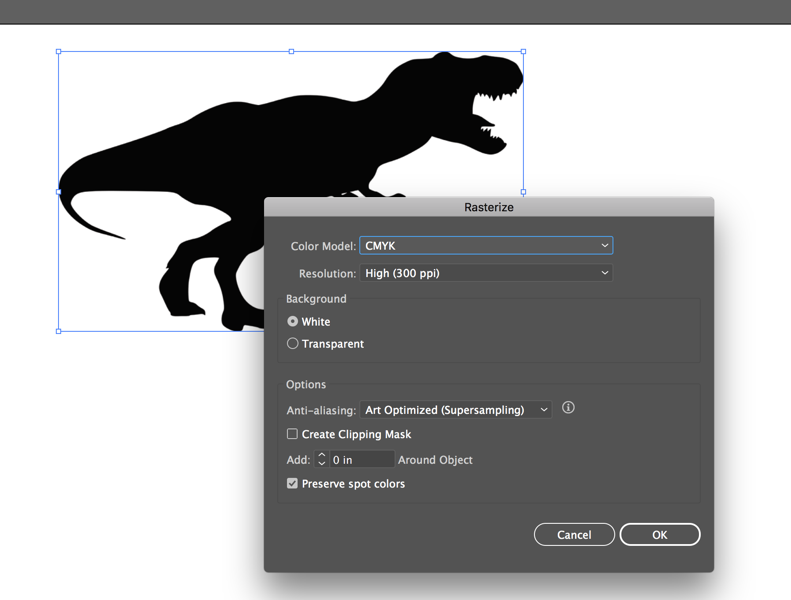
Step 4: Make it a Vector
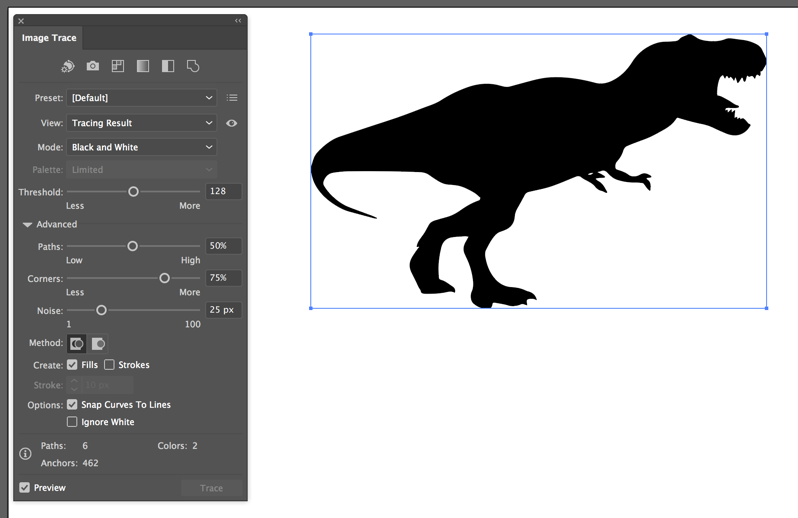
I selected the image and clicked “Window -> Image Trace” to show the image trace options. You can tweak the values as you see fit, and hit Preview or Trace to have it actually do the trace. In general, you want to keep the path and anchor count down in order to make the image cut better. If it is too complex, the blade will chew up the vinyl.
Step 5: Unlink and Ungroup
I select the image and hit Expand in the Properties tab to actually get the paths out of the image.
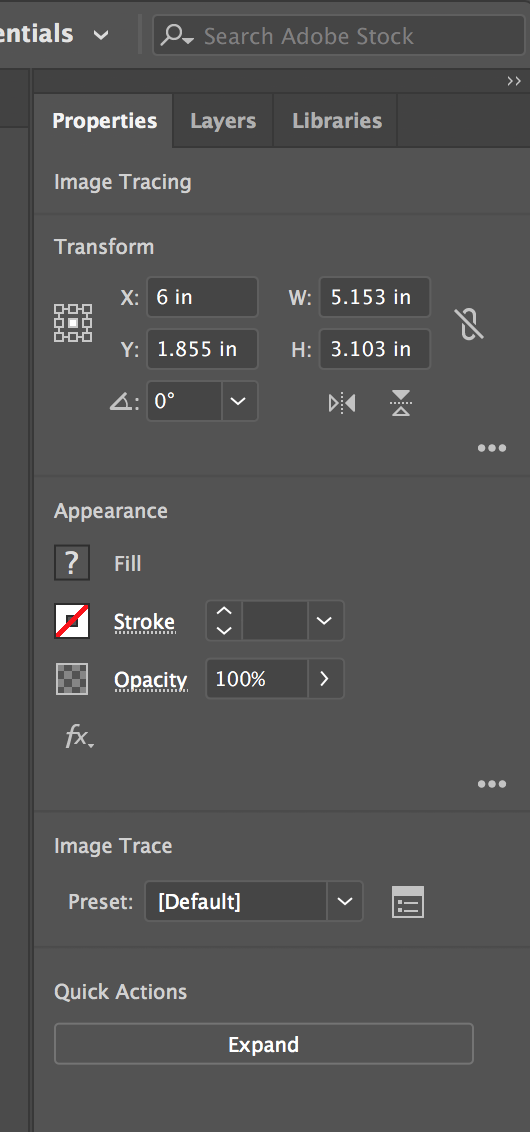
I then also Ungroup it to make corrections.
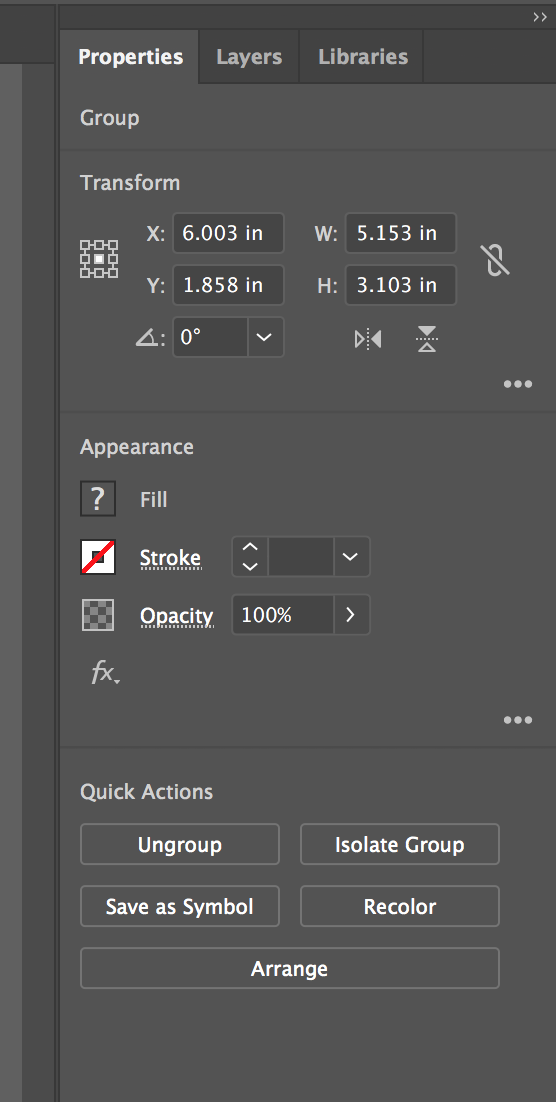
Step 6: Cleanup
At this point, there may be some white fills that you may want to select and delete; probably on the top and bottom of the vector.
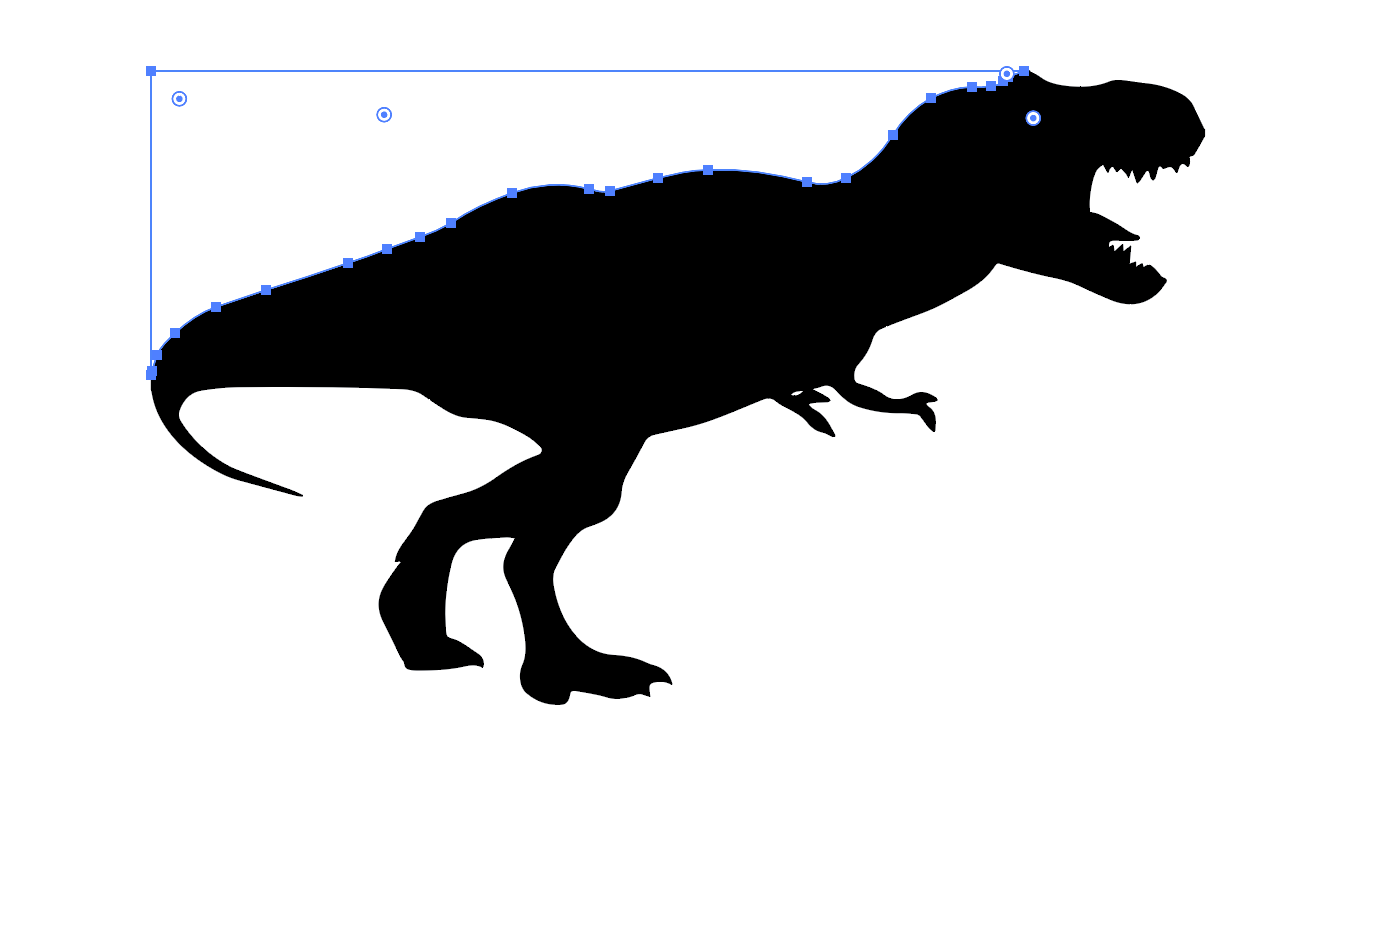
Step 7: Export as DXF
Silhouette Studio can only read DXF files, unless you give them more money to have it be incorporated directly into Illustrator. Don’t do it! Just export it as a DXF and then you can open it in the Studio and cut!
File -> Export As… -> Format — DXF
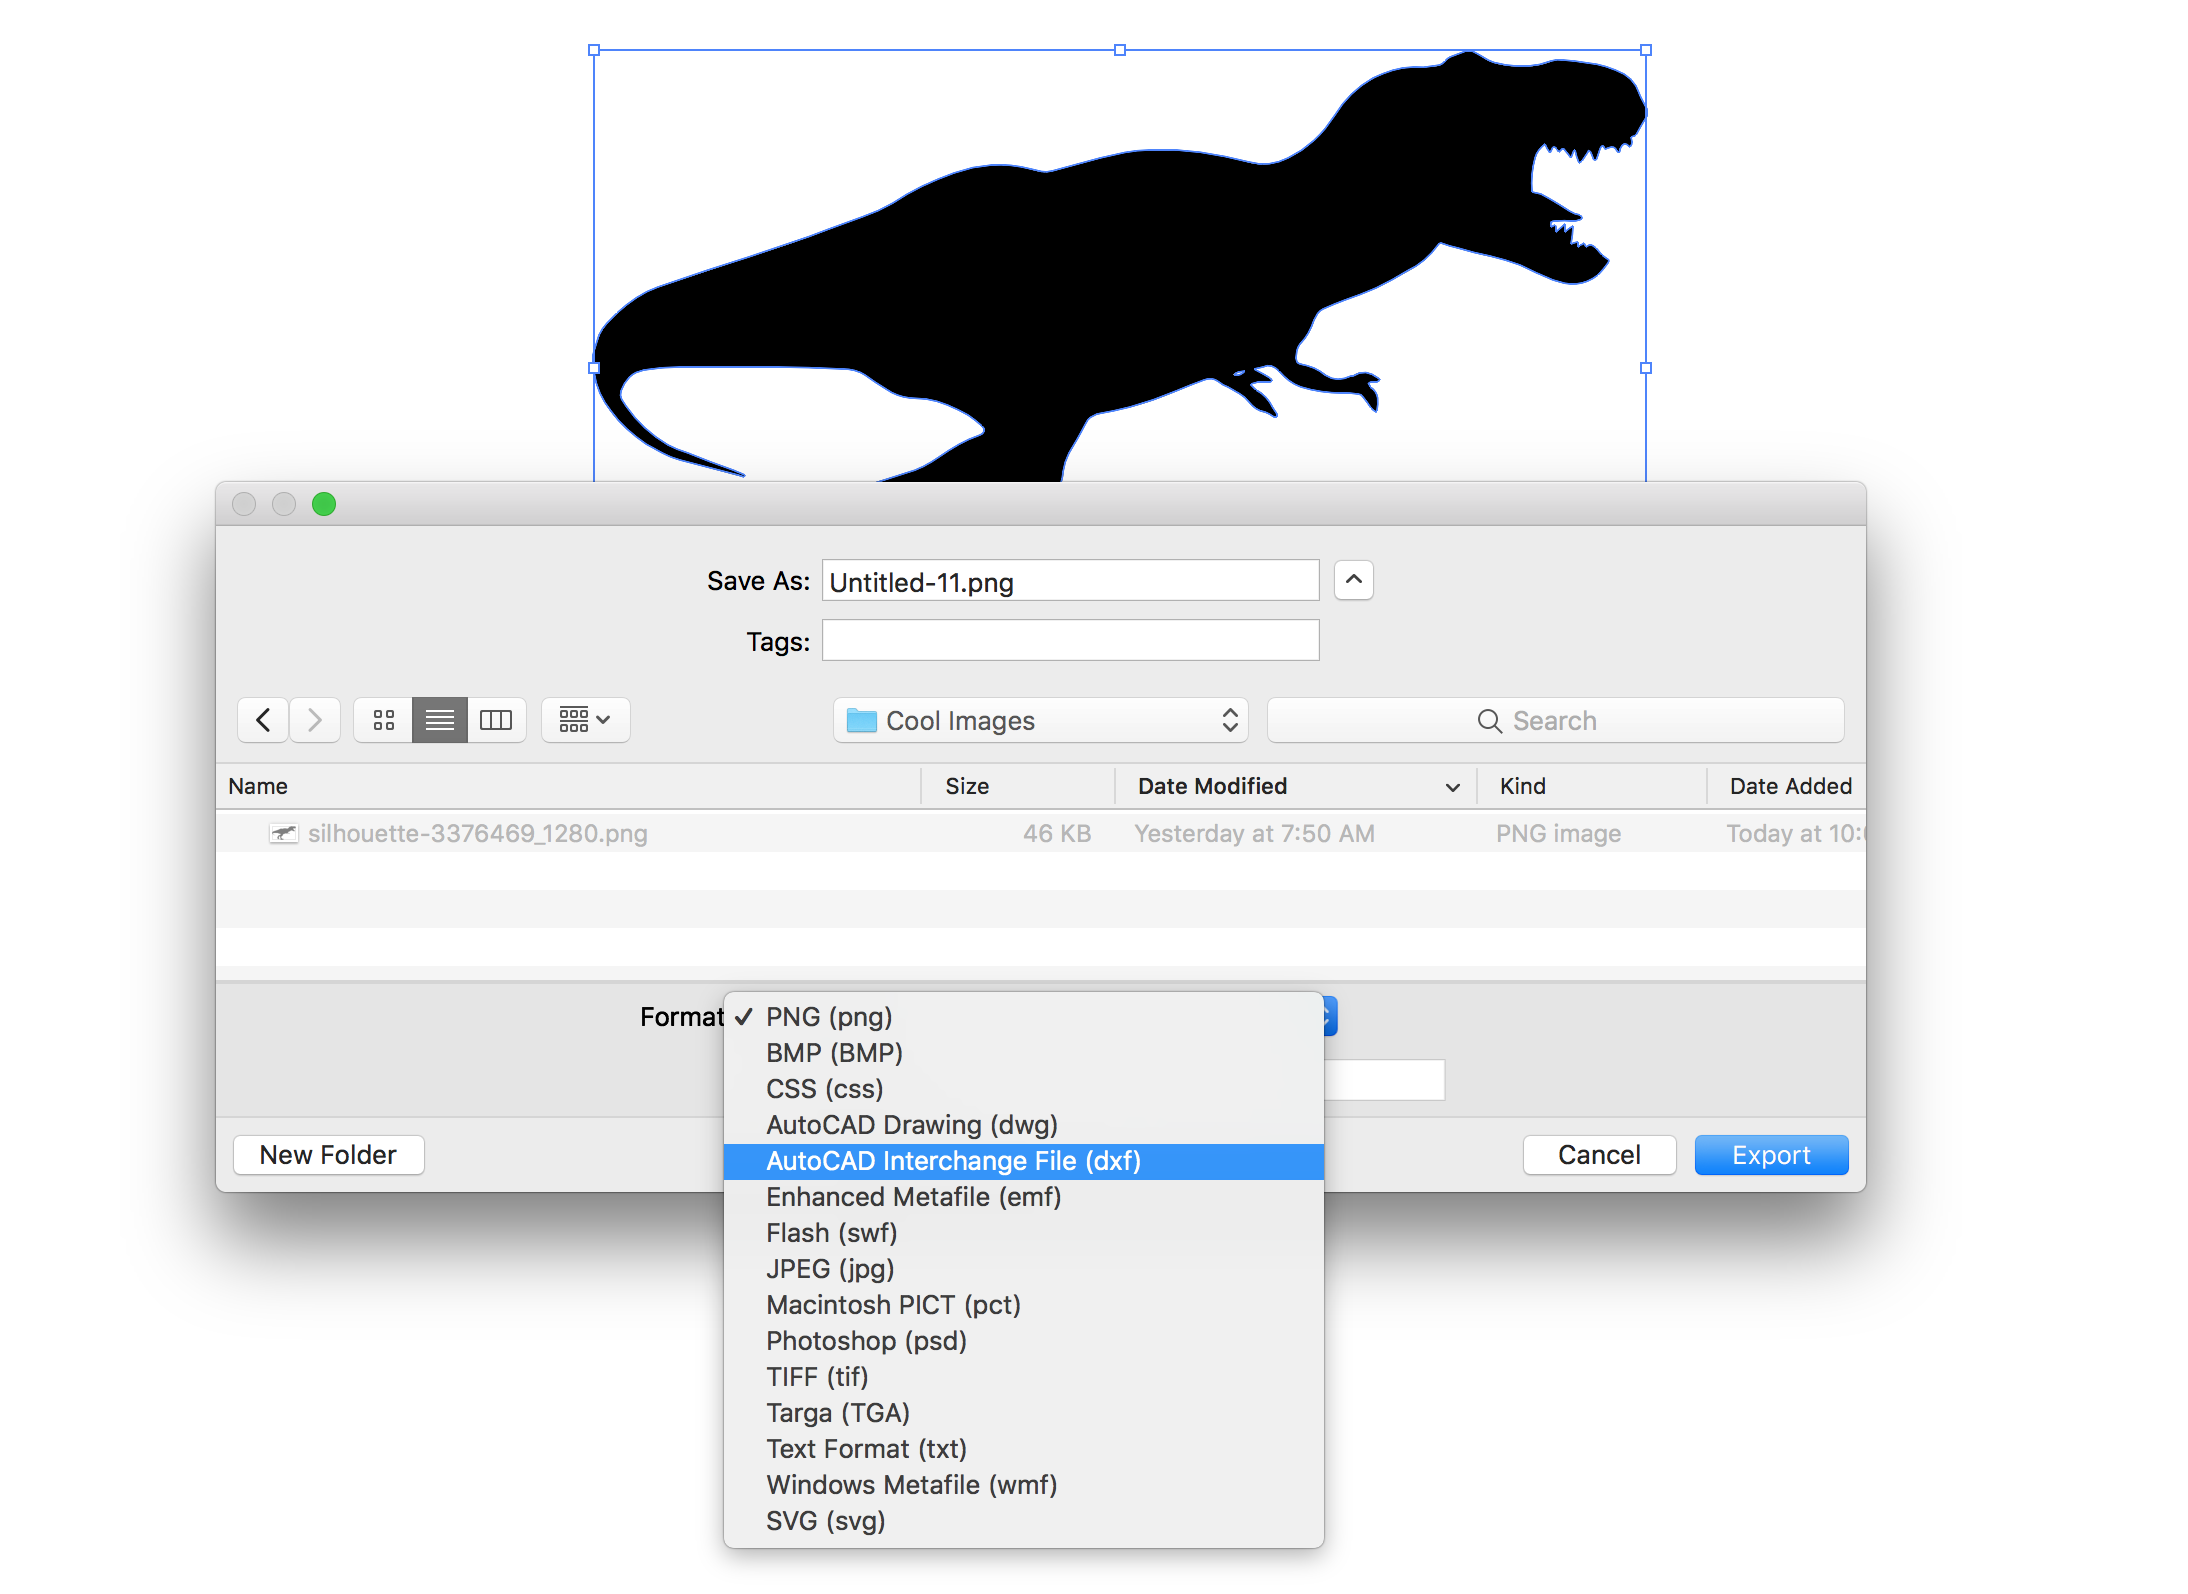
Step 8: Silhouette Studio and Cut
Now you can open it up in Silhouette Studio and cut it on vinyl!





[…] My main purpose was to be able to create some cool stencils and vinyl stickers. Check out Making Vector Images from Pictures for Vinyl Cutting for an example of how to do this yourself. Here are a few of my favorite monkey images that I […]
this is just a fucking silhouette you idiot
I say that multiple times in the post. The hard part for most people is going from raster to vector; if you don’t understand that difference let me know, so I can explain it to you.
[…] Reference 5 […]
[…] Reference 5 […]
[…] Reference 5 […]