Oct
17
2016
Building the Chesapeake 16LT Kayak: Part 4 – Leveling and Gluing Together
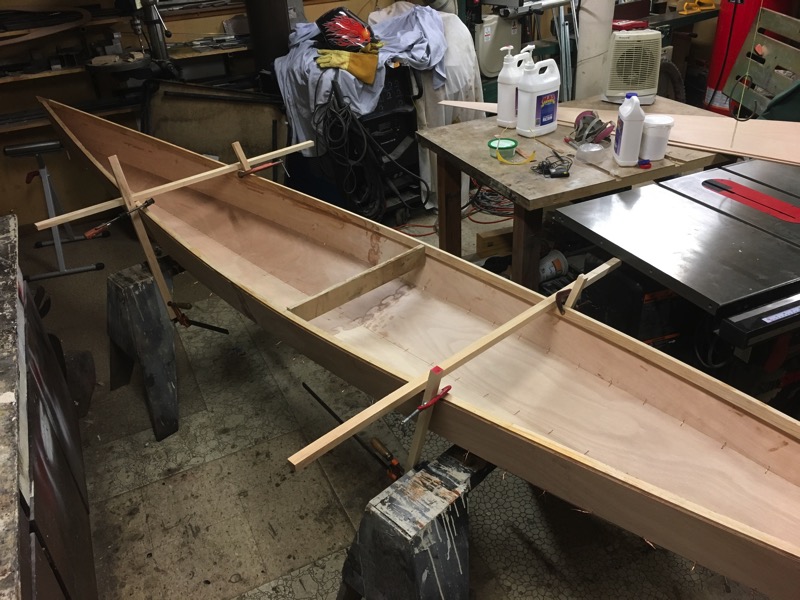
The kayak is starting to look like a real boat! First you have to level it, propped up on some sticks/sawhorses:
Then install the bulkheads:
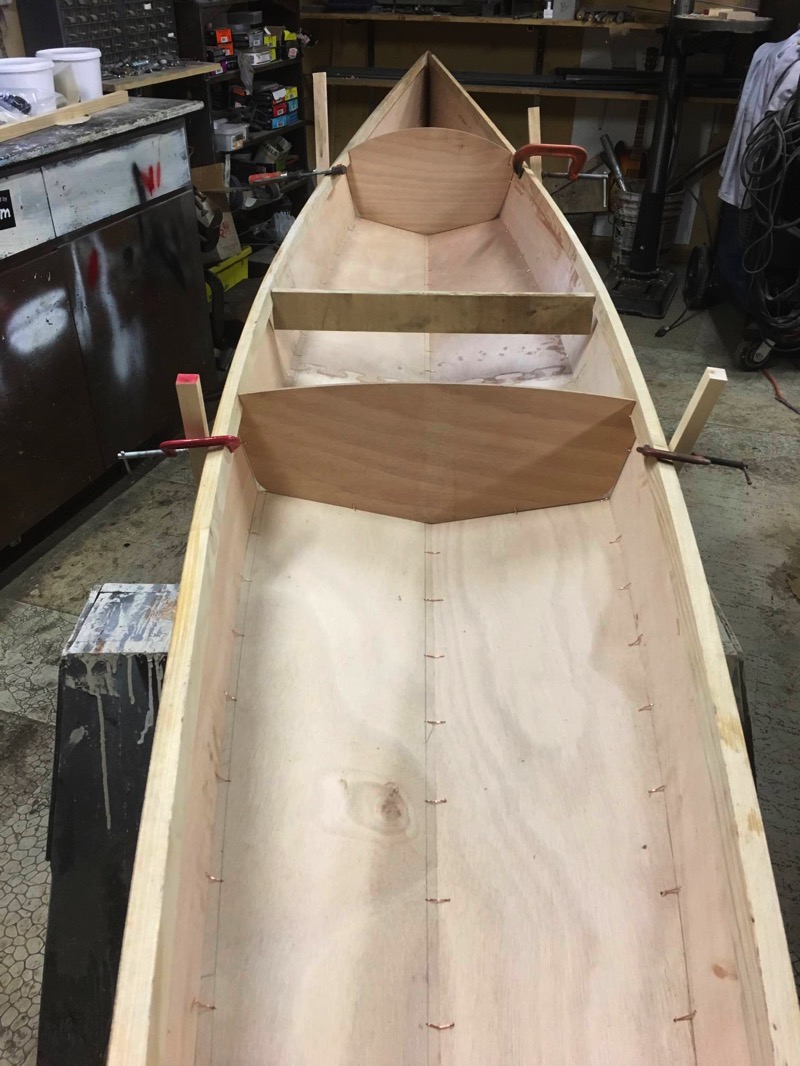
And finally, start gluing it together with some epoxy/wood filler mix.
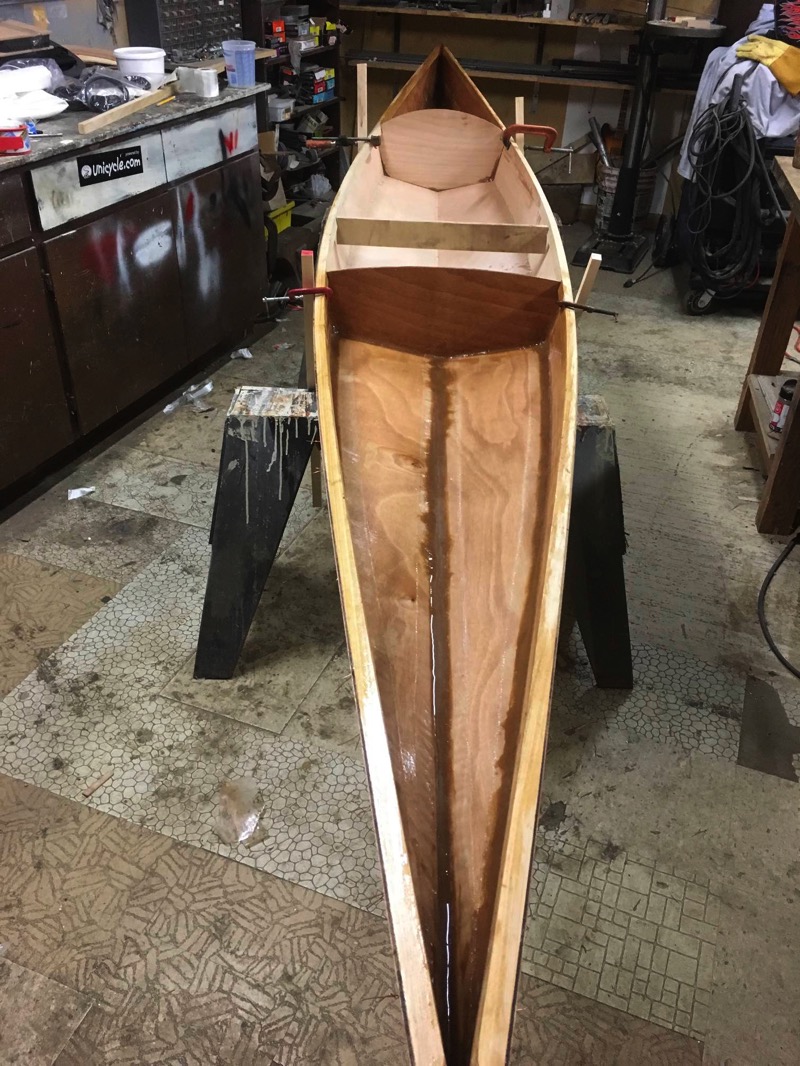
Things I’m learning as I go:
- I should have put the stitch holes a little closer together; this would have allowed me to use less filler; a smaller filler line (closer to ¾” wide instead of bigger than 1”) would weigh less.
- Using tape to create smooth lines is pretty nice to do. The directions recommend this…but I practiced with and without it a bit. The front and rear hull areas are for storage, and won’t be seen regularly by me, so I don’t mind.
- The top coat of ‘unthinned’ epoxy will run down to the center. It is important to clean it up a bit afterwards…and you can keep doing it for a bit of time with the slow cure epoxy and still have it look good. I didn’t do this on one side and it is rather thick.
Next up is the middle section! It is more important, and will have some fiberglass cloth over it for additional reenforcement of the cockpit.
Previous in General


