Building the Chesapeake 16LT Kayak: Part 3 – Stitching
I got to the stitching part of the “stitch and glue” kayak build! It didn’t take very long….the kit was easy to work with. I had to push my tablesaw off to the side to make some more room for things.
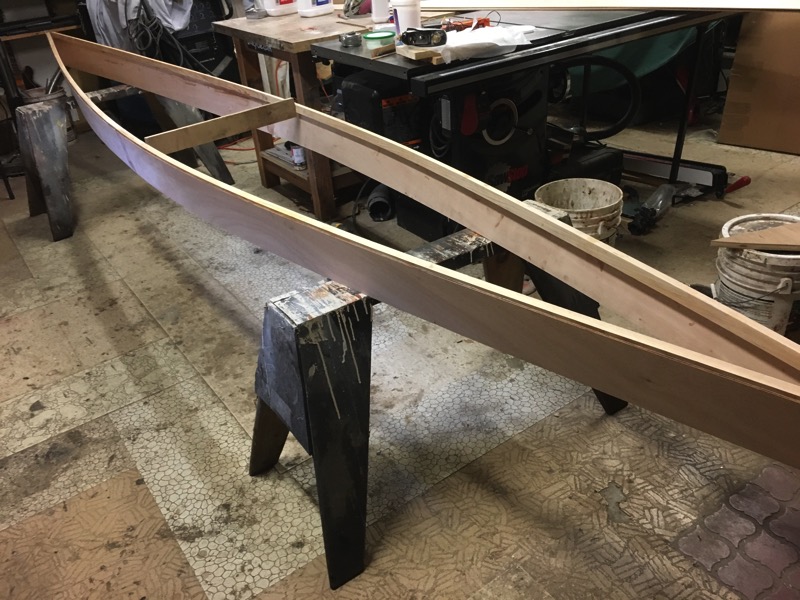
Here are the sides; they are stitched on the ends with 18 gauge copper wire:
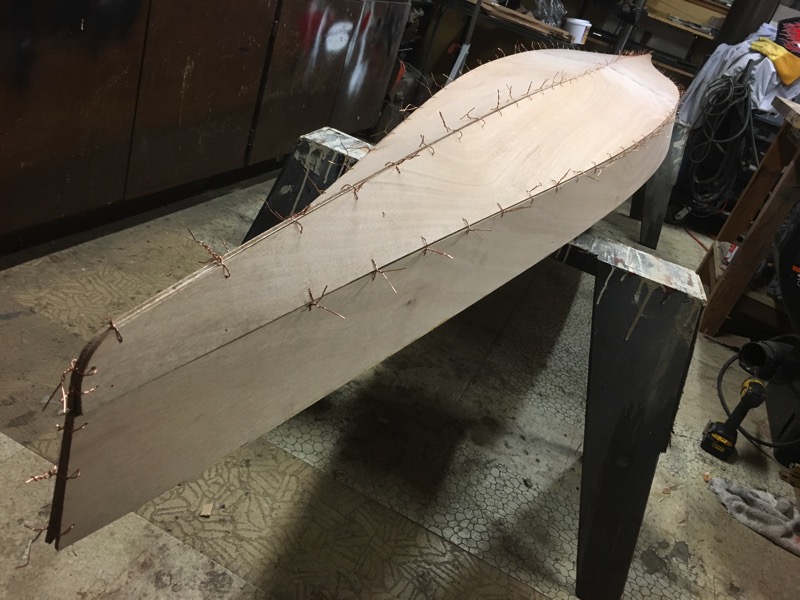
The bottom pieces are stitched together and then set on top to become the V bottom of the hull. I wasn’t sure which side was front…but then it became obvious (initially I had it flipped the wrong way). It only aligns up one way, and the front (bow) has a nice sweeping line, whereas the back has a flat end.
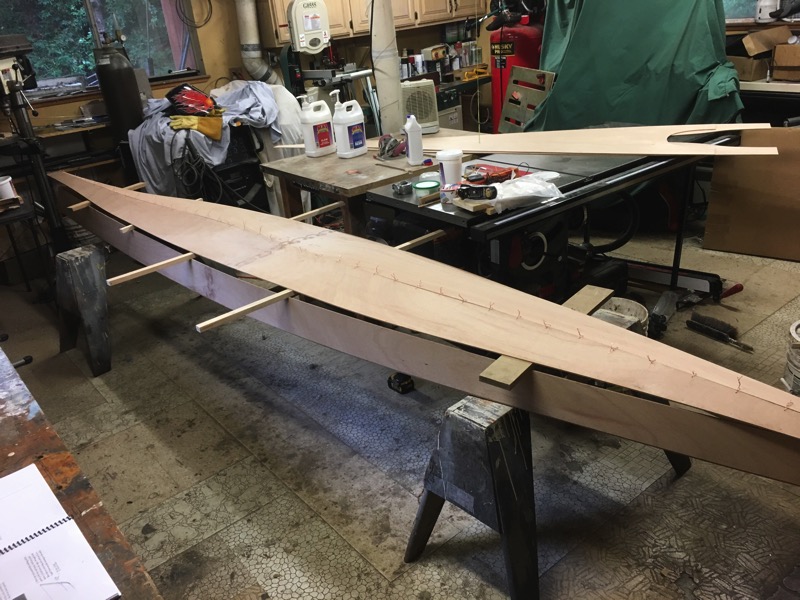
The sides were then stitched to the bottom. I ran out of copper wire. The instructions recommend taking the wire as a roll and cutting it into thirds to generate wire pieces that were 2.5-3” long. However, this produced some slightly longer pieces, and because of that I was short a bit of wire. Luckily Home Depot sells it, and for $5 I had 25 more feet of wire.
Next the hull is flipped right side up and you setup some sticks to remove any twist in the body..
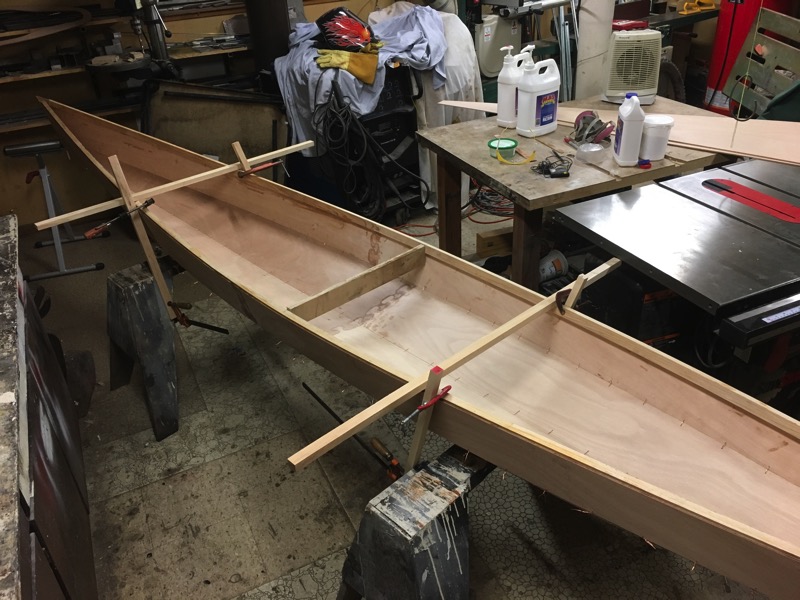
It’s going together a lot faster than I expected! But the glassing is going to take quite a bit of time…


