Building the Chesapeake 16LT Kayak: Part 2 – Setup and Gluing
The kit came about a week after I ordered it. The delivery company received it in SFO, and was reluctant to deliver it to me right away — they wanted to wait an extra week or so because I was “on the edge of their delivery area”. I complained…and they rescheduled things and delivered it the next day. I didn’t want my fragile boat parts sitting in a warehouse for a week with the possibility of getting damaged.
The kit arrived fine! The delivery guy almost forgot the second package. He dropped me off the big package and we started chatting a bit about my electric VW bug. I walked into my garage, not realizing there were two packages, and was taking a look at the delivery list. It said two items…so I ran out to the guy’s truck; luckily he was still idling in my driveway and hadn’t driven away yet! He apologized, and quickly grabbed the smaller second package that contained my epoxy.
Here is the kit as it comes:
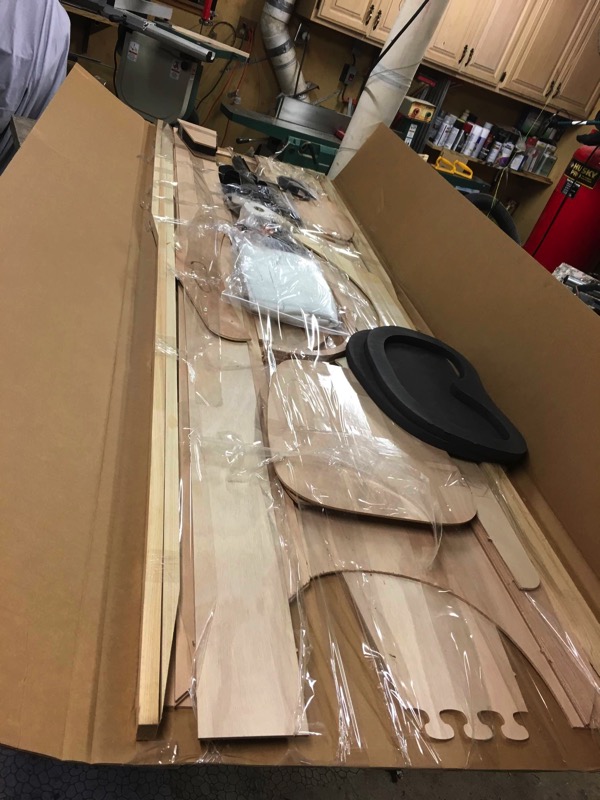
To build a 16’ kayak means I need at least 16’ length of space in the garage. I cleaned up my long tabletop, and started gluing together the long sides:
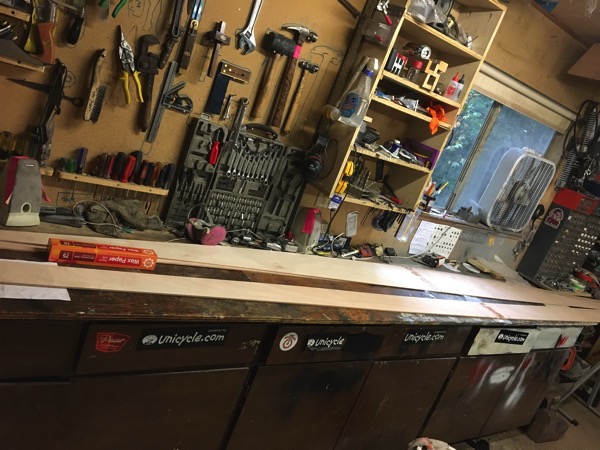
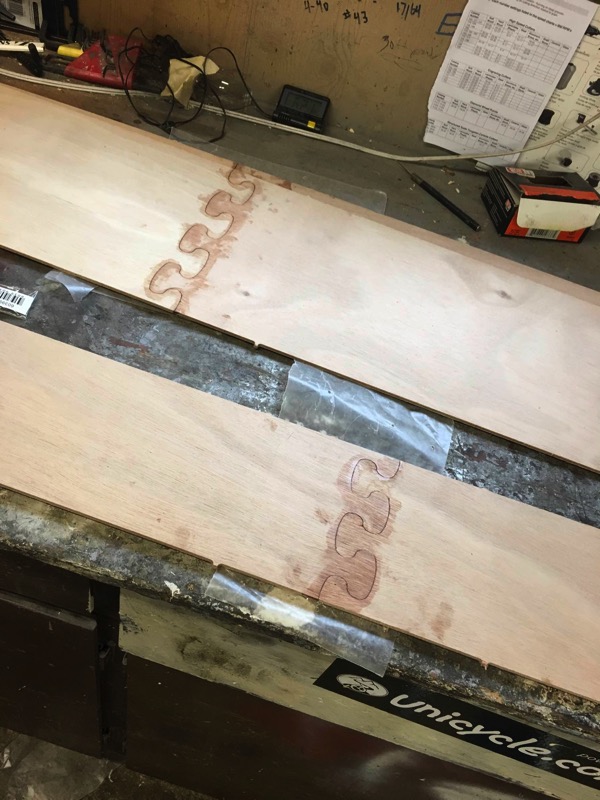
The Bessey clamps hold together scarfs really well!
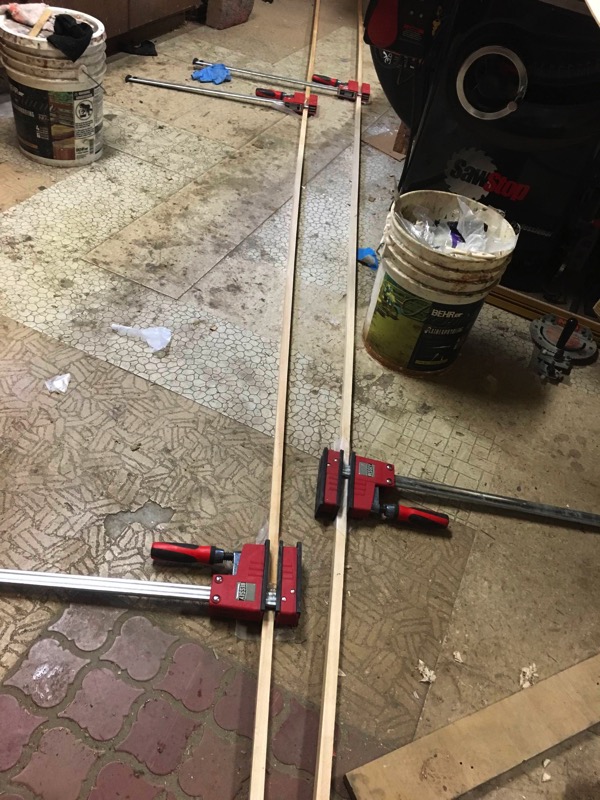
The next day I had to do a little cleanup on them. Some glue oozed below, but it was really easy to plane off and sand smooth.


