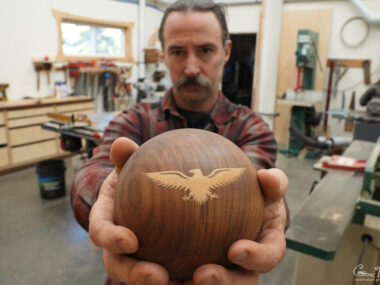
LED Cyr Wheel v3: Expoy
Okay…the wheel is coming along! I haven’t posted a while — my internet was working poorly, and last weekend I went to Sedona (more on that in another post).
Notes to myself:
Using the silicon 20 gauge wire for power, and 22 gauge wire for data/clock seem to work pretty well. Non-silicon melts the plastic covering when I solder, making it a pain in the ass to use.
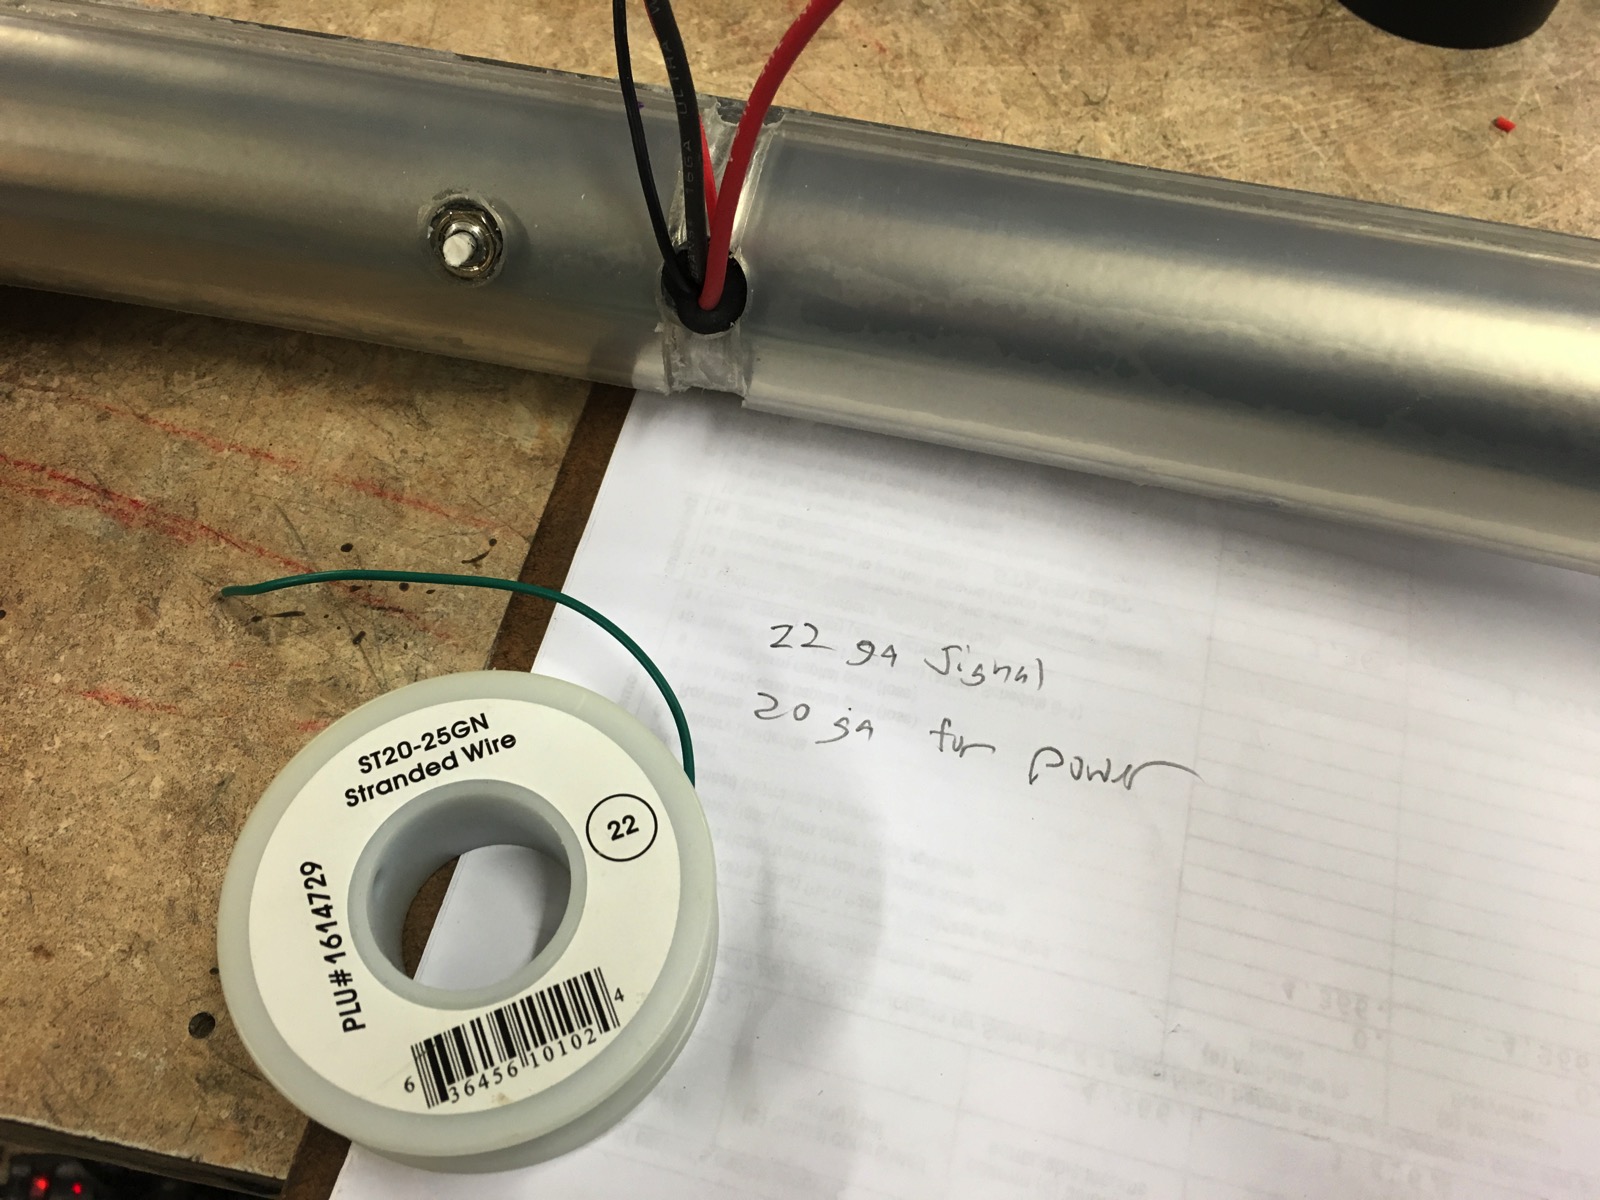
Tap into the 5v power rail wires on the inside and pull out the wires through my hole:
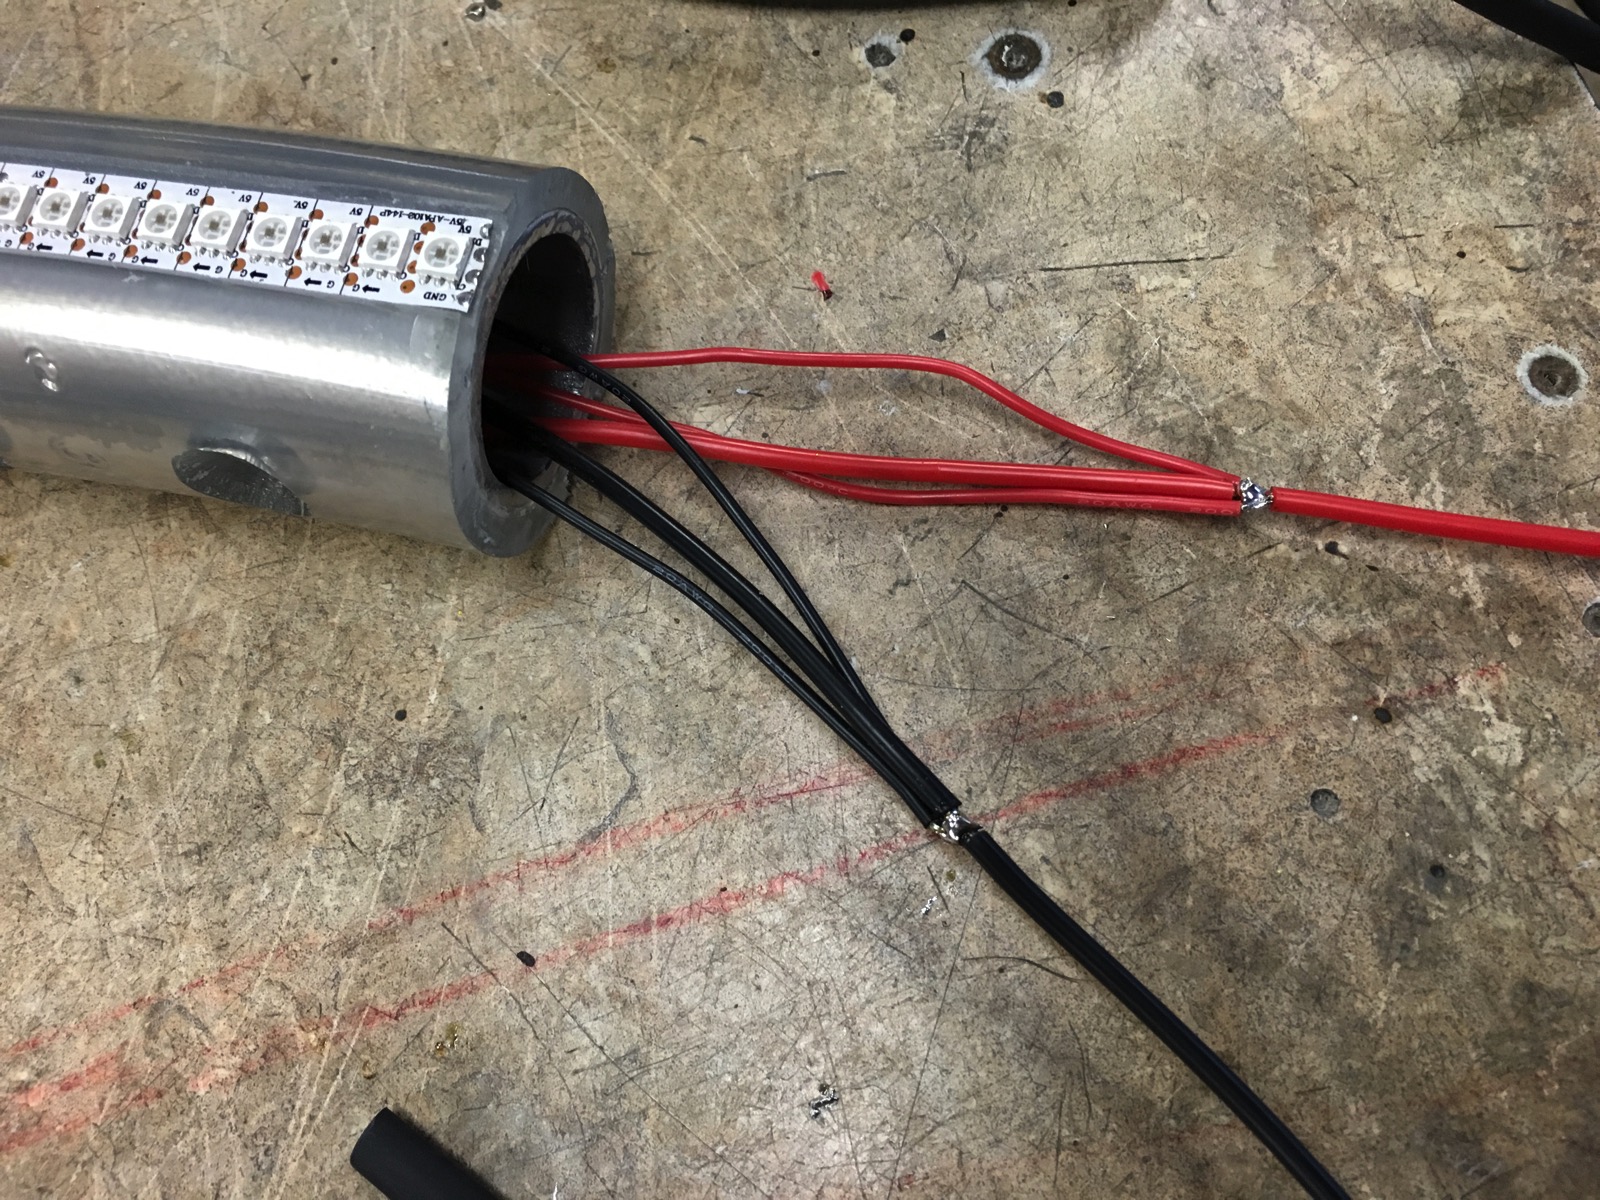 \\\\
\\\\
I need a better battery situation. My main battery has a pretty nice cradle, and works well, but it isn’t enough power. I like physical switches, and a second battery has to have its own 7.4v -> 5v DC -DC converter, and its own switch. This works..but means more holes, and I have to flip two switches on and two switches off. And I have to take the wheel apart in two locations to charge the battery. I guess 4 batteries spread throughout the wheel might be best…and I wish I had a clever way to have them all output 5v, and easily be chargeable all at the same time. That would be awesome.
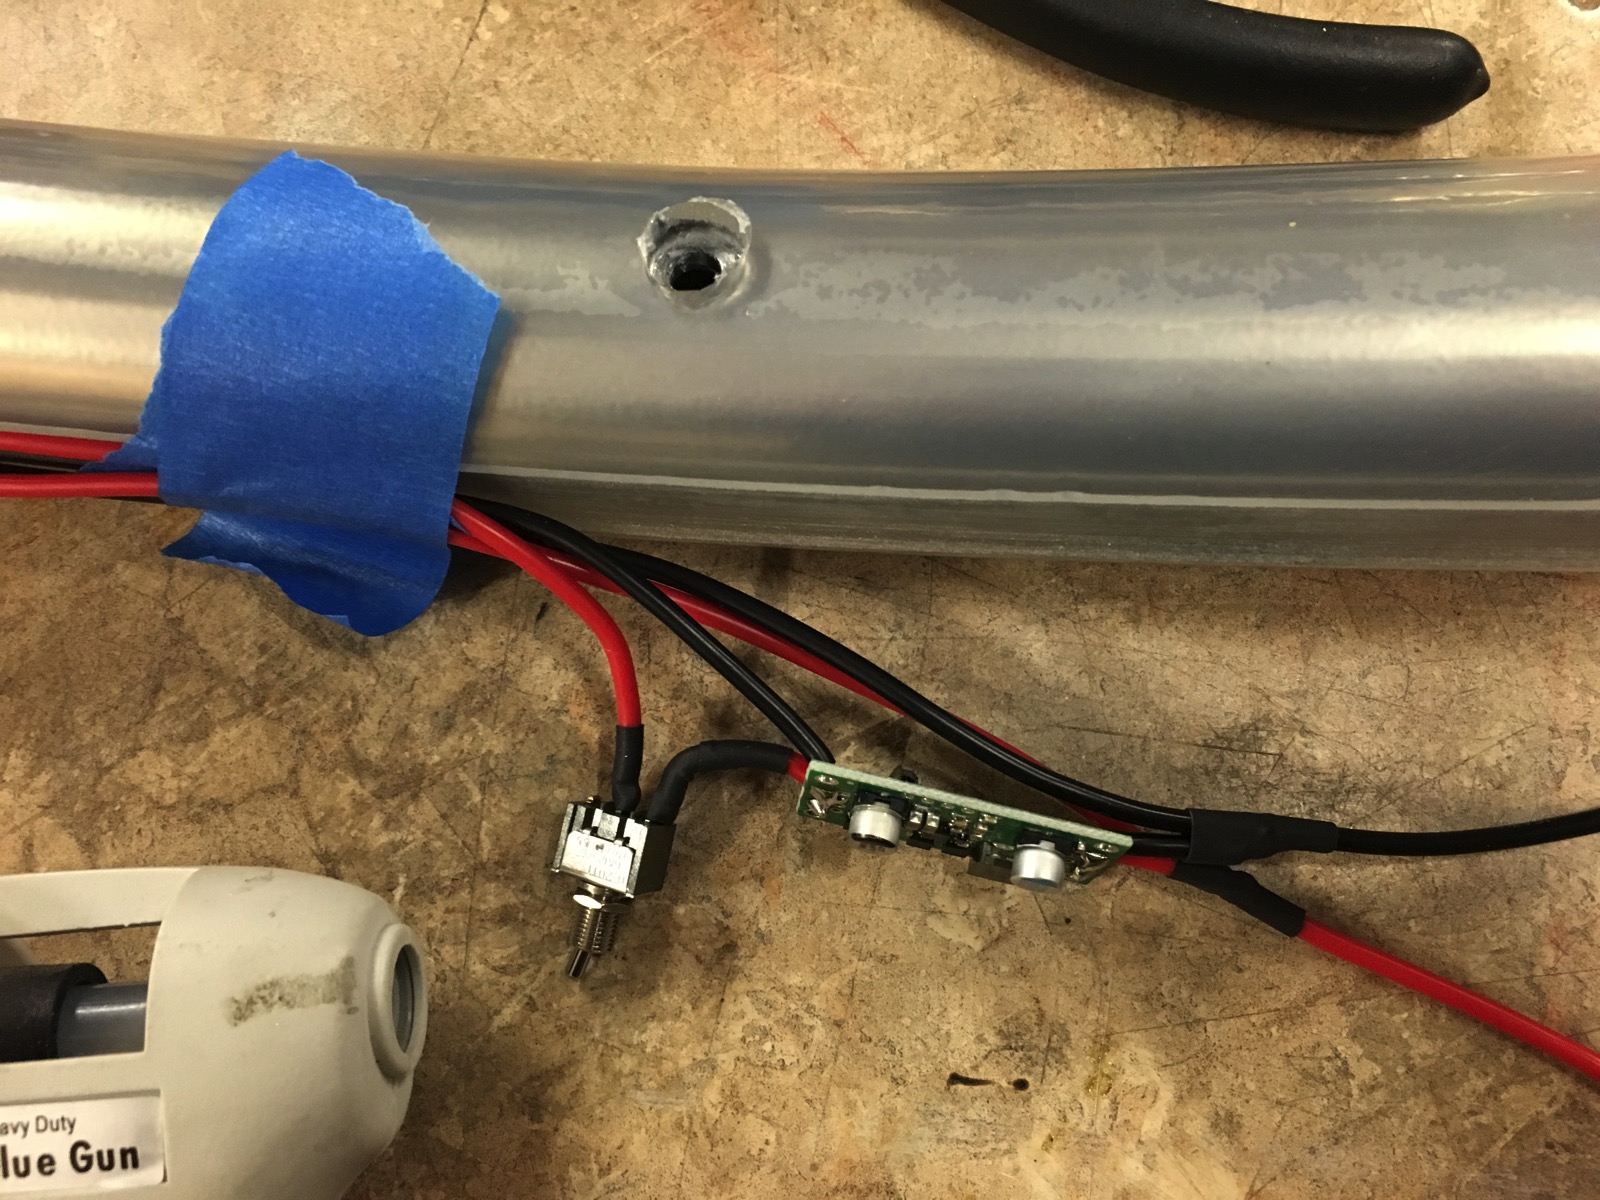 \
\
Epoxy — don’t forget to heat up the room. Covering with tape still works well, but is a pain. Wiping with acetone makes it easy to clean off tape residue.
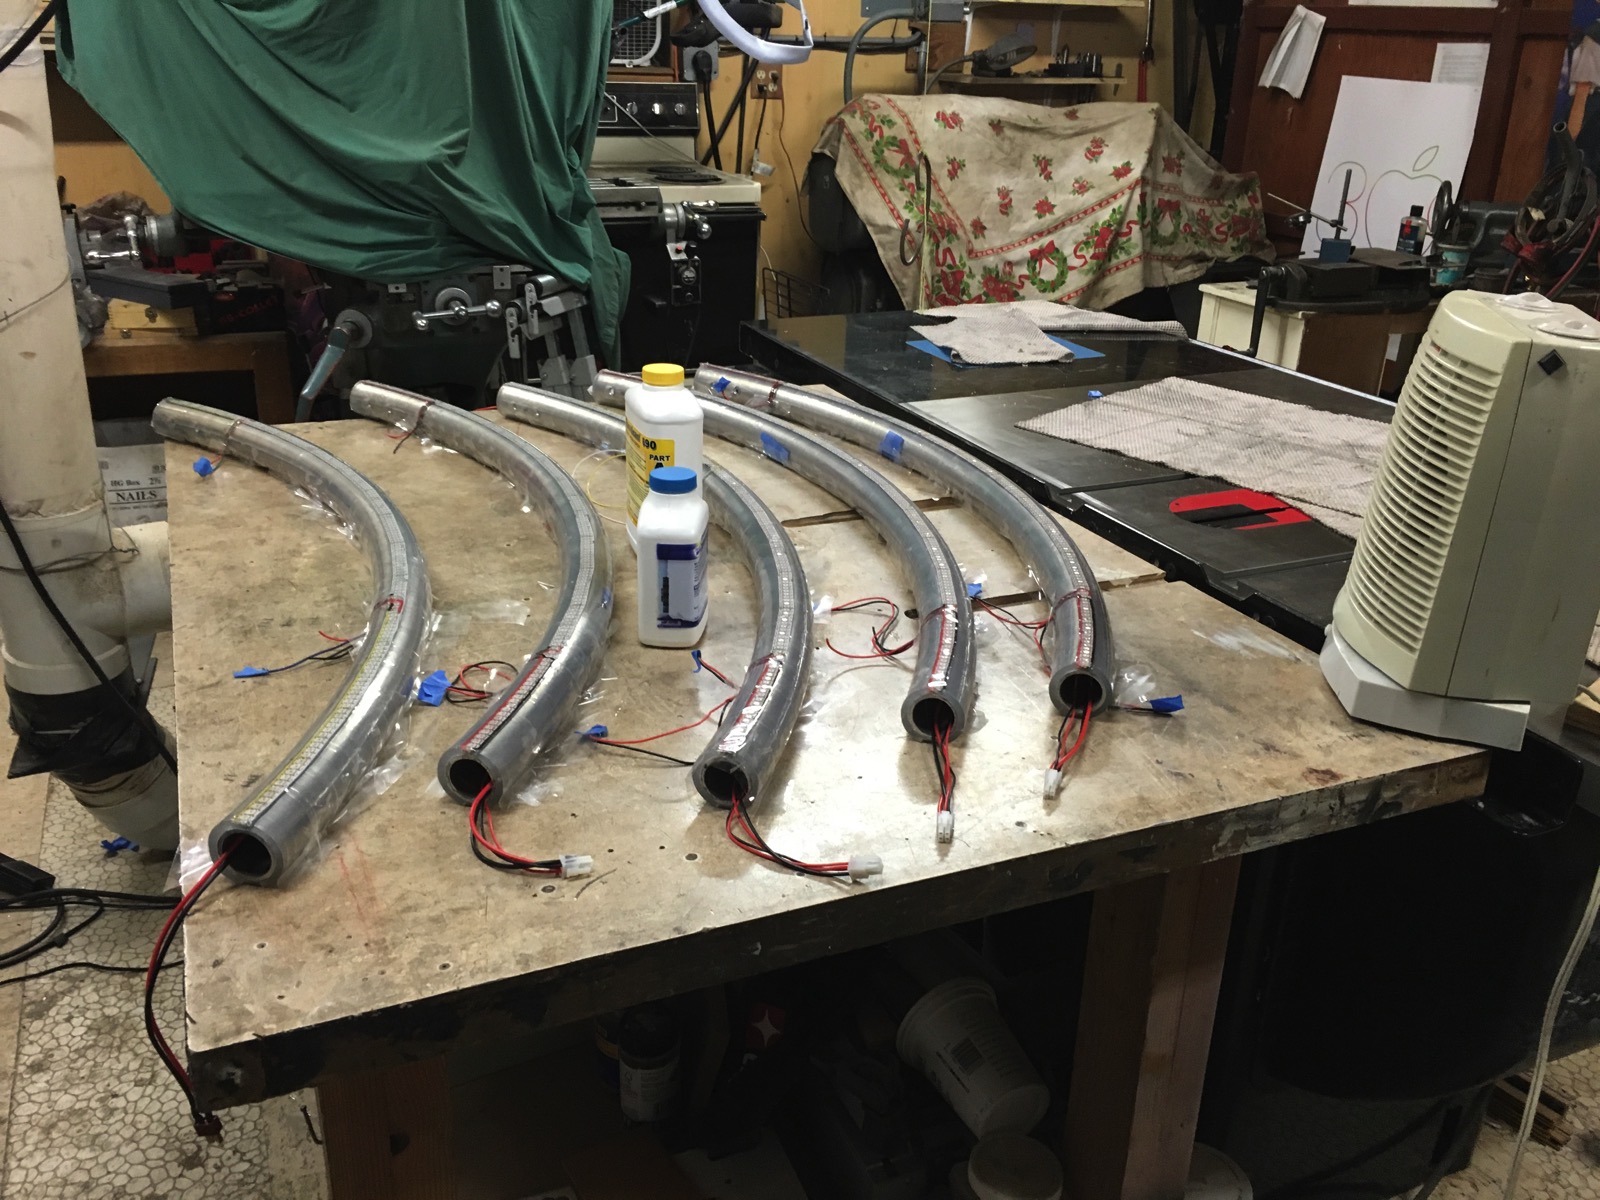
I discovered a problem when I ran certain patterns. The LEDs furthest from the chip (the two left pieces) would get some wrong data. The only way I could fix this was to slow down the clock speed. 24Mhz doesn’t work at all; 12Mhz works well for a certain amount of LEDs, and I have to run it at 8-10Mhz. At first I thought I had a bad LED and was going to have to crack apart the epoxy, but a bunch of careful testing made me realize it was the really long length of strips (804 LEDs is quite a bit).
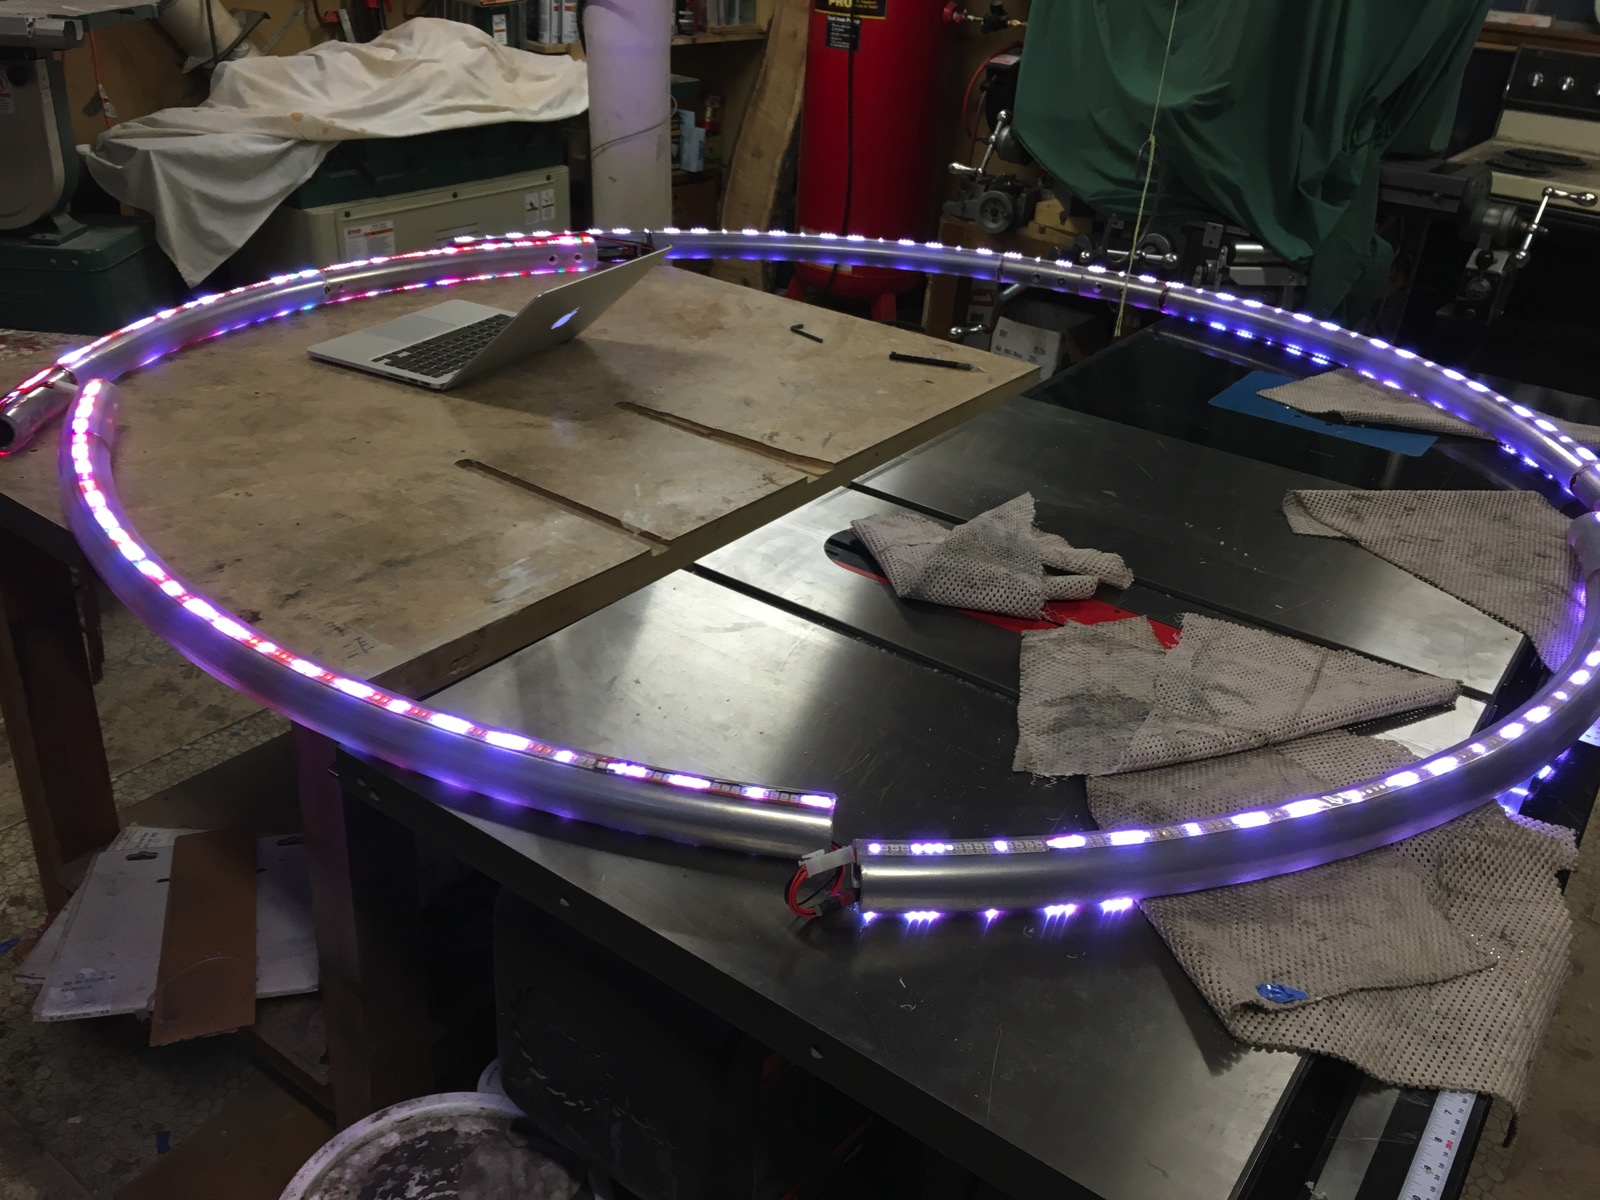
Still working on it…


