Bathroom Vanity Notes
These are mainly notes to myself on building my downstairs bathroom vanity (cabinet).
Face frame construction was normal pocket hole screws and works well for the face and back frame (back side seen here):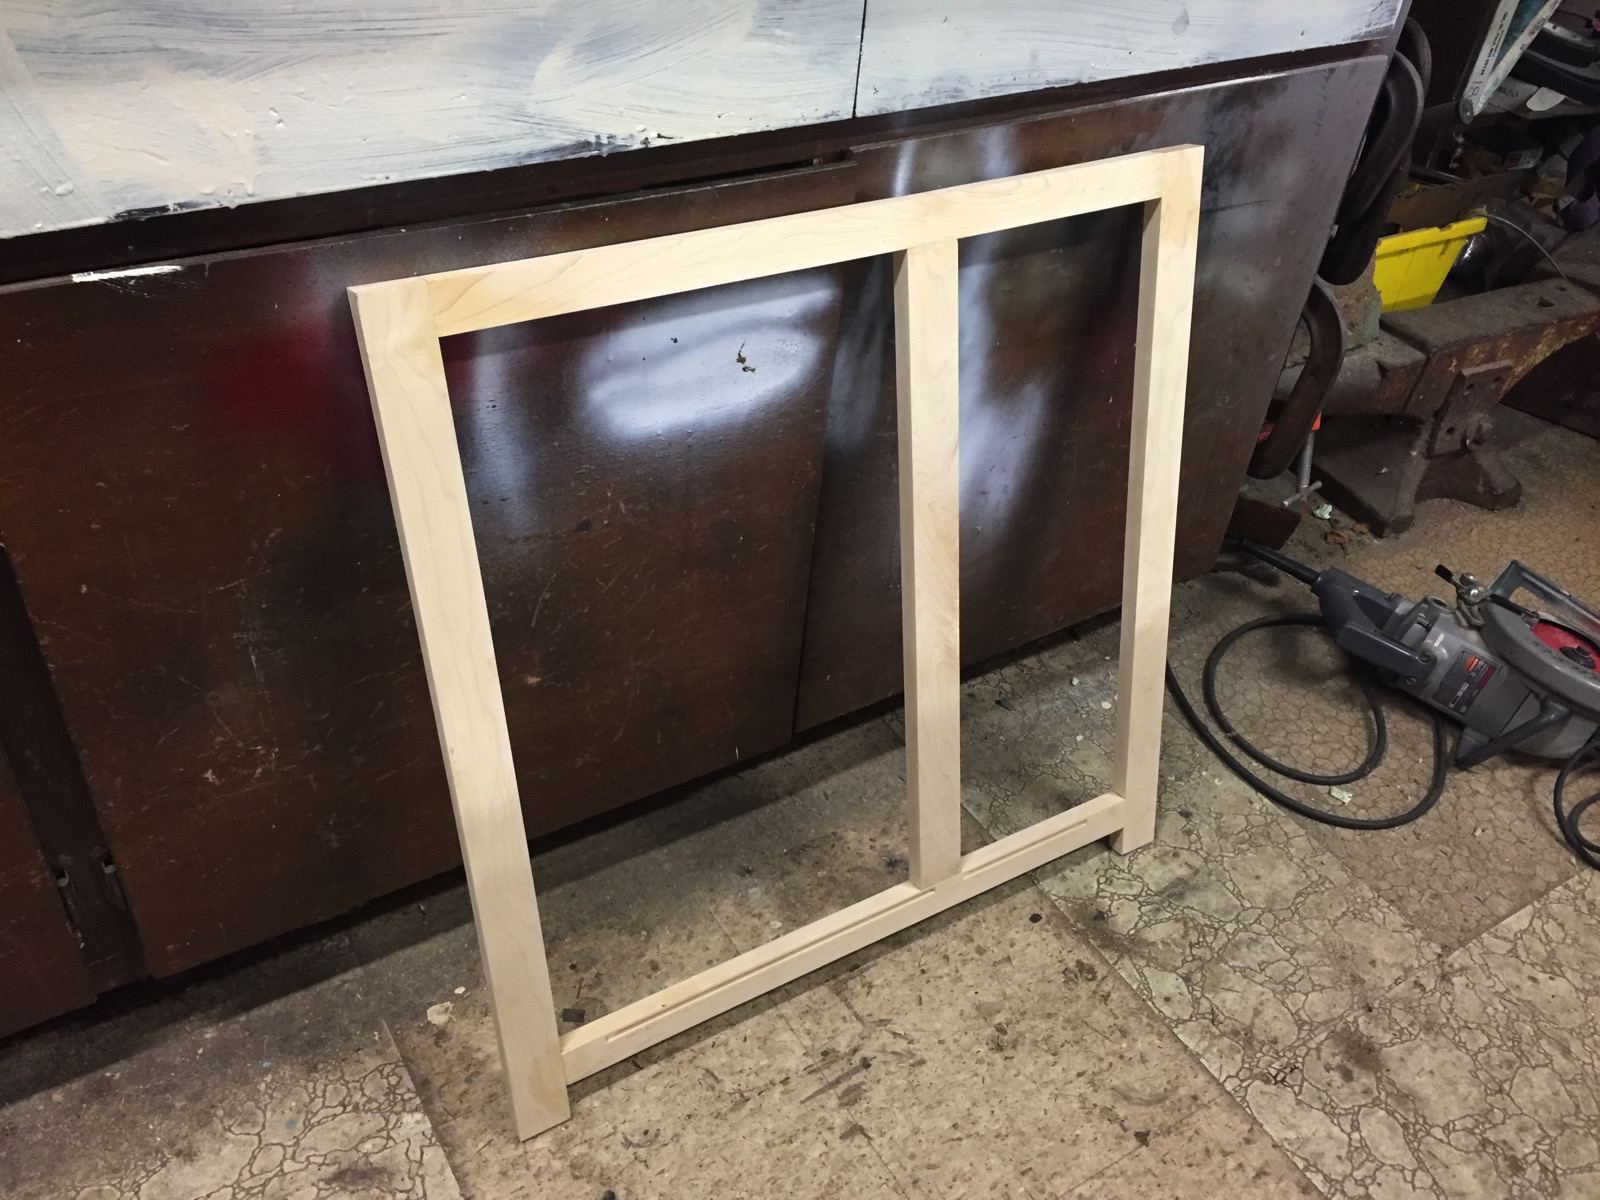
In the above photo, you can see the stopped groove for the bottom sheet of ½” plywood. I learned from prior projects to always stop the groove at the pocket hole screw locations. You can’t see the pocket hole screws, because they are on the back of the cabinet. The tongue will get trimmed these points.
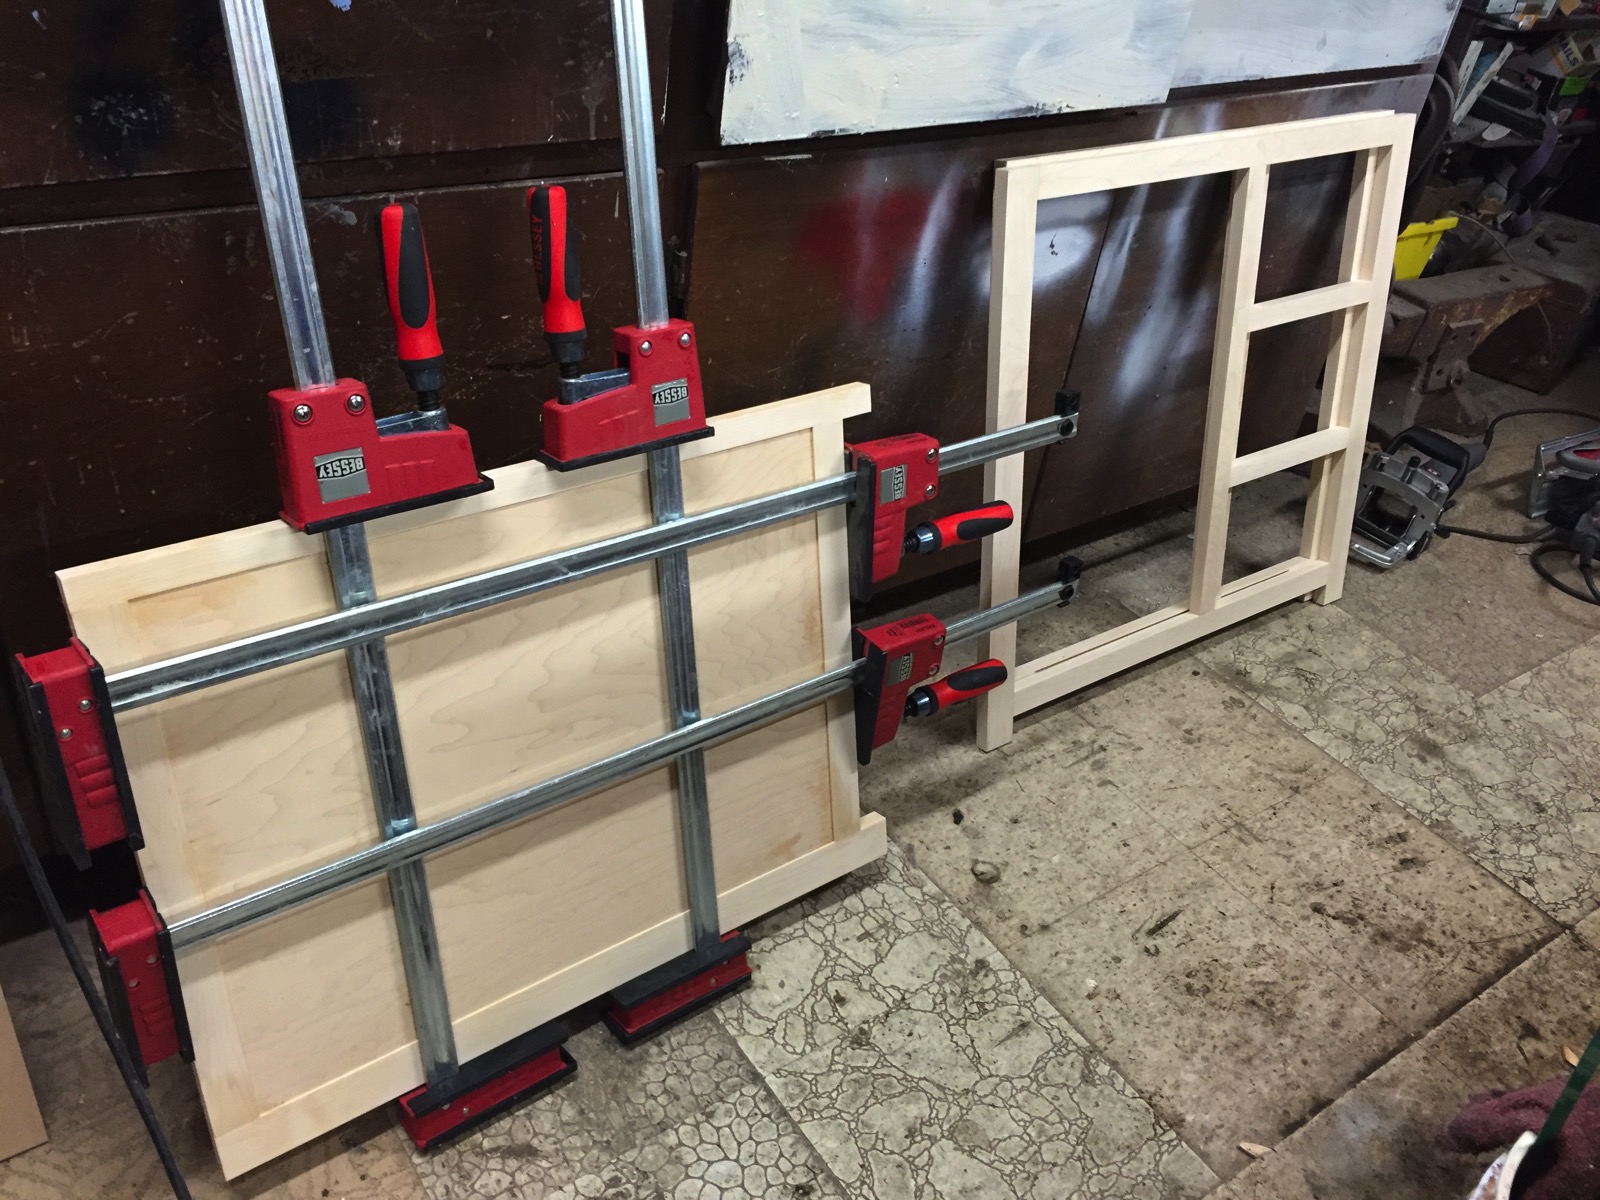
On the plans and Sketchup model I didn’t draw in the joinery, thinking it was easy. I originally planned to tongue and groove the side panels together, and also use some pocket hole screws to hold it together; the screws would be impossible to see on the bottom raise, and on the top rail you will be able to see them, but you would have to stick your head in the cabinet. I was going to tongue the plywood and groove the the frame. I realized I had a flaw; if I grooved the bottom rail, it would intersect with the groove for the bottom plywood, and effectively allow the chunk to fall out. So, I ended up using some biscuit joints to do the job, which can be seen here:
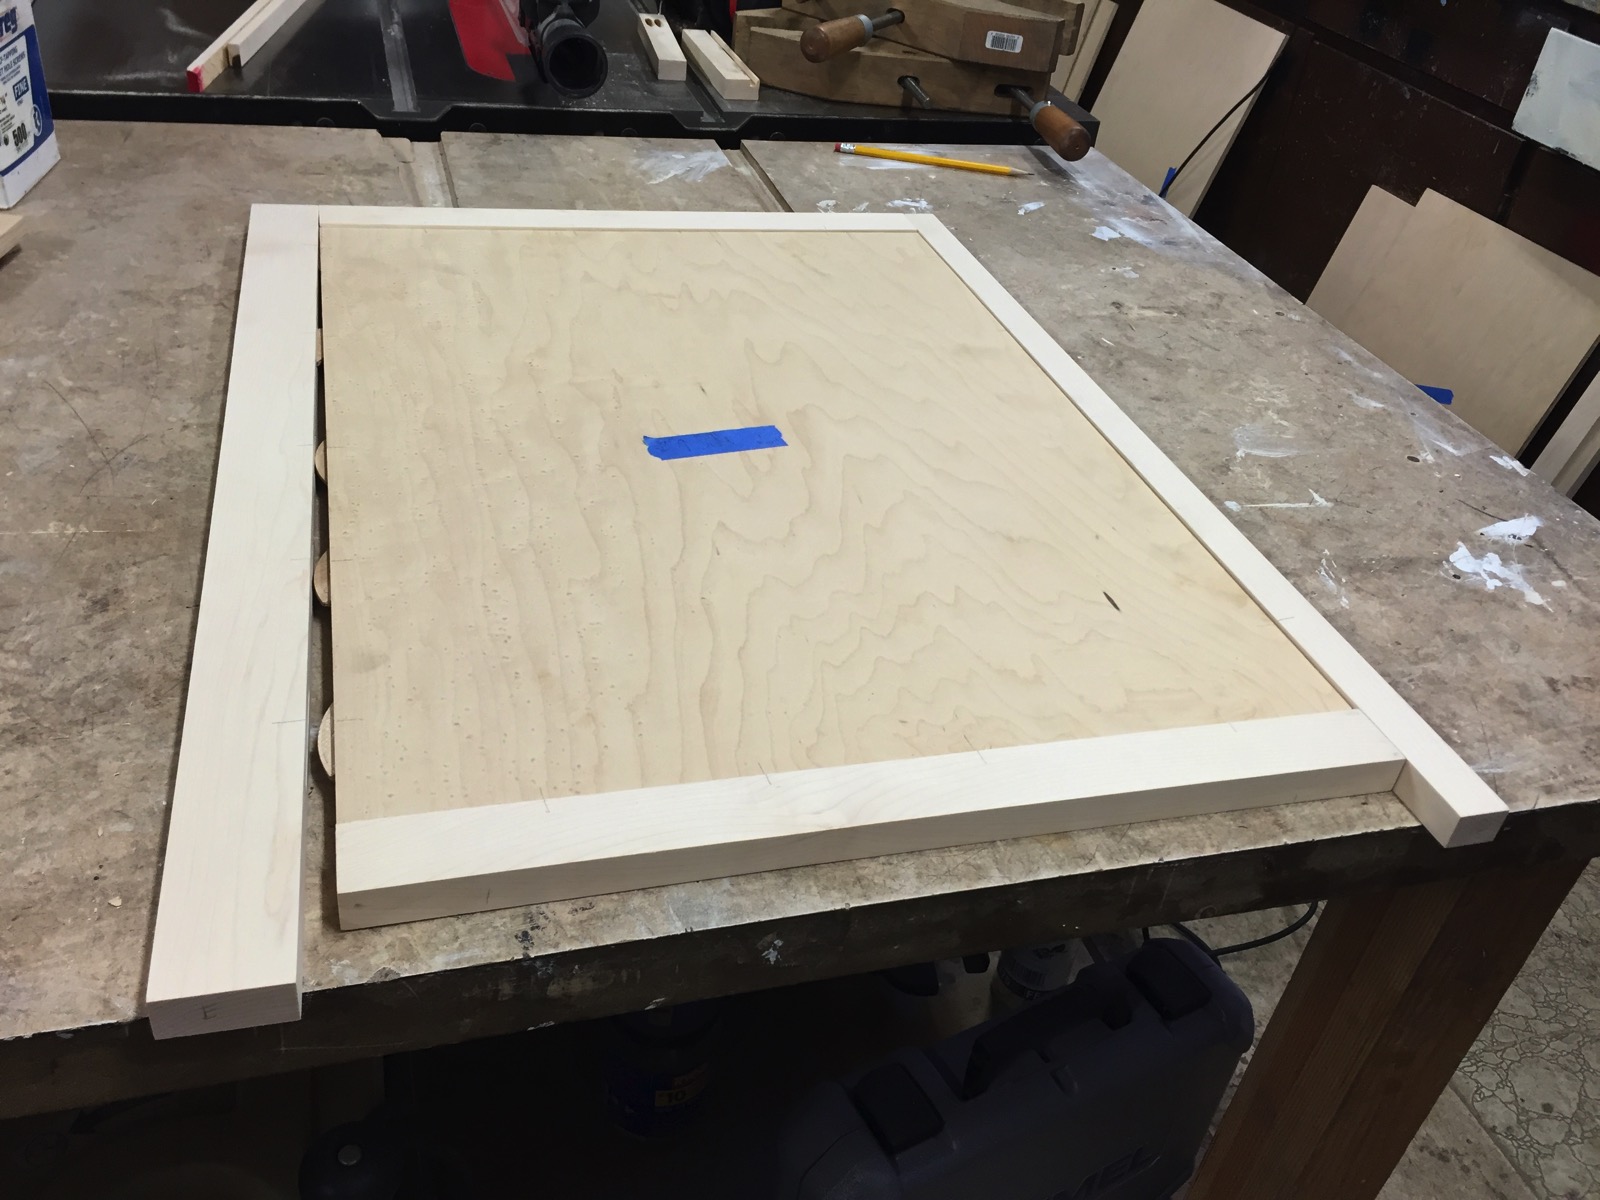
If you know woodworking, you understand you can ONLY do this with plywood, as it is dimensionally stable. If it was a solid wood panel, the glue up would tear it apart when it swells in the horizontal direction.
Now, I’m not fond of this technique. The glue-up took a long time because of too much squeeze out. Plus, one side of the plywood had some small nicks from ripping on the table saw. It also took a long time to sink in the pocket hole screws.
I’d rather embed it by cutting a ½” groove. Originally I wasn’t going to do that because I wanted it flush on one side, but after playing with the inset I ended up not having it flush, and doing a small (less than ?”) reveal on the outer side. I have to do the other side the same way, as I already cut the plywood, but the door plywood is still oversize and will allow me to do it better.
Finally, a picture with clamps:
