Downstairs Bathroom Remodel – Tiling the shower
My downstairs guest bathroom remodel project continues. Last status was posted in “Downstairs Bathroom Remodel, shower pan, etc“.
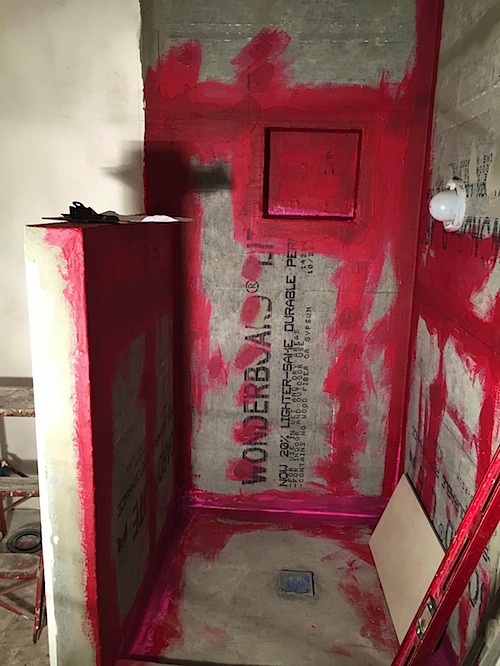
After I built the shower pan, I installed the 1/2″ cement backer board, being sure to not screw into the plastic shower pan bottom. I then used Red Guard to seal in over the thinset for the niche, and while I was at it I did the corners and bottom “just in case”. The pan is designed to capture water, so that shouldn’t really be necessary, but you definitely don’t want the niche to leak into the wood frame.
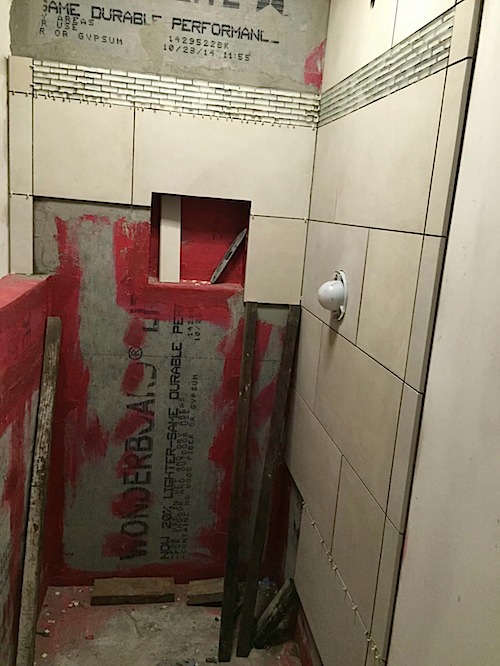
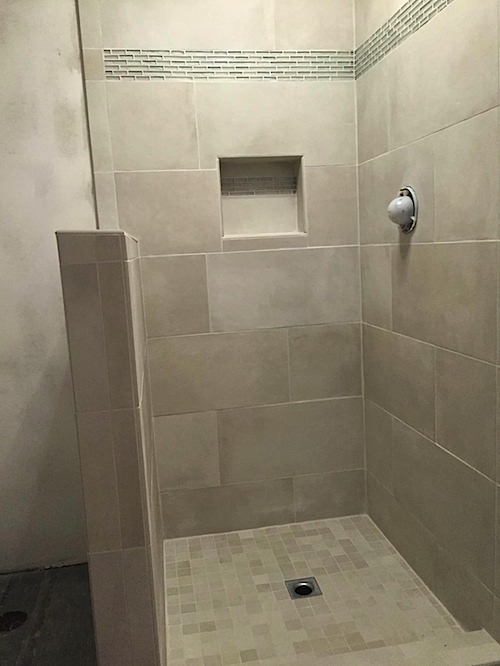
For the shower walls, I start in the middle and work my way up and down; this produces the middle as the most centered portion, and allows me to have the accent tile exactly where I want them. I picked a location sort of a third down from the top:
I use some wooden supports to make sure the tile don’t sag, and this helps create nice consistent grout lines.
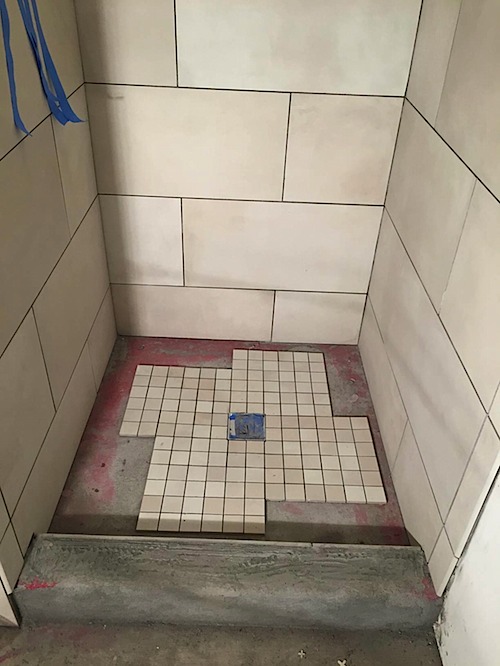
For the floor I used the drain as the focal point and worked outwards:
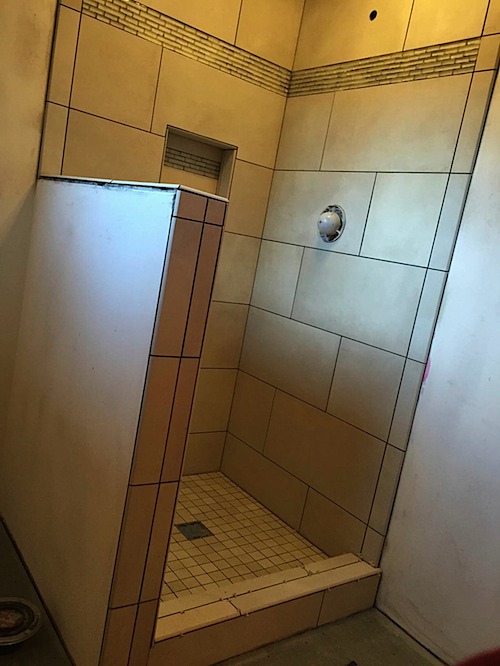
Tile done and ready for grout (poor lighting):
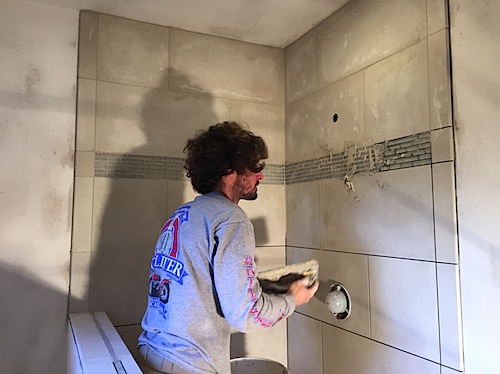
Professional home remodeler at work:
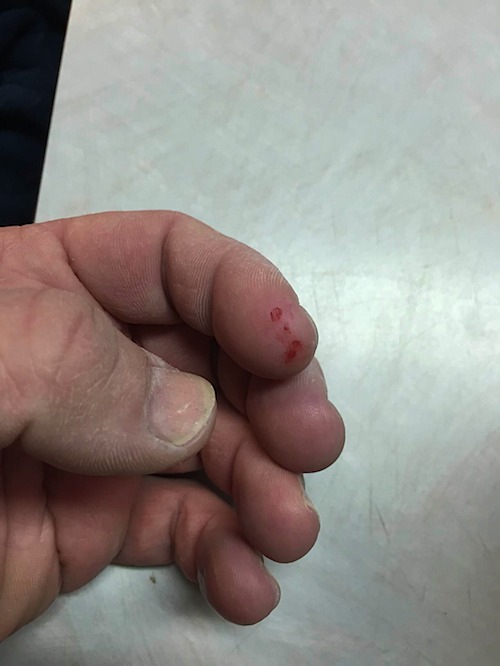
Note to self, wear gloves! Don’t use your fingers to smooth grout lines:
Post grout:
Unfortunately these tile were a bit porous, and I didn’t do a good job of getting all the grout off the tile surface; this has left some whiteness to it, and I’m having a hard time getting it off now that the tile have dried. What works best seems to be some light sanding with sandpaper and then hard scrubbing with a brush. I also tried Ajax..but that didn’t work well.

