Plug Bug: IOTA DC-DC Converter fix
UPDATE!
After 100 miles, the solder got so hot that it melted out. I asked the friendly people on EVDL why this would happen. It could be because the inrush limiter was not rated right, or it wasn’t getting enough cooling. So, I replaced it with a CL-30 instead of the CL-40. The CL-30 has a slightly higher amp rating. I also put *another* small fan on top of the inrush limiter to add in cooling. So far, I have ~150 miles and it seems okay.
So, take this posting as-is with no warranty that it will work, or not.
———————
Last Monday I didn’t make it home in the Plug Bug! The 20 amp high voltage fuse for the DC-DC converter had blown, and I quickly discharged the 12 volt accessory battery down with the headlights. The controller then spit out “low 12 volt” errors/warnings and eventually just stopped. I wasn’t sure what to do, so I called my friend Grace Fleming (Nathan Hoover’s wife) and asked if she could pick me up, since she lived close by. She did, and loaned me her car to drive home. I grabbed some tools and then Nathan took me back to my car. I tried to swap the fuse from the heater to the DC-DC converter, as I realized quickly that it had blown. However, it wasn’t keeping the voltage high enough for the 12 volts, but I made it to Nathan’s house. The BMS lots its state of charge (note: that is fixed with a later software rev, which I don’t have), so I was worried I wouldn’t make it home (it said 20%, despite charging at work). So, after a short charge at Nathan’s house, I decided to get a AAA ride home. The next night it ran fine, but I didn’t want to drive it and blow the fuse again.
The kind people on the EVDL list, especially Lee Hart, said that this is a common problem with IOTA DC-DC converters. They are really AC-DC converters, and the capacitors suck in a huge amount of current when it is turned on. That can blow a fuse. The list has a great write up on what to do here: http://www.evdl.org/pages/iotamods.html but it sort of scared me when I read it ages ago, as I am not an EE. I mean, what the heck is a bridge rectifier? I figured I’d just not do those mods, but now I really had to!
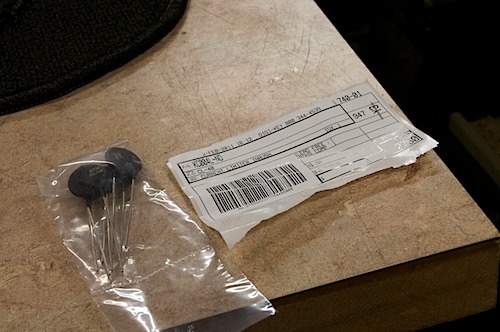
Lee told me on the EVDL what to look for, and it was easy to do. At a minimum, I needed to replace the bridge rectifier with an inrush limiter. I ordered this part from digikey.com: KC004L-ND CURRENT LIMITER INRUSH (a CL-40 Inrush Limiter):
$17 with tax and shipping for 4 (I only needed two, but like spares), and I got it Friday after ordering it on a Tuesday. I ordered some more fuses from discountfuse.com.
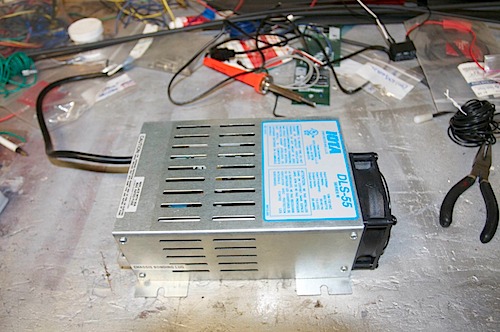
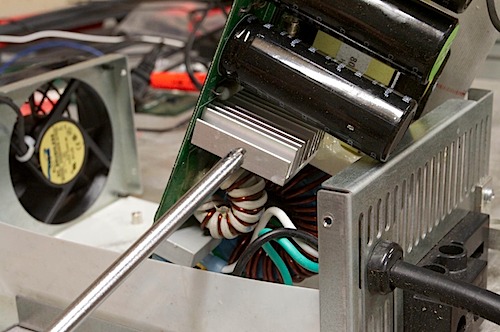
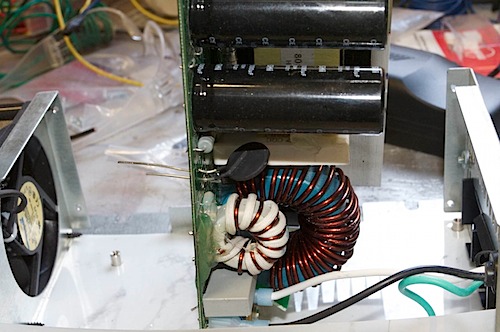
Here’s the converter on the bench:
I used general purpose 5 minute epoxy to epoxy these two things down to the board:
I didn’t replace the capacitors; they are rated for 200V, and I will never see that high a voltage.
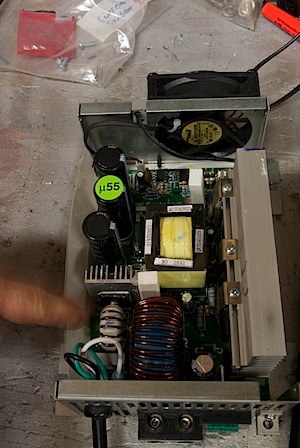
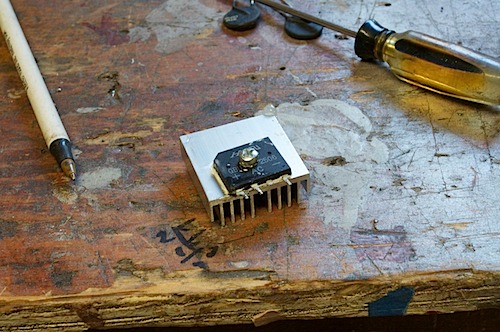
I unscrewed the board from the base and isolated the bridge rectifier. It is attached to a heat sink:
I had to fight to get it off, as I have never removed anything from a circuit board. After trying to get it loose for a little while, I realized I needed a “solder sucker” and “solder wick”, which I got at frys the next morning. With those tools in hand, the thing came right off:
I read on the internet what a bridge rectifier does, and tested the circuit to make sure it was the right part. I also double checked that the part number came up as a rectifier, and sure enough, it did. So, I removed the right thing.
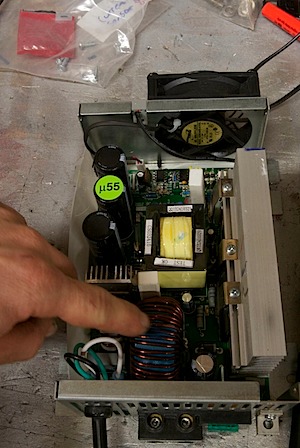
Lee said to consider the 4 holes numbered 1, 2, 3, 4 and to put one limiter in holes 1-2 and another in 3-4. That makes sense, as looking at the circuit on the bottom I can see it passes current through those holes.
It was easy to solder it on and put the case back together and so far it is working. I drove 80 miles today. 20 miles to work, charged there, 40 round-trip miles to CAR at lunch, charged again, and then 20 miles home. I think I was at 60% SOC after the 40 mile trip, mostly at freeway speeds: 55-65 MPH, with a few small hills.

