Plug Bug: Motor backing plate + Controller
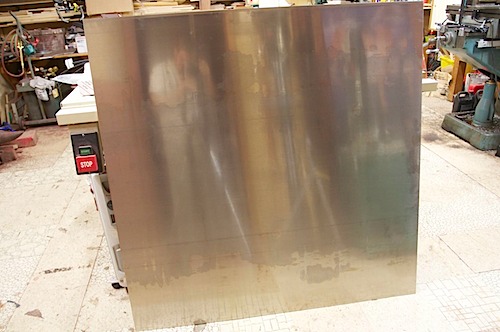
The project is moving along slowly. I was pretty busy with other things last week and didn’t get much time to work on it. I wanted a 1/8″ sheet of aluminum to back the motor area and mount the controller to. I went to Sims Metals in San Jose last Friday, but they only had some odd thin pieces of aluminum and zero 1/8″ thick stuff. They recommended Reliance Metals in Union City, so I called them up on Monday and they said they did have 48×48″ sheets that they sell. So I drove the truck up on Tuesday; unfortunately, they didn’t tell me it is advisable to pre-order so I can just will call pick it up, and I had to wait around an extra 30 or 40 minutes for the people to get back from lunch to get the piece for me. Oh well — now I know the process and will pre-order next time. However, they are 40 miles from home, 80 miles round trip. At 10 miles/gallon in the truck, it cost me 8 gallons or 8*~$3 = $24 to get the piece. Shipping from onlinemetals.com would have been about that much, so next time I might just order it online (however, the price per square foot was cheaper at Reliance).
I sized up my cardboard template and cut the aluminum sheet. Unfortunately, I scratched it in a few places — I initially thought the plastic bottom on the jig saw wouldn’t scratch the metal, but it did. So, I used the backside, which had some scratches from me tossing it in the truck.
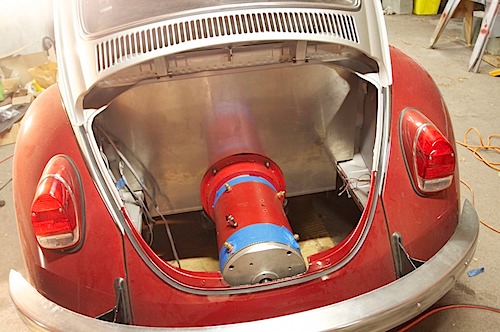
Here it is installed:
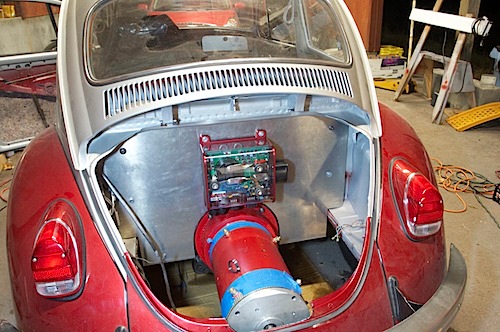
I mounted it with four allen cap head bolts around the edges, and then also used the top two bolts all the way through for the controller to securely mount it and provide more strength. It feels solid! The bottom two bolts for the controller don’t go to the inside of the car; they are attached right above the motor underneath the car body. It looks super-cool:
My plan is to mount the controller cooling on the right side of the motor bay, and put the two contactors on the right side of the 1/8″ plates. The DC-DC converter will be on the left side.
Yesterday Aaron came over and helped me figure out the horn; it wasn’t grounding right at the steering column. Aaron also helped me verify my layout, and tossed me some great ideas on how to do things cleanly. He also helped me locate the key-on and power-on lines that I’ll need to hook up to the controller; luckily they were already in the rear compartment for the generator and starter!
My blinkers are still only blinking the interior light in one direction, even after I replaced the emergency blinker relay switch (which was falling apart!). I think the blinker regulator itself is bad, but I don’t know for sure.
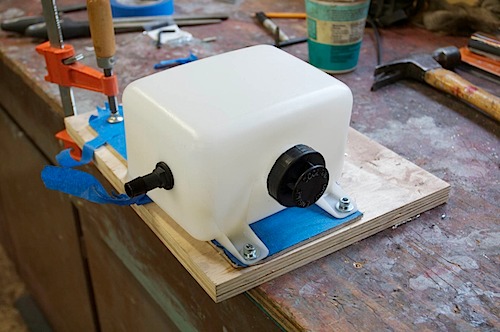
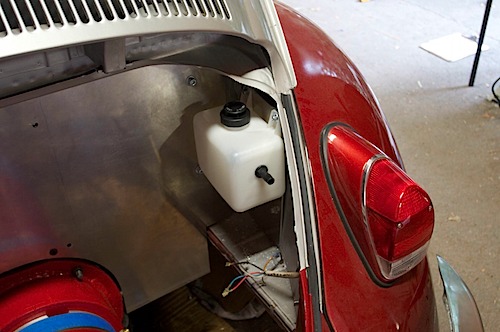
Today I worked on mounting the coolant reservoir on the right. I mounted it on some of the 1/8″ aluminum plating to give it something flat to mount to. The plating is tapped for 1/4-20 threads and it is just screwed into it with cap head bolts. I now put blue tape on the plate to keep it from getting scratched. Here I am tapping the piece:
There are two bolts that secure the plate to the frame — they are just drilled through and have a nut on the other side:
Later I mounted the pump underneath the reservoir, also screwed into tapped holes on the plate. More pictures/details coming in the next post. Other stuff done: canbus line pulled from the Netgain monitor to the back of the car, and the throttle cable spliced to an extension to get it from the front to the rear. Left to do: lots of wiring, attaching the contactors, attaching and wiring the DC-DC convertor, hooking up the heater (once it arrives — hopefully tomorrow). And..I’m still waiting for batteries!
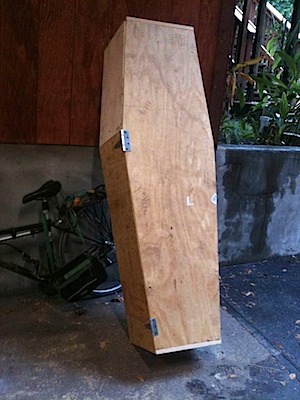
What else did I do last weekend? I did a muni ride on Saturday with Kevin and Chris, and then Kevin came over and we powder coated his KH36 unicycle translucent green — it turned out awesome! I also built a coffin for Louise:

