Plug Bug: Headliner Install
I was really nervous about installing the headliner. I heard it was really hard to do, and frequently didn’t come out right or required a second headliner due to the first one getting messed up. Because of that, I ordered the “easy install” single piece headliner, as opposed to the “original install” headliner that is more difficult to go in. I’m okay with not having a 100% original look, and heck, the car isn’t going to be 100% original due to my tweaks and electric conversion.
I ordered all my interior parts from jbugs.com. Originally I thought I was just going to toss on some new seat coverings, but the rear seat needs new foam, and I figured I might as well do it all at the same time. I also got the JBug’s video on how to do a VW interior restoration — it has been incredibly useful!
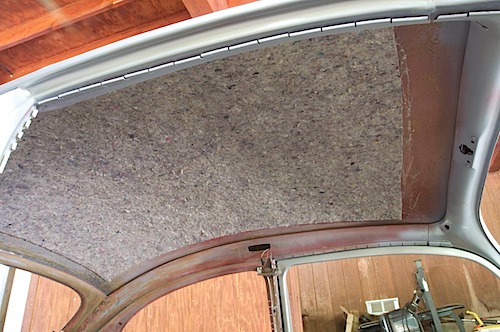
I thought it would be easiest/best to install new foam, but in the end, I wish I would have left the original foam in. Here’s some of the new headliner foam that I glued in:
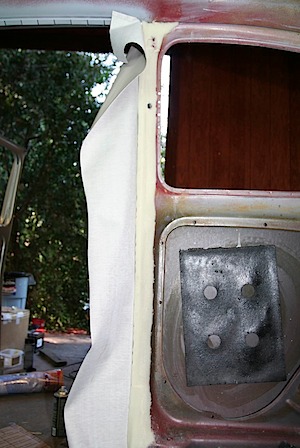
Here are the pillars, which are the first part to do on the interior. you can see the new foam I glued in too:
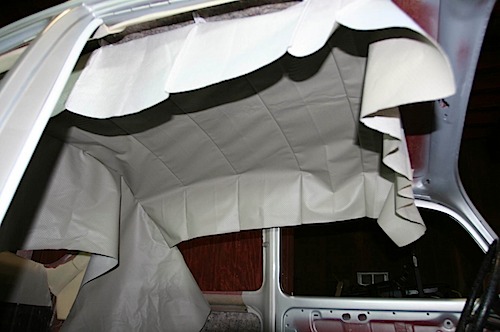
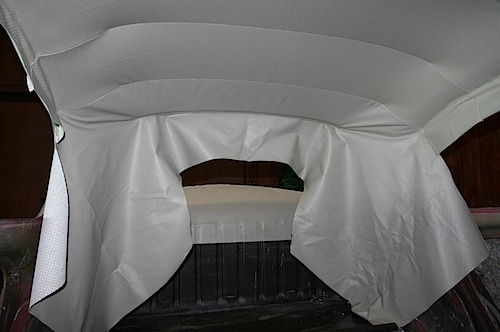
After the pillars are done, the headliner can be installed. The headliner has some metal things that go back into it (I used the original ones) and let it all stick up top:
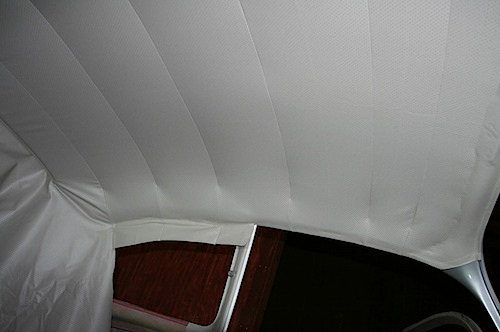
The front was then glued in, leaving a curve on the edges for the front pillars to give a nice finished look:
The sides above the door were done next, which involves gluing and turning the edge over into a little gripper:
The back was then pulled tight and glued in.
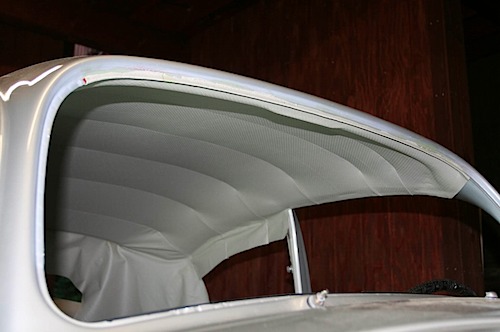
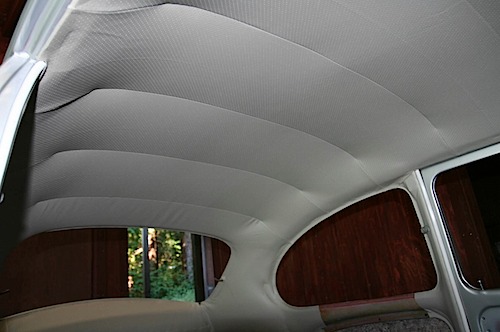
The final part, which was the toughest, was gluing the back edges down, but it turned out pretty sweet:
Well, the final final part was gluing the part in below the rear quarter window, but that was pretty darn easy.

