Plug Bug: Primered
Let the painting begin!
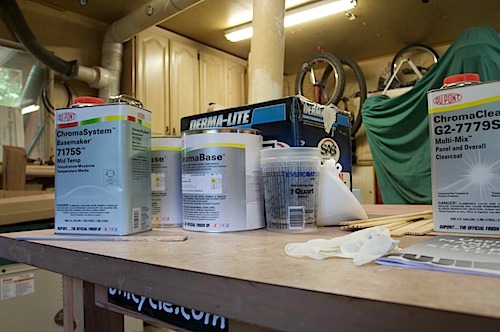
On Saturday, I went to Santa Cruz Auto Parts and picked out a metallic red and metallic silver that I liked. It took me quite a while, and I hope the combo turns out well, as it is hard to tell what it will really look like when looking at little paint chips. The paint was expensive; with primer/base/clear it came to over $800, and I ended up buying some tack cloths, rags and paint prep that ended up pushing it a bit over $1000. Still, that’s a small price to pay for doing the job myself, which has been incredibly labor intensive. I’m sure it would cost at least $3000 to get it done by a professional.
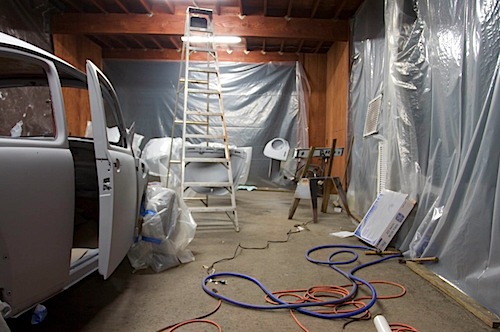
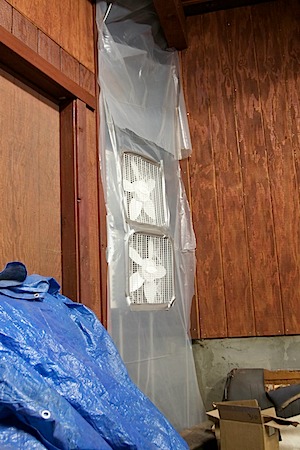
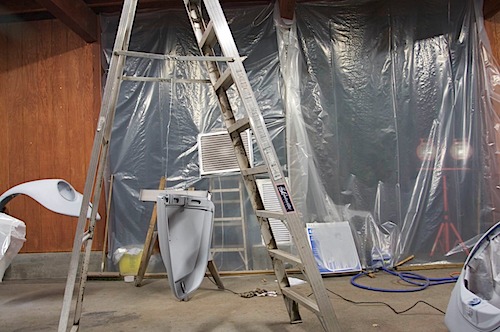
I needed a paint booth, so I converted my carport to be a huge paint booth. I sealed off all the sides with plastic (or a tarp) that was simply stapled to the wood. I needed to have some ventilation, but I was worried about a potentially combustable environment with all the paint fumes. I bought three box fans for about $15 each from Home Depot / Target, and four $5-7 furnace filters. I taped the filters on the outside of two of the fans, and had them blow into the paint booth — these definitely are safe, as the fumes won’t be running over the moving parts of the fan. I taped over one fan’s motor cooling inlet and ran it for a while; it didn’t get hot at all, and I figured the HVLP I was using wouldn’t generate enough concentration of fumes to really be combustable in such a large environment, so I used the third fan (with a filter in front of it) as an exhaust on one side. I also put another filter underneath it as another natural exhaust. The two in one out creates a slight positive pressure in the booth. The exhaust one can be seen on the right in the photo below; it is about shoulder level to remove concentrations in the air at about that level.
Inlet fans (filter is on the outside), sitting on some scrap thing I had:
The HVLP compressor is outside so it is always “breathing” clean air and won’t add to the risk of combusting. For lighting, I bought a $20 shop light from Home Depot that had a cover, and a $10 power cord. I mated them together, and covered all exposed electrical stuff really well with electrical tape, and then doubly make sure the entire box was sealed up with duct tape. The florescent bulbs run really cool, and with the added covering I’m not worried about it causing any sparks and fires. It is mounted on a saw horse so I can drag it around to where I need it:
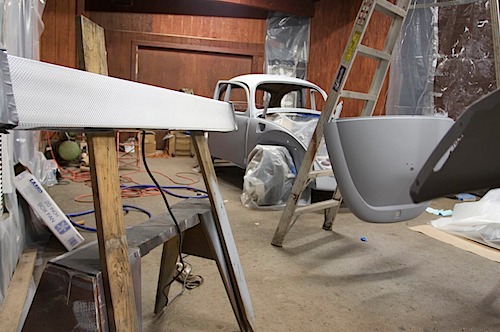
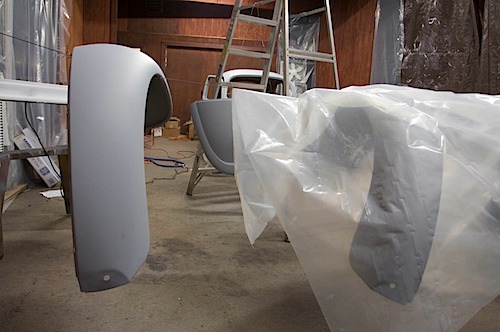
I strung a wire across the carport and hung all the fenders on it, securing one side with wire and some clamps on the other side to keep them from not moving around too much. It is kind of hokey, and works fine as long as I don’t bump the thing and get it moving too much. I can also push the funder vertical and easily spray the underneath right before the top. During my first coat of primer I discovered overspray was bad, so during the second coat I would alternate spraying fenders, and cover the freshly painted one about 5-10 minutes after I painted it. This is enough time to let the paint flash (ie: solvents dry out), and not be tacky. However, this bit me once as I put the cover on a little too early on one of the fenders that had a particularly heavy coat and it stuck to it. I’ll be sanding that one some more to get the marks out.
The engine lid is hanging off a big latter with some wire, and I can spin it around to paint each side:
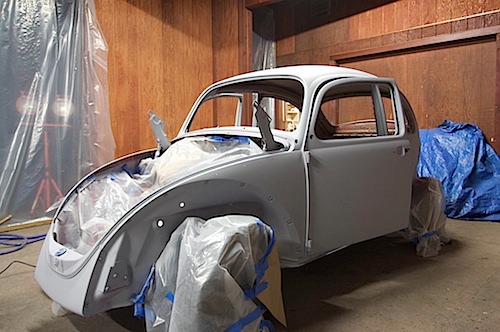
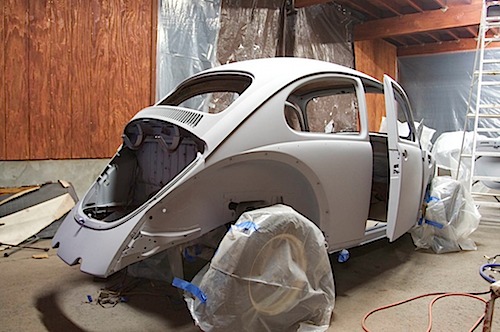
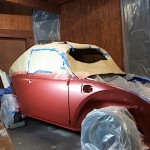
I sprayed the first coat on and got a feel for painting the car. This is the first car I’ve ever painted, and I did discover a few little imperfections in my body work, but I’ll probably just not worry about it. I might change my mind during the week and fix it before I do the color coat.
Front view:
Rear view:
I had a great summary of what I did, but again lost the post in uploading (darn slow connection and ecto! I need to switch to Mars Edit…)
Basically: Sanded to 220, tack clothed with Prep All to get rid of any residue and sanding dust, sprayed on the first coat, wet sanded with 400 to get it smoother and fix any “oopses”, and tacked it again, and then sprayed a second coat of primer.
Next weekend: color!



Looks good. The cheapest pricing I found for prime/paint was $2,800 and a professional shop would charge $5k easy. Did you get the spray used for finding high/low spots after primer?
Yeah, you are the second person who mentioned that to me — maybe I should do it just to get a perfect finish! But the answer is no — I didn’t block sand or spray a different color on, and i wasn’t planning on sanding it off to get that perfect finish. I might reconsider and do it this week.
wow looking good
dad
It’s good to see that you are being an astute tactician when it comes to safety!