Munibar: Mountain Unicycle Handlebar
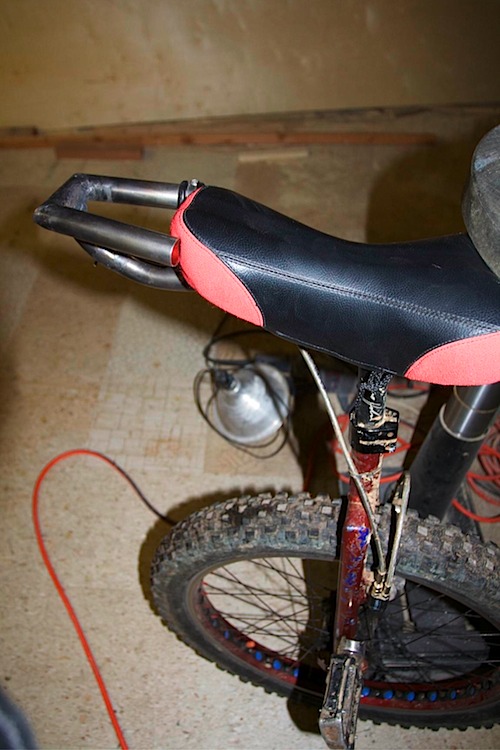
A few days ago I finished a new unicycle handlebar for my mountain uni; thus, we have the munibar. I’m planning on using the geared 24″ mountain unicycle for the Africa tour next summer, and I want a handlebar that can be used to put some weight onto it and also have better grips than the standard plastic round handlebar in front of unicycle seats. So, I created my own out of some old bicycle parts.
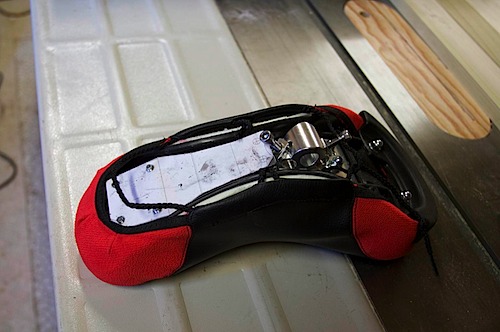
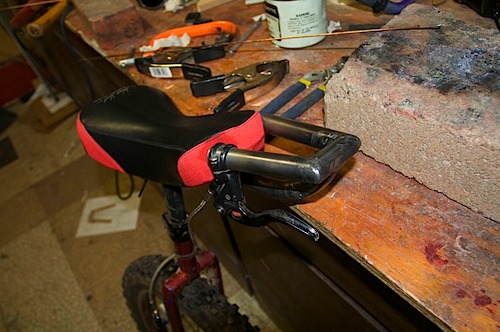
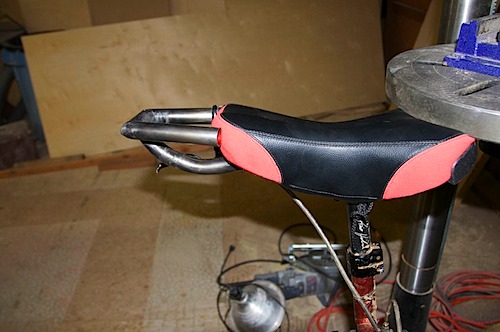
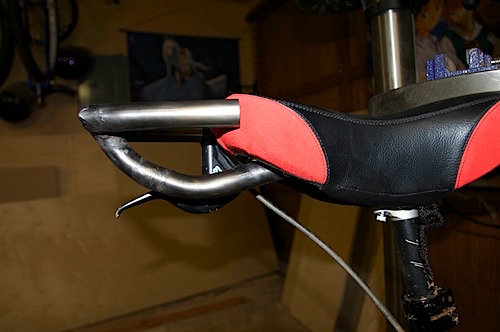
Let’s take a look at the final product before I describe how I made it — note that it isn’t 100% finished; I have some more ideas that I’ll describe later, and of course, it needs some paint.
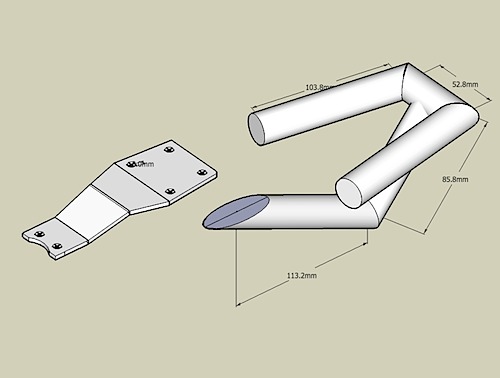
My first step was to take a look at my older design, and get some ideas from what other people have been doing. I used a free program from google called Sketchup to do some 3d drawings, and here is what I came up with (click for a larger version):
Here is the sketchup file for you to download and play with Mountain Unicycle Handlebar.skp — note that I changed some things and haven’t updated the model (such as the angles, and the back bracket’s last bolt locations), so if you attempt to make this same handlebar you may have to make some tweaks.
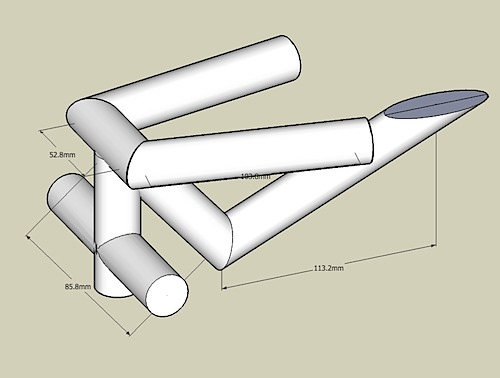
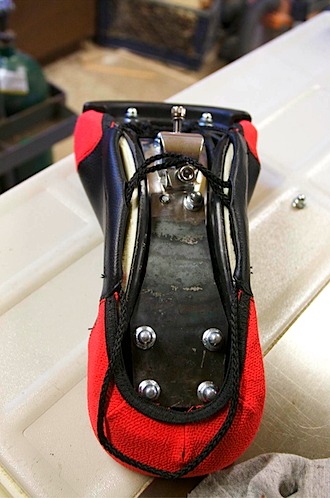
The bracket fits under the seat and the handlebar can be welded to it. The bracket extends to the forward seat post to give the whole thing lots of strength and zero flex. The bars allow you to grip tightly and put lots of downward force on the pedals for going up steep hills (it works! I can ride up steeper things now with this when compared to the old plastic handlebar). The bars are also just the right length to install a brake onto. The small horizontal bar can be used to mount a cycle computer on. However, the part which I haven’t installed yet can still be seen in the model:
The intent here is to have a horizontal bar that I can attach bar ends onto. The bar could be raised and lowered, and the bar ends can have adjustable angles. I have yet to make this part of the handlebar, but I’m hoping to add on this option sometime soon.
The building process:
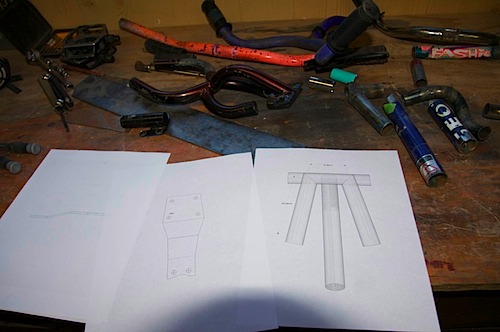
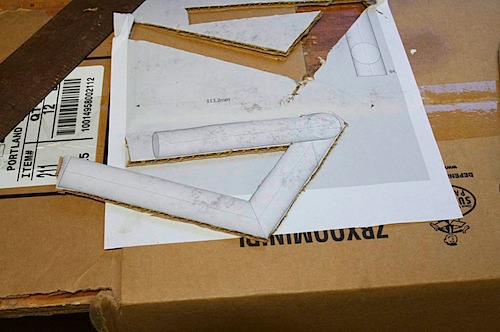
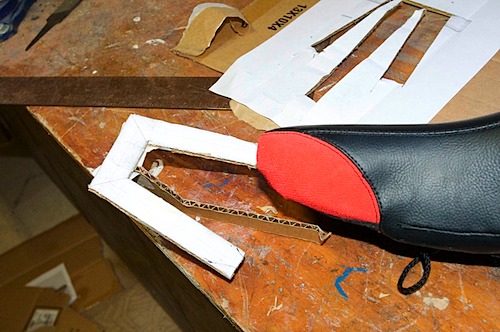
To get an idea about the sizes of things, I printed out the sketchup drawings and cut used some spray adhesive to glue the paper onto some cardboard. I could then cut it out and make some mock models of the thing to get a feel for it.
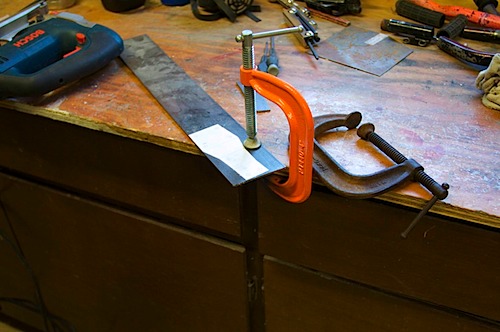
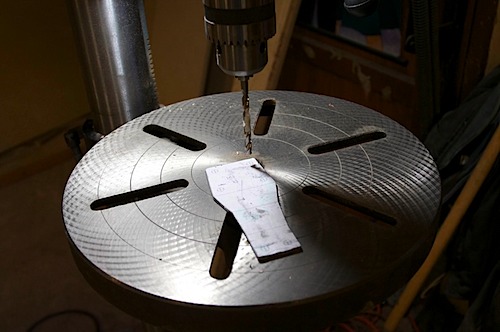
After I did that, I printed out more full size copies and glued them directly on the steel as templates for cutting. I cut the steel out with a handheld Bosch jigsaw with a fine steel blade, and it worked quite well!
and drilling the holes:
Trial fitting:
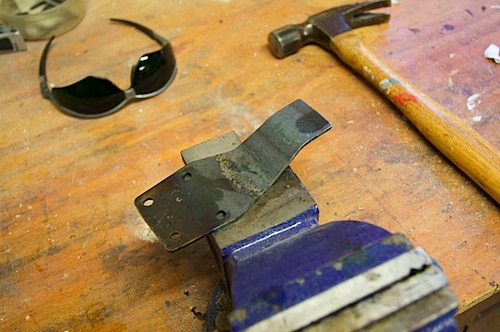
To get the bend, I heated the steel up with a torch and then hammered it into shape. The final holes were drilled last to make sure they were in the right location. Eventually the final holes became slots, as those were easier to install the thing with.
Trial fitting:
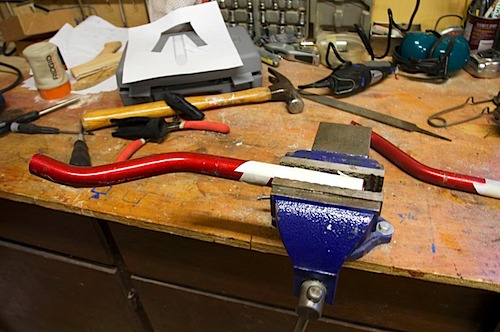
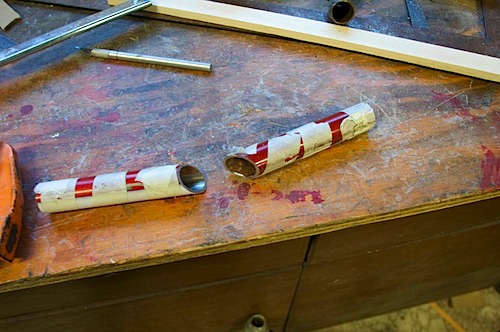
The handlebar itself was made from a single mountain bike handlebar. I glued the templates onto it and cut the steel tubing with a sawzall. I wish I had a better way, but my jigsaw blade wasn’t long enough, and I don’t have a metal bandsaw. I do have a steel cutting 10″ circular “blade:, which I have used a few times in my radial arm saw, but it burns the steel a lot.
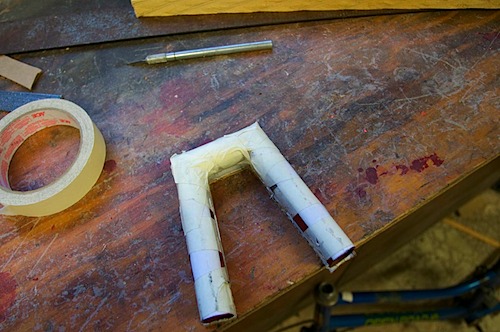
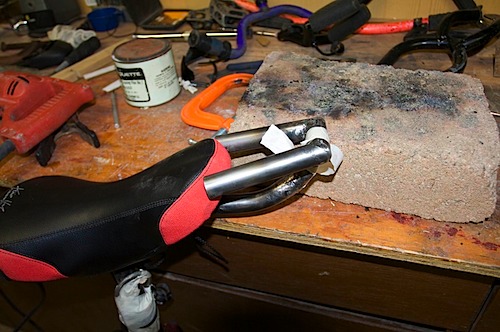
Taping it together to get a feel for the size:
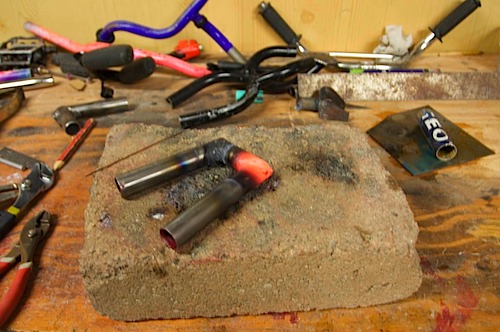
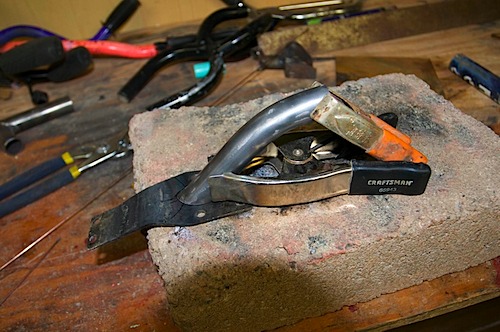
I finally welded it together, the old-school oxy-acetylene way:
The next steps I don’t have pictures for; I would tape some posts to the unicycle seat, sit on it (on the cycle!) and get a figure for the angle and position I wanted it to be at. I then welded the handlebar onto the bracket in two pieces:
I then taped the top bar pieces on to get a feel for the right angle:
and finally welded it on:
I have yet to give it a good ride, but so far it works quite well! The brake position is quite good and allows really fine tuned braking.
Things I would change: I think I would like a slightly larger angle for the handlebars — but this would mean making the forward bar (the 52mm one) slightly smaller, or eliminate it entirely and have the thing be a triangle. However, that would eliminate an area to (potentially) mount a cycle computer.

