Upstairs Railing
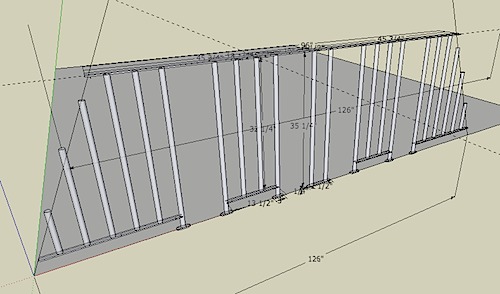
I’ve been working on a railing for the upstairs part of my house that opens up into the main a-frame. Here’s the general process on how I made it. First off, I did several designs and sketches in Sketchup to get a feel for what I wanted. A lot of the basic layout and sizes could be tested out in the program to get a good feel for what it would look like:
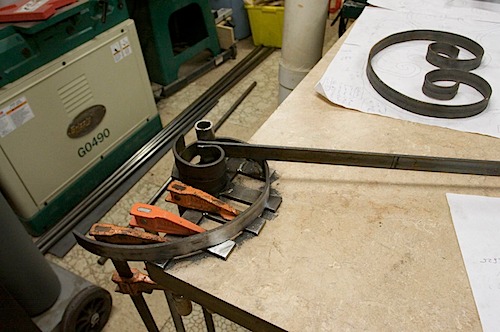
The picture above doesn’t have the curves in it, but that was going to be the hardest part. I had to figure out how to bend them. That lead to this bending jig to make half-curls like the ones in the upper right hand corner. Notice the full size template I printed from sketchup underneath as a rough guide.
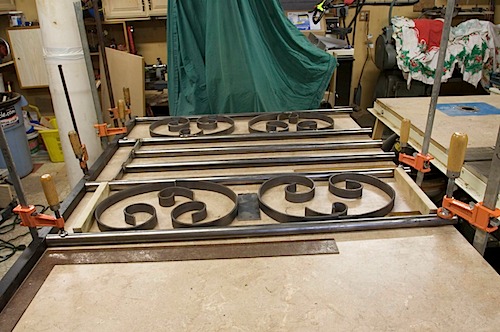
Once the bends were made the rest of the stuff was just laying it out, clamping down, and tack welding:
Notice the use of some simple guide blocks to get the sizes right and equal on everything. After tacking I would move it off the wooden table (to not burn it all up) and finish the welds. I really need a nice large metal welding table…but I have no idea where I would stick it in my packed garage.
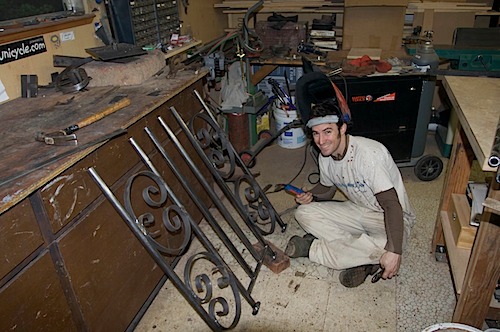
I did a trial fit on the upstairs after it was all together to measure for the vertical pieces that fill into the a-frame portion on the sides:
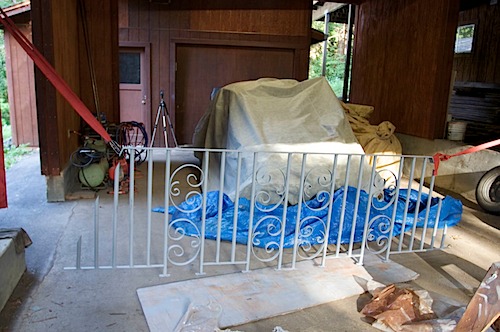
After welding those on, I suspended it across my carport to paint it. I used my Mini-mate 4 HVLP to spray some thinned enamel paint I got from Ace hardware. Here it is primered (with the bug covered up to avoid any overspray):
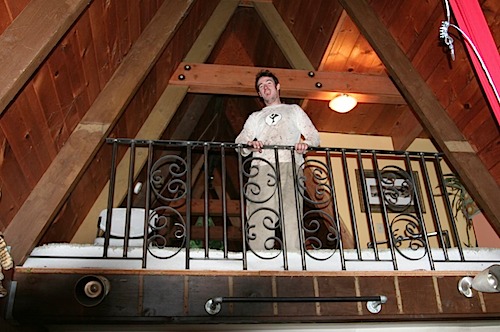
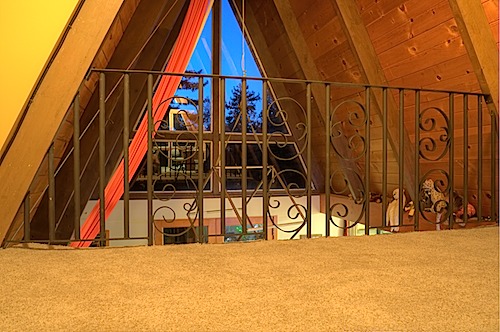
I then painted it flat black, and installed it. The feet are bolted to the ground with 1.5″ lag bolts, and the sides are screwed into the walls with some wood screws.
I still need to finish it by creating a nice piece of wood to put on the steel top; that will give it a nice feel to the hand and blend in well with the rest of the house’s wooden stuff.
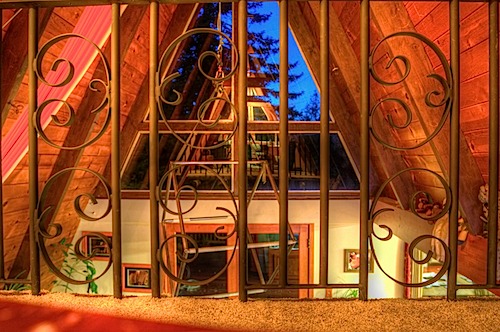
Here are some details of the curves as a fancy HDR image. Notice the cube in the background:



Oh, man that takes me back. The last time I did any band iron bending was in shop class in tenth grade. Nice work!
-jcr